
I have received a few e-mails with questions and comment about the kit. Hopefully, posting them here will help everyone either building or considering buying a kit. This is a level 4 kit. Most of the construction is typical of any wood kit but we are building a round tank verses a square box.
There is an error in the instructions on page 23, step 5, last paragraph, last sentence. It states the the skin overhang on the center tank section should be approximately 3/16". It should be 3/8". All new instructions have been corrected but if you received a first run kit, please make this correction.
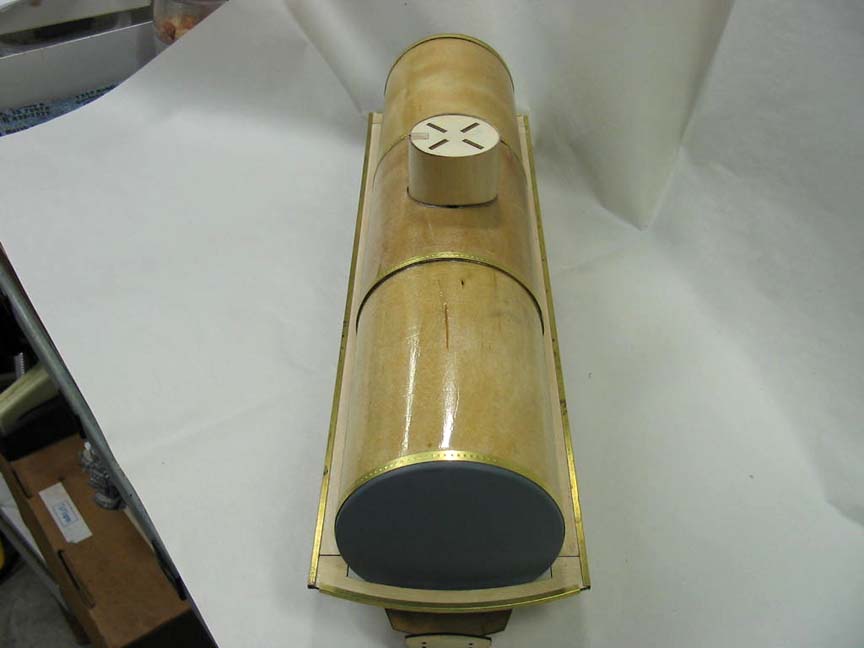
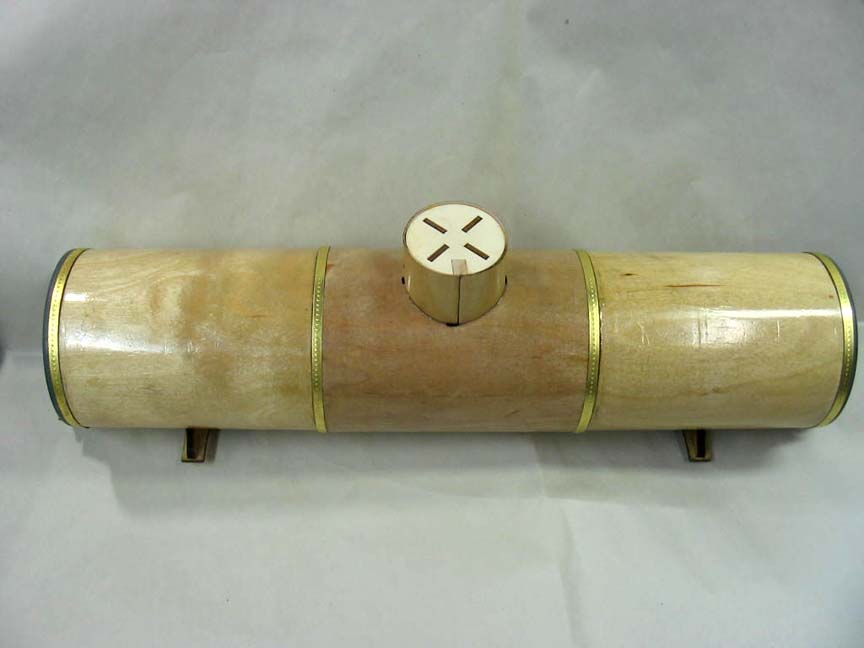
The tank body in built from 3 different tank sections, 2 end sections and one center section. There are several pieces of lasered plywood that fit together to form a "core" which a skin wraps around. The instructions call for the builder to use common hose clamps. Pictured below are a couple pictures from the instructions. Clicking on the picture will blow it up.
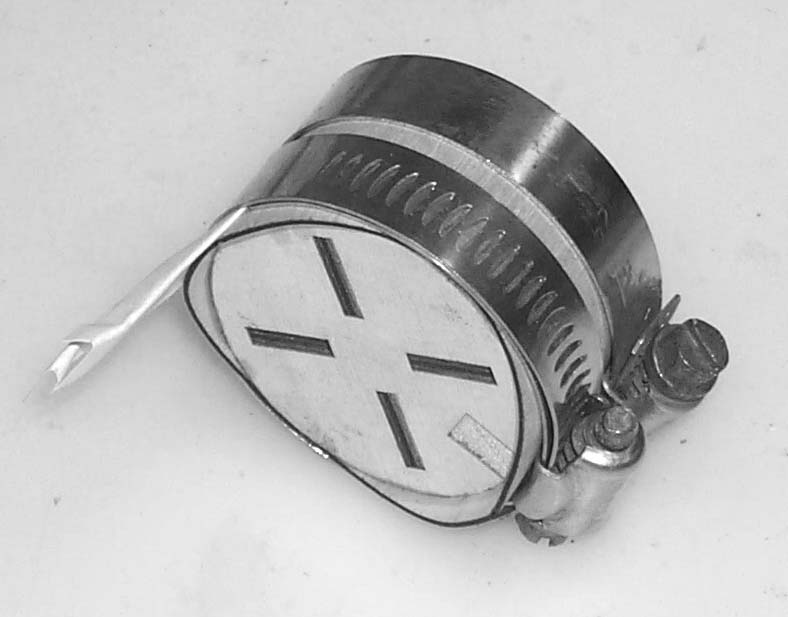
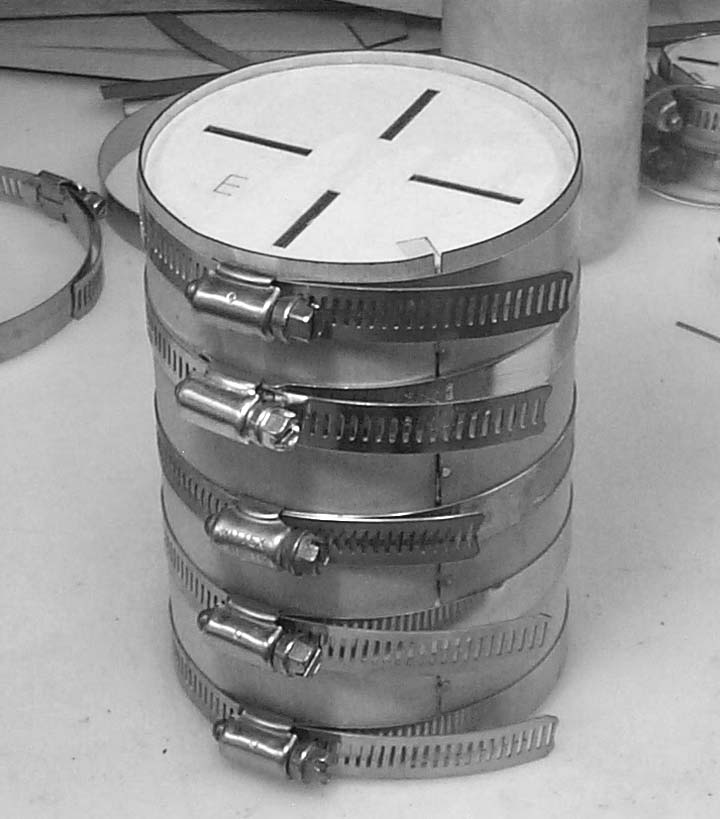
And for the bottom plate, I used 15 of these clamps.
![]()
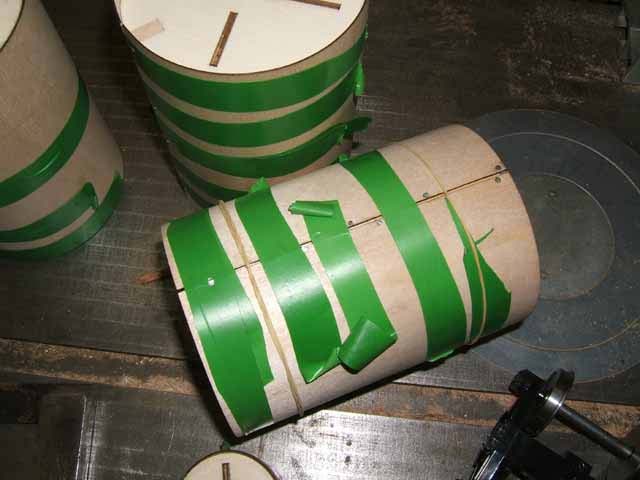
David in the UK used vinyl tape to hold the tank section skins and wire wrapped around the body to hold the bottom plate.
Friedhelm in Germany used tie straps and clamps.
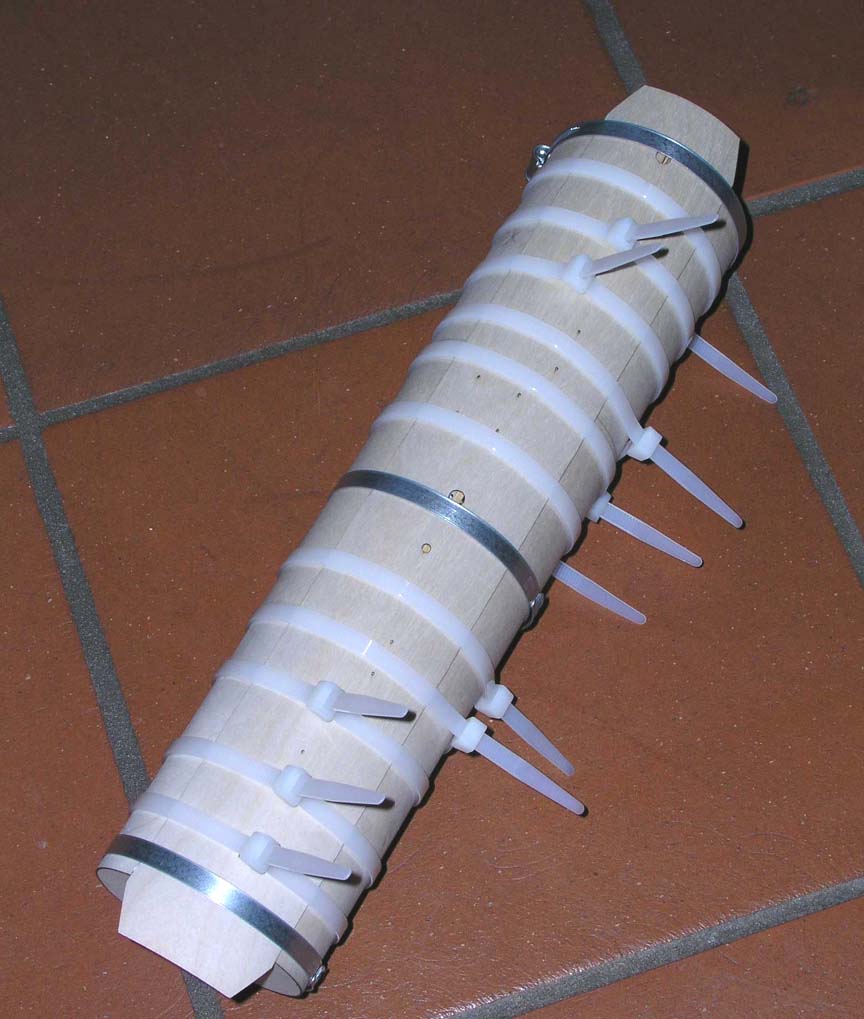
Clamps run anywhere from $1.50 to $2.50 depending on where they are purchased. Obviously there is more than one way to clamp the skin while the glue dries.
Another point that has come up is sealing the tank body to give it that shinny metallic surface. The instructions recommend using a sanding sealer. Either water based or solvent based. The instructions use water based for less odor and easy soap and water cleanup. The previous page has a couple pictures of the finished tank using water based sealer. David in the UK used a primer / sealer for this effect. Finished, painted pictures are in the Customer Photo section.
![]()
![]()
Jerry in Texas used a solvent based sanding sealer for this effect.
With the following paint and lettering effect.
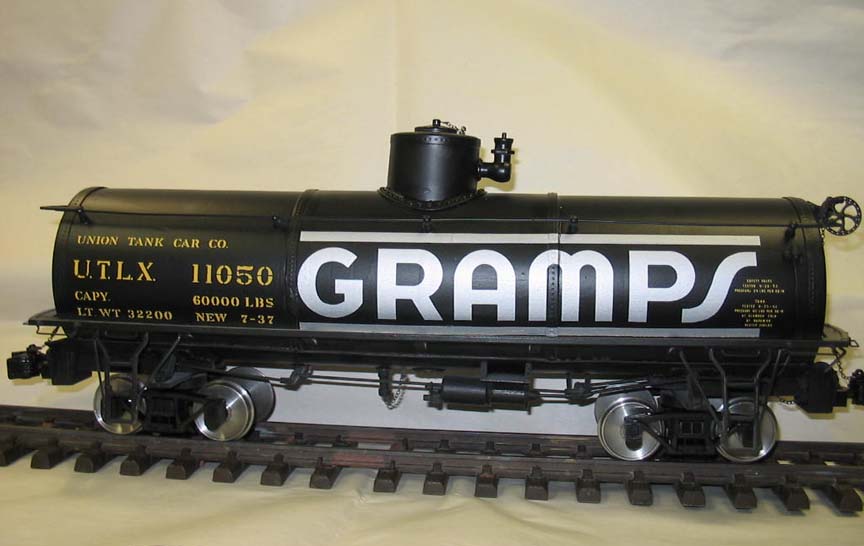
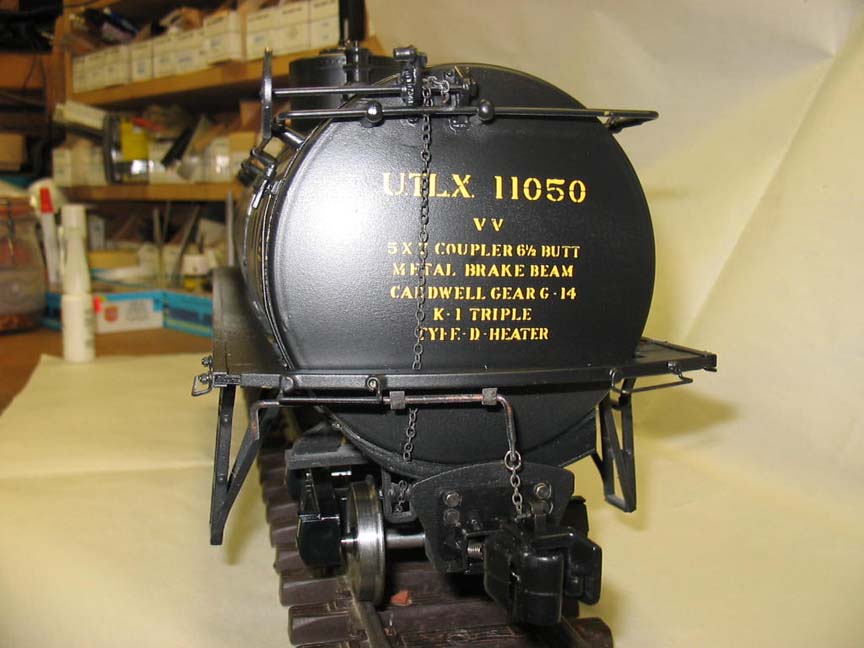
Gloss finish overcoat still to go.
6-2-2006
Page 28, Step 27 calls for the builder to gather parts M-8, M-9 and M-10. It should be M-7, M-8 and M-9. Page 29, Step 29 (cont), last paragraph refers to the inspection plate as part number M-11. It is part number M-10.
Instructions going out with kits from this date forward will reflect these changes.
That's about it for now. As new comments or pictures come in, I will share them here for at least the first few months of release of the kit.
Phil