Train Room Trackwork
Another big decision I had to make was the brand of track and turnouts I was
going to use as well as turnout motors. I've know Pete Comley of Sunset
Valley Railroad for years and really like his code 250, nickel silver,
narrow gauge track and turnouts. We replaced another brand turnout on the
Denver Garden Railway live steam table at the Colorado RR Museum several
years ago with SV turnouts. What a huge difference it made. No more
derailments and far smoother operations.
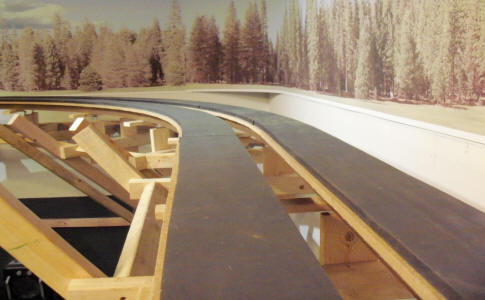
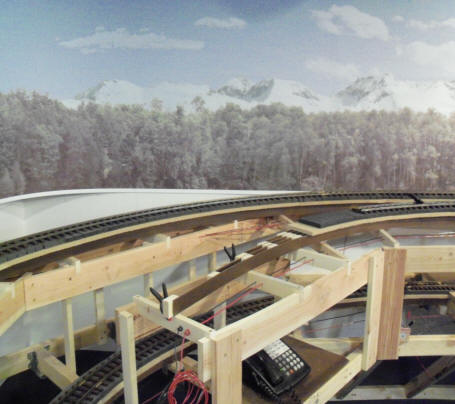
For the road base I used 1" x 4" uprights supporting 1" x 2" horizontals.
Atop this is 1-1/2" masonite spline with 1" x 2" spacers.
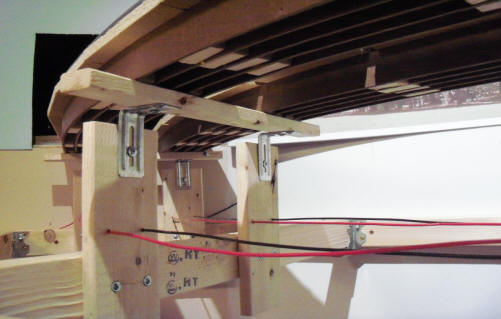
Here you can see the uprights, "L" brackets and 1" x 2" horizontal supports.
Here's how I did the spline with spacers. 1/2" thick Celotex sound board is
hot glued on top of the spline.
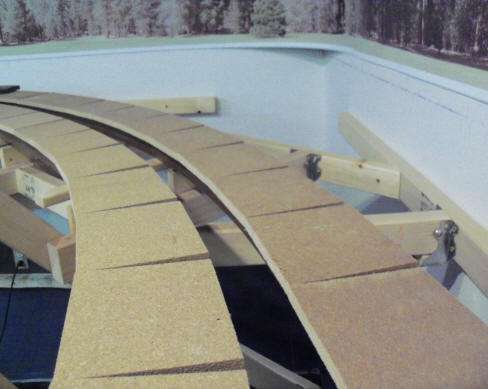
Celotex strips glued on the spline.
For the final sound proofing, I wanted to use a rubber foam based material.
While there is a commercial vinyl roadbed available, the cost of that
material is about $2 a foot. With close to 500' of track to lay, it's a very
expensive choice. I did some research and found a very dense and lightweight
rubber called "closed cell cross linked polyethylene". I bought it from the
Foam Factory in Macomb, MI. I bought 1/2" thick sheets, 48" by 72" in
a charcoal color. I set up my table saw to ripe it in 48" by 5" strips. Sound
radical but it cuts like butter on the table. You will need a helper to
handle a 4' by 6' sheet. In the factory, they cut it with a hot knife which
leaves a hard edge so I also cut that off. Doing this produces roadbed equal
to the commercial stuff but for 50 cents a foot. Being 1/2" thick it
doesn't bend into a curve very well so I cut relief cuts into one side every
1-1/2" or so and about halfway through.
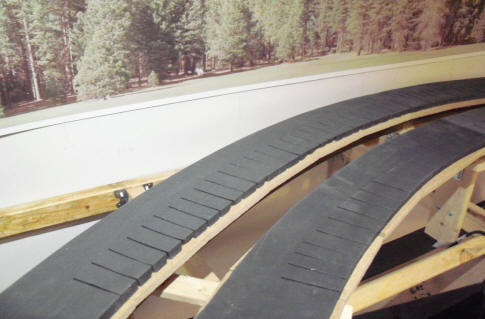
I hot glued this rubber to the Celotex.
On the straight sections, it's just down to the Celotex.
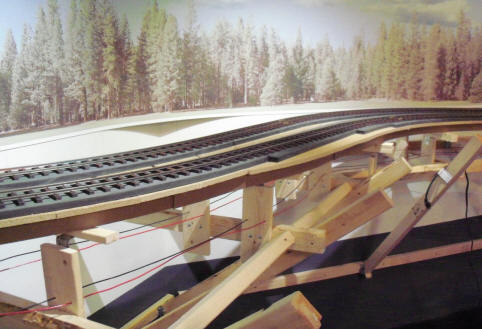
As with all flex track, you first need to roll the rails to the approximate
curvature needed. Then feed on the tie strips.

I soldered all the rail joiners and fed 14 gauge stranded wire through the
uprights with tails soldered to each section of flex track so should any
rail joint fail to conduct electricity, the wire feed will be the backup. I
don't want any "dead" spots.
Still, lots and lots of work to do...............
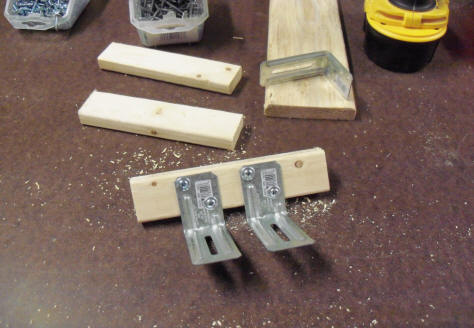
These are the adjustable braces I'm using. Just standard Simpson joist
hardware.
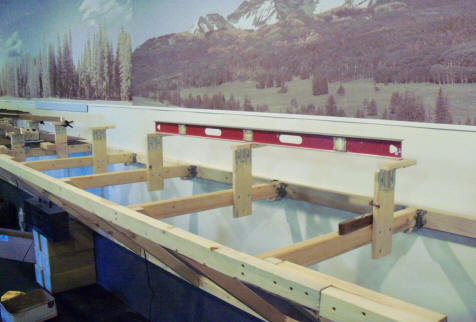
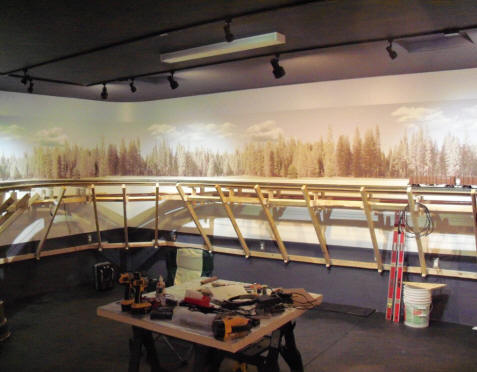
Working out grades.
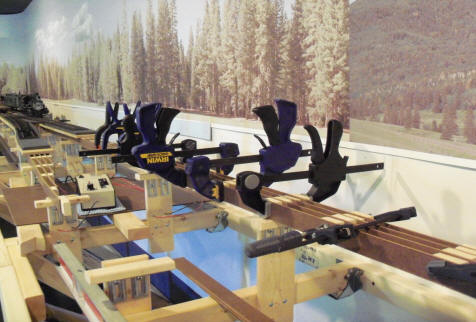
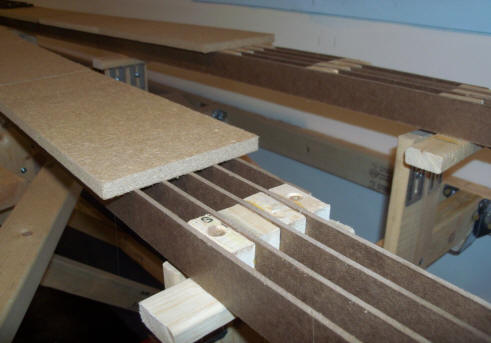
Spline work takes lots of time and lots of clamps.
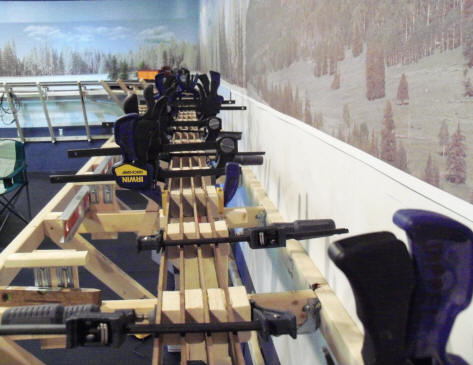
Clamps, clamps and more clamps. The spline work is probably the most time
consuming. I bought 4' by 8' 1/8" masonite board at the building supply and
had them cut it into 3 pieces 16" by 8' so I could handle it on my table
saw. Those pieces were then cut into 1-1/2" by 8' strips. 1 sheet of
masonite will render about 48' of spline. The spacer blocks are 1" by 2"
"white wood". Most likely southern pine. I cut it into 1-1/2" long pieces.
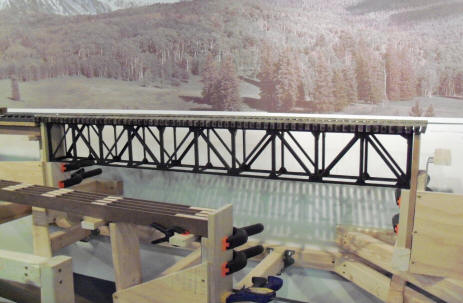
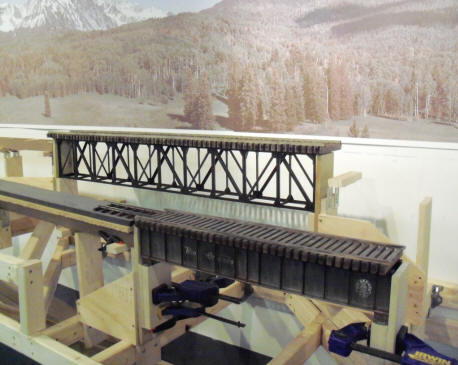
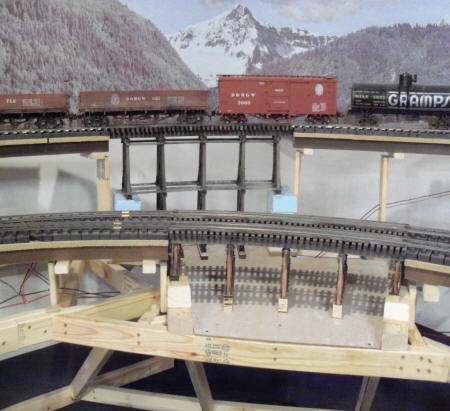
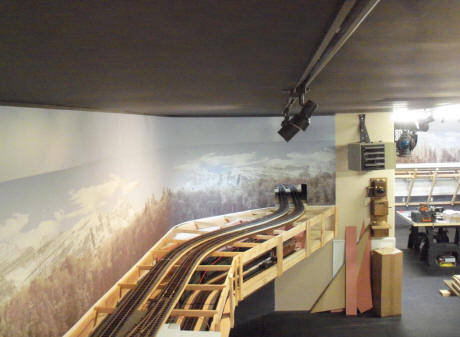
Crossing the first river bottom.
this bridge is from Gnome Miniature Engineering in Canada. This is the TR-42
bridge.
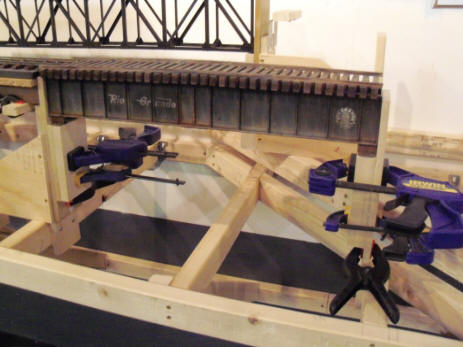
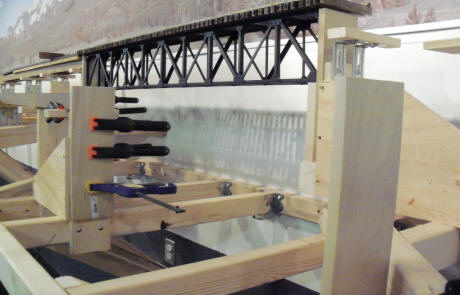
Bracing for the lower bridge. This is two 12" Garden Metal Models deck
girder bridges bonded together to create a 24" bridge. I was lucky to find
the two 12" bridges at a hobby shop. The 24" and 36" bridges had been long
sold out.
Another shot of the 2 bridges
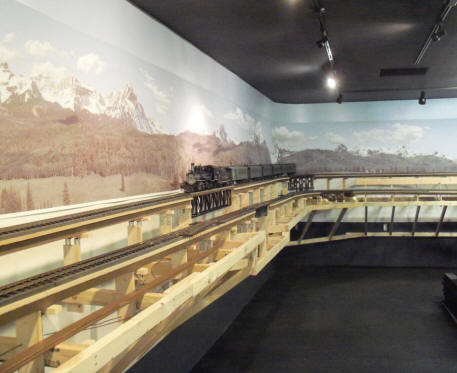
A K-27 with a string of passenger equipment crossing the TR-42 bridge
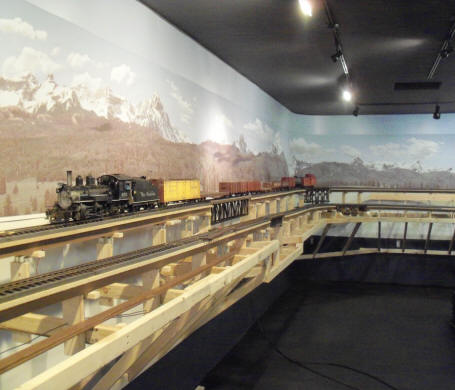
Same view but with a mixed freight.
Looking west. I soldered all the rail joiners and also ran #18 wire under
the track. Every section of the flex track has feeders to the #18 wire. Last
thing I need are dead spots in the track.
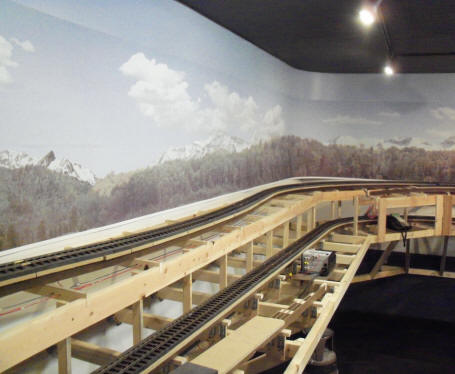
2 wood tussles. By sliding the rail joiners (not soldered), I can remove
these bridges when I'm ready to scenic the area.
East wall
SE corner
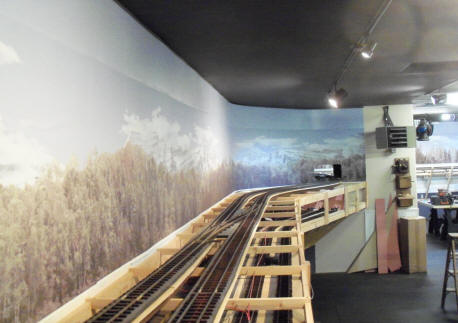
South wall with cross over tracks

Hidden yard
taken from a ladder looking down on the tracks leading into the entrance
tunnel
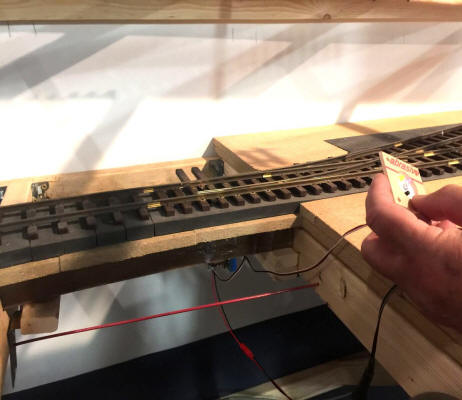
Lots of choices for turnout motors. I picked Tam Valley. While I'm building
with track power to get going, I eventually plan to move to DCC. The Tam
Valley servo's can run either with 5 volts or from track DCC power by
changing a jumper. I bought 1 switch motor to experiment with as they are
not recommended for gauges larger than O. As stated before, I'm using Sunset
Valley NS track and turnouts. As long as I keep ballast out of the throw
rails, the turnout need very little tractive effort to operate. The music
wire throw when set for maximum throw distance (jumper setting on PC board)
keeps plenty of pressure against the point rails. There's also a jumper for
speed of throw, lamp reverse on control and centering to help with mounting.
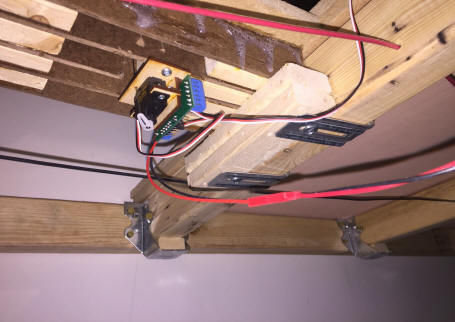
A Tam Valley servo mounted under the spline.
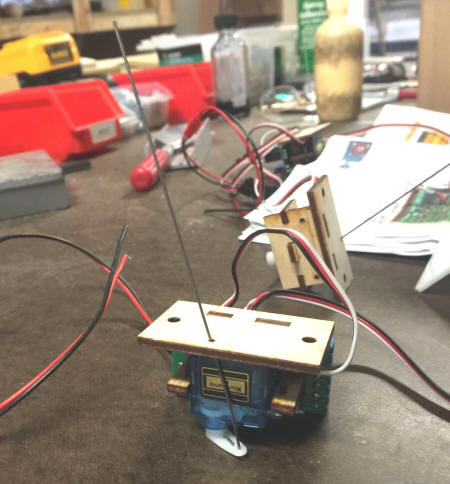
Prior to mounting.

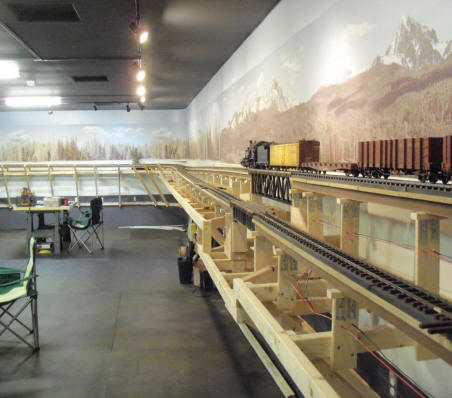
A few friends over to scope out the progress
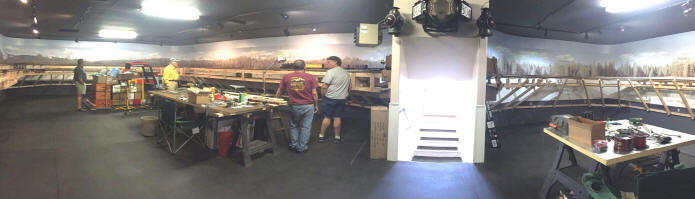
A wider panoramic view
