
South Wall Scenery
With bench work in place around the perimeter, it was time to think
about roughing in scenery. Best place to start was above the yard
storage area. I planked the surface with 2" sheets of Styrofoam and got
to work.
Lots of choices for mountain and terrain building. Some wad up newspaper
and plaster over them. Some use chicken wire as the form. I chose a
method I've seen only a couple times. Not rare but I've not seen it a
lot. That being woven strips of cardboard. To buy strips of cardboard
from a hobby outlet is very expensive. I found that sheetrock shims
found at the building supply to be the most cost effective. Sheetrock
shims, if you're not familiar with, are to add to the center or tops and
bottoms of wall studs. All 2 X4 / 2 X 6 studs have a slight bow to them.
When laying the studs out for building a wall, you should lay them so
all the bows are the same way, up or down. Then these shims can be added
either at the top and bottoms if the ends bow down or to the centers if
the ends bow up. This is so when the sheetrock is added, it is perfectly
flat against the wall studs. Personally, I've never let a little bow
bother me but then, I'm not a high end custom builder.
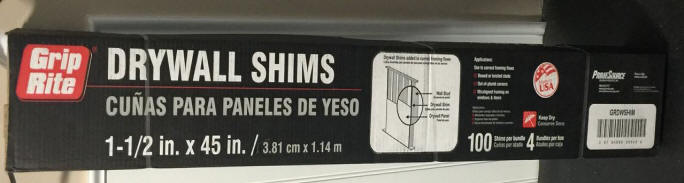
I bought a case of these, 4 bundles, and have use 1-1/4 bundles to date.
But I weave the strips pretty tight so the plaster cloth doesn't sag
between weaves.
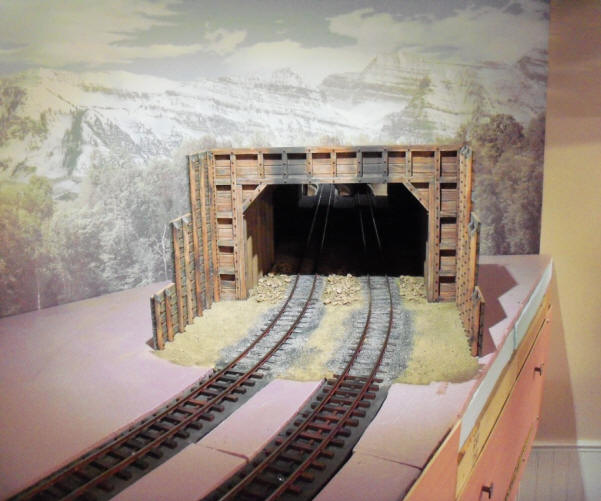
I'm starting at the east side of the steps under the layout. I made up
the portal and wings and hot glued them in place. Added a tad of dirt,
rock and ballast where I wouldn't be able to reach later.
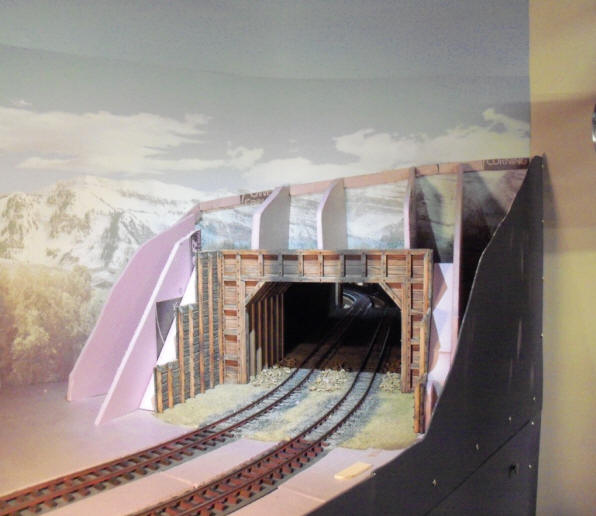
Then added strips of Styrofoam as ribs for the strips
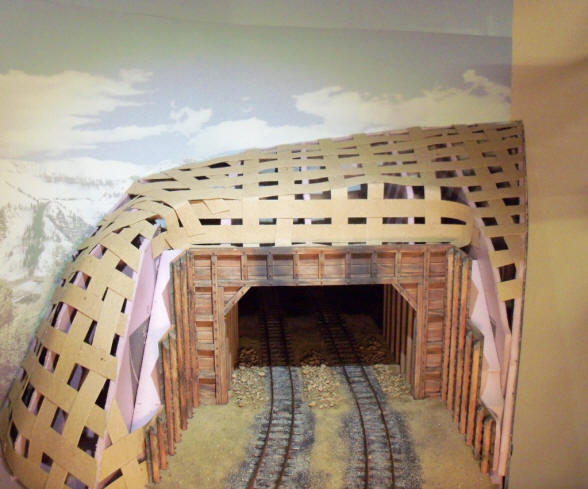
And then hot glued strips one way, wove more strips the other and hot
glued them down.
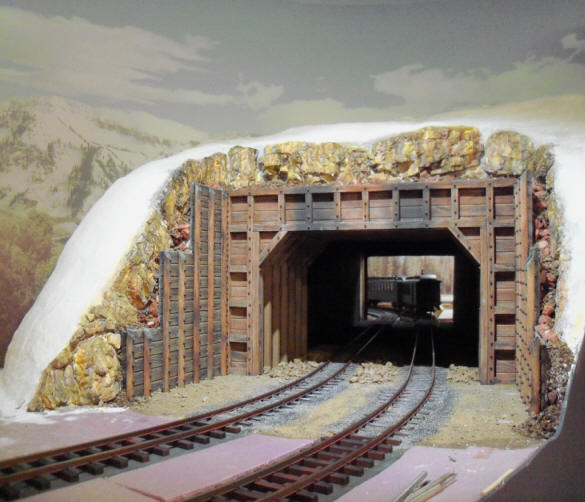
Then added plaster cloth strips and plaster rock castings. I colored
them with the old leopard spot method using yellow ochre, raw sienna,
burnt sienna and black acrylics.
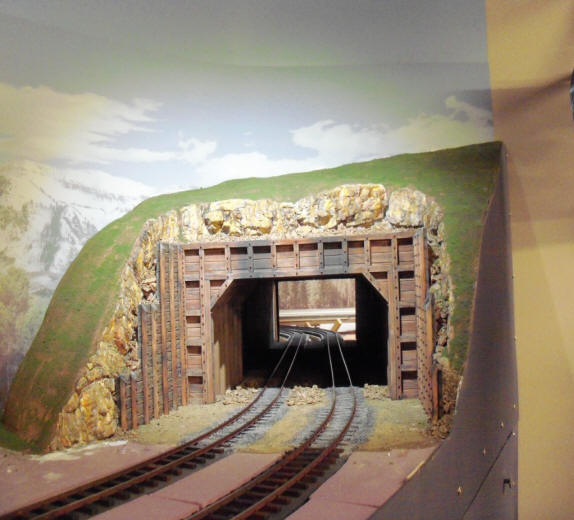
I then glued some Rocky Mountain dirt to a small piece of wood and took
it to the building supply to have it color matched for a gallon of
"dirt" paint. I paint all the bare plaster area's and using a common
flour sifter, sifted burnt green fine foam onto the wet paint. Added
dashes of a fine lighter green and earth foams.
Then a bunch of other scenery "details".
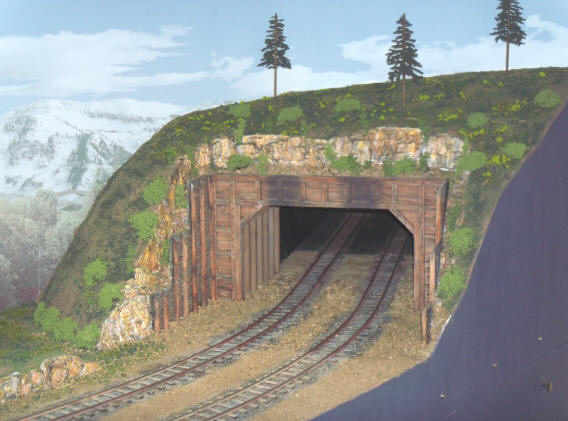
This will be my mountain / terrain method. Of course there's lots of
trees and brush to fill out the scene. In the tree section (button
above), I will cover how I made the Aspen's, and conifer tree's. I'm a
frugal guy so lots of inventive ideas.
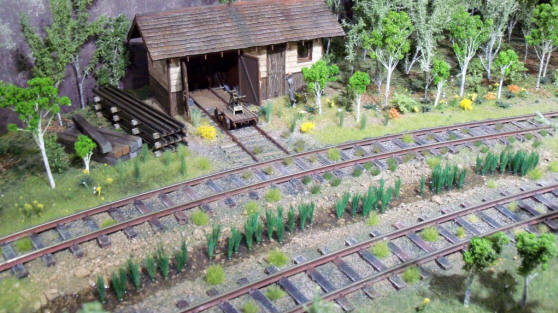
Just beyond the tunnel is a handcar shed. Many moons ago when I was in
HO scale, I built a bunch of Campbell Scale Models. I sold them all when
I changed to Fn3 but kept all the instructions. So, I got out the
handcar sheet and blew up the drawing to 1:20.3 scale and drew it up in
CAD for the laser. The cracked paint is done with crackle medium from
Hobby Lobby. The Cattails in the ditch are JTT and the "water" is
Woodland Scenic's Realistic Water.
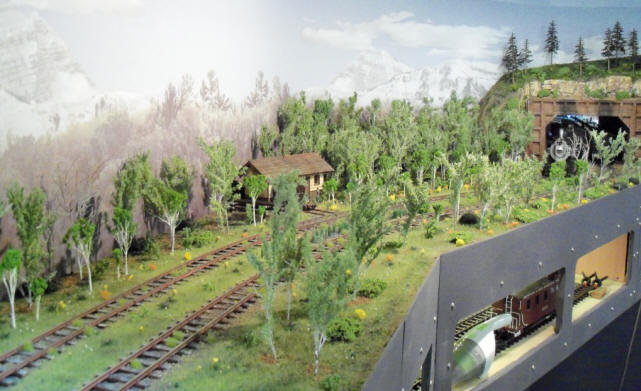
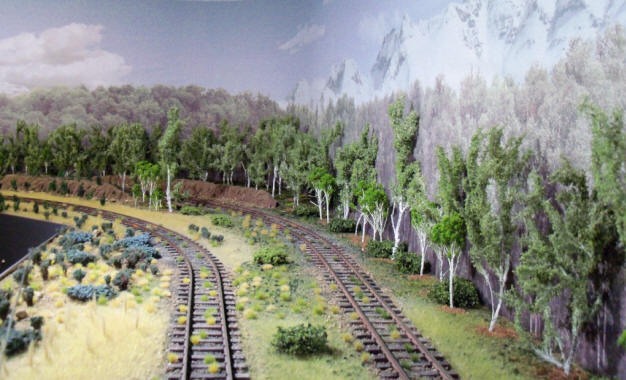
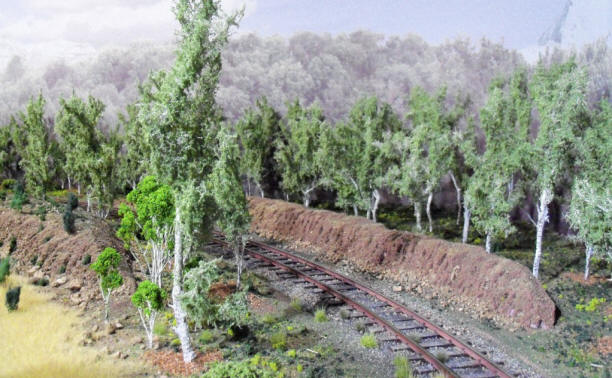
Wider angle
Looking down the tracks. Most all the grass is 12 mm meadow and golden
static grass. I watched a ton of You-tube video's and they sure make it
look easy. After many attempts I finally got a methodology. I spray 3M
77 glue where I want the grass and apply 6 mm first. Then spray again
and apply the 12 mm. If I want the grass even taller, I re-spray and
apply more 12 mm grass. Easier to shift from one color to another for a
blended look. I've never used static grass before and while it's not the
cat's meow for all grasses, I do like it in appropriate spots.
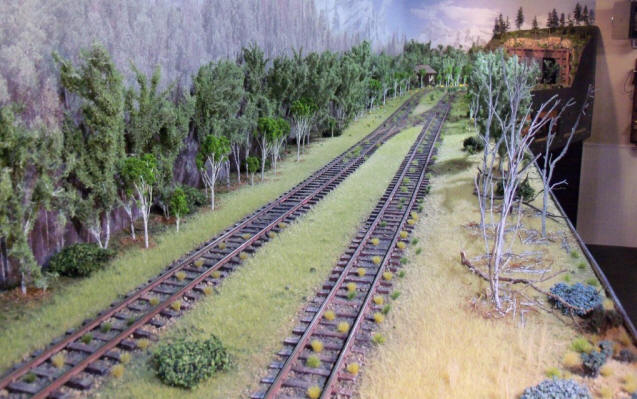
Looking down the track the other way.
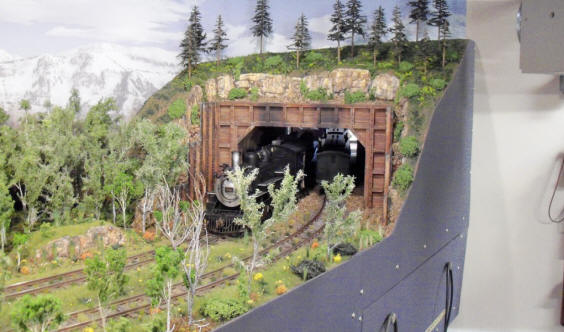
Nearing the SE corner of the building.
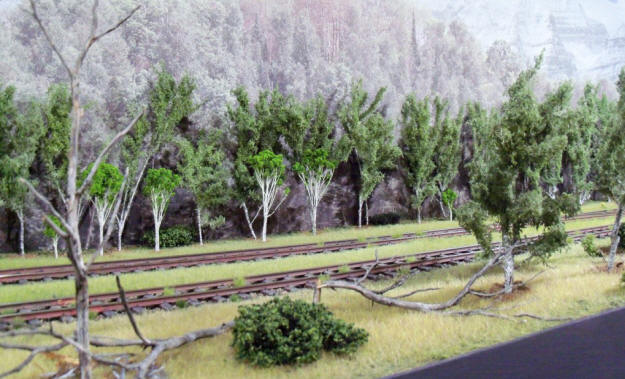
Most of the 400 Aspen trees are home made but I did buy some smaller
Grand Central Gems ready made Aspens. Most of the homemade trunks are
Potentilla bush stems. The heavier, thicker ones are Rocky Mountain
Juniper dead branches harvested at the in-laws in Montana.
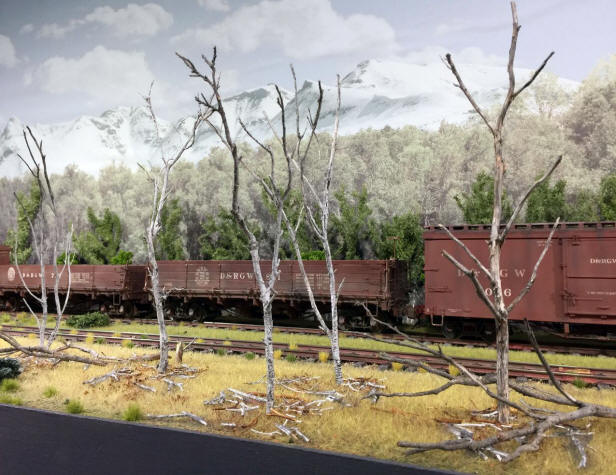
Dead trees are Rocky Mountain Juniper branches
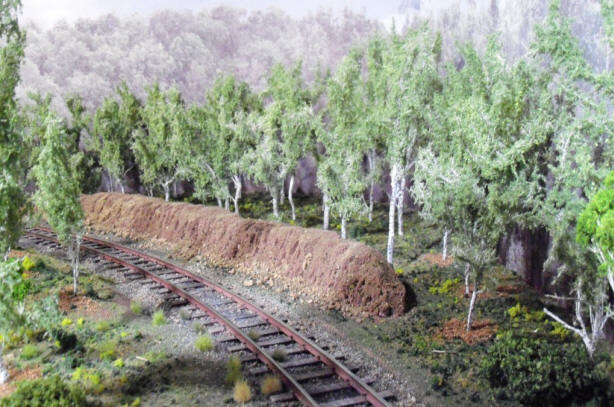
Into the corner. I wanted a couple dirt berms between the tracks. I made
them from 2" thick Styrofoam. Put a wire brush on my cordless drill and
went after them. What a mess !!! I had a rooster tail of foam dust
flying out from the work. After I vacuumed up the mess, I painted the
foam with my dirt paint and sprinkled real dirt onto it while it was
wet. A few rocks and some sifted burnt green foam and called it.
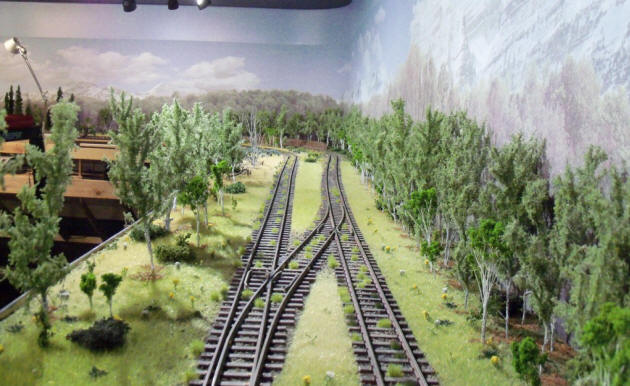
A wider angle
Closer view of stumps and logs. As I stated in the track work section,
the track in Sunset Valley. I rattle can the ties with brown primer and
then streaks of flat black. Once on the layout, I dry brush a desert
sand on the tops of the ties. Then paint the rail facing the viewer with
acrylic rust. I use real dirt for the ballast topped with #30 and #50
light gray and dark gray ballast. All held down with 5 to 1 diluted Mod
Podge.
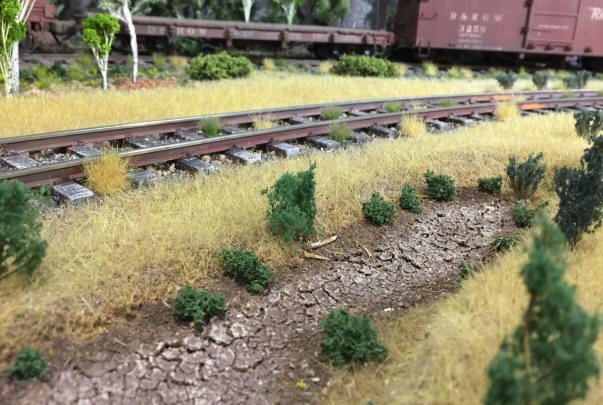
This is a dried up wet spot next to a track. I used Citadel Technical
paint, Agrellan Earth. I put in on about 1/8" thick. When it dries, it
cracks open as in the picture. The chips aren't real secure to the base so I
added diluted Mod Podge between all the chips to securely glue it all
down. Then dry brushed a light sand color to highlight the edges.
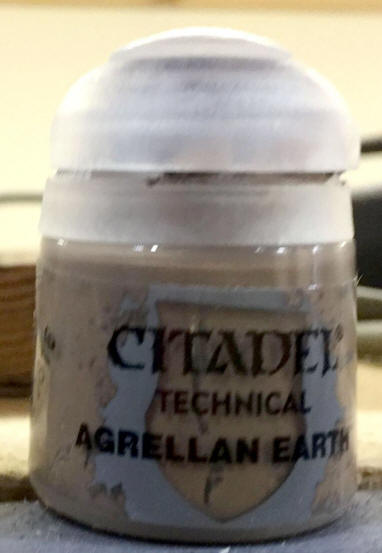
This is the stuff. It took 2 of these little bottles to cover the area I
did.
To continue around the layout, go up one page and then to the East Wall.