
North Wall Scenery
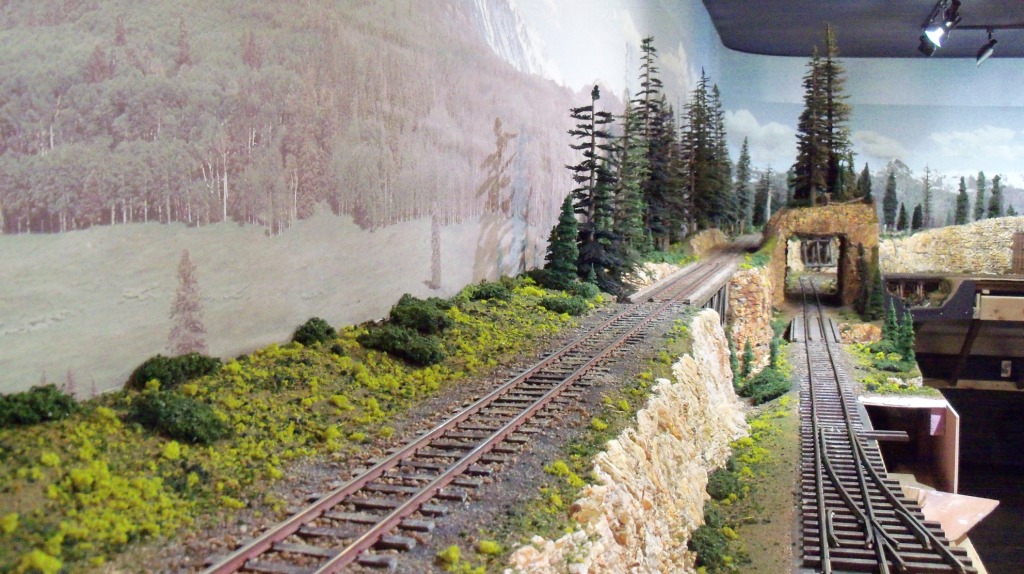
Moving west along the north wall
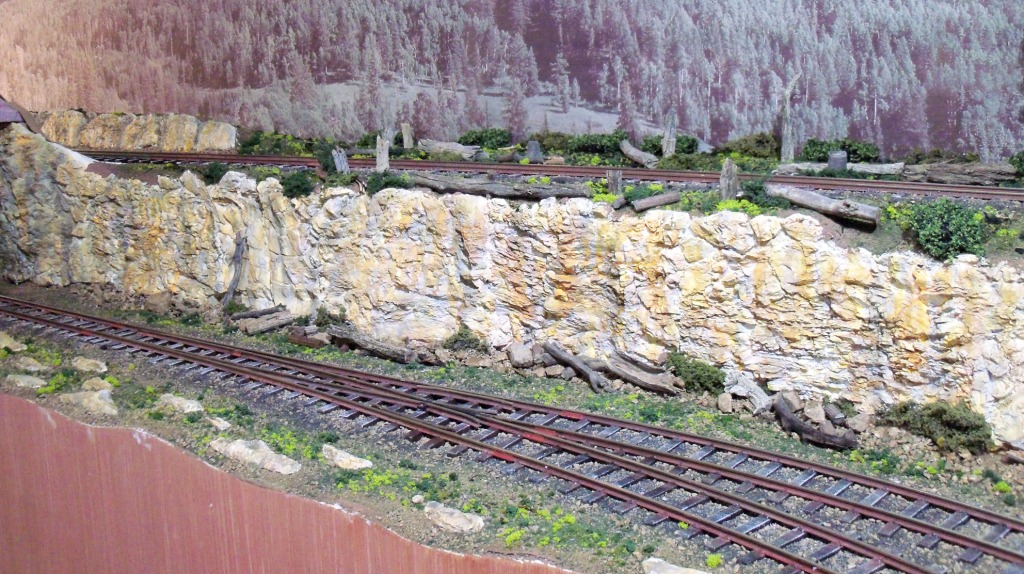
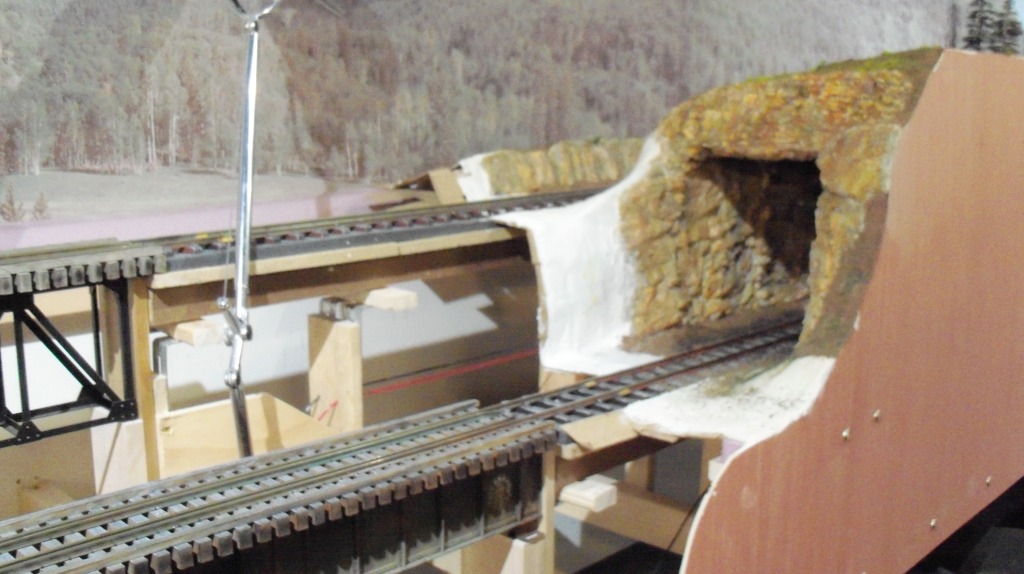
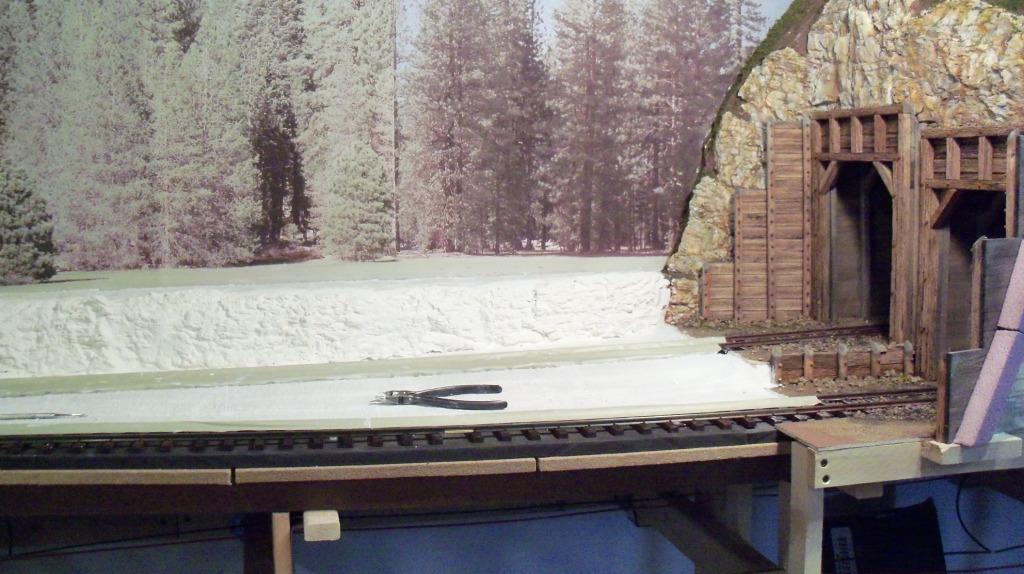
Leaping ahead to where the shim stock, plaster cloth, rock castings, coloring and starting scenery are in place.
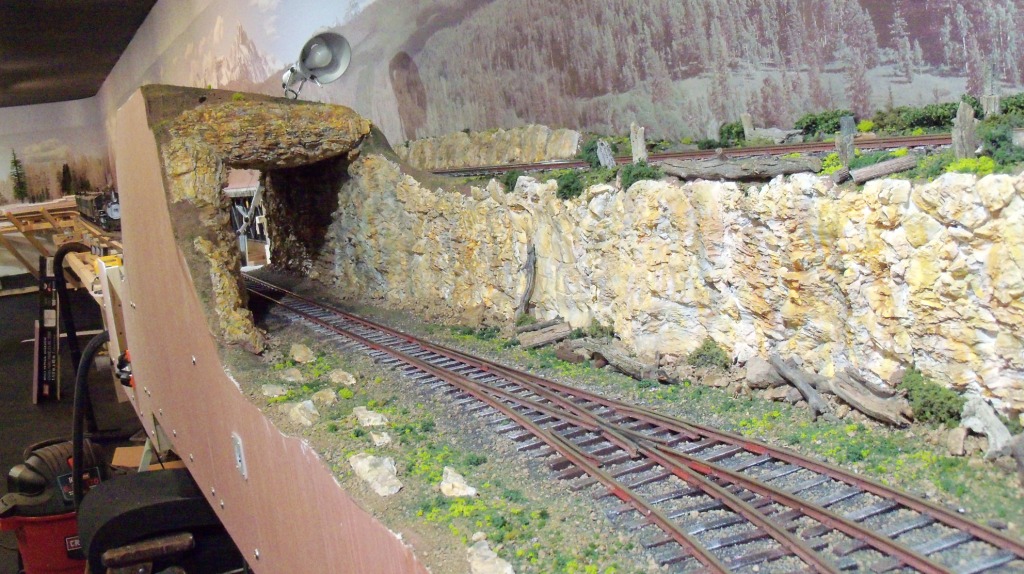
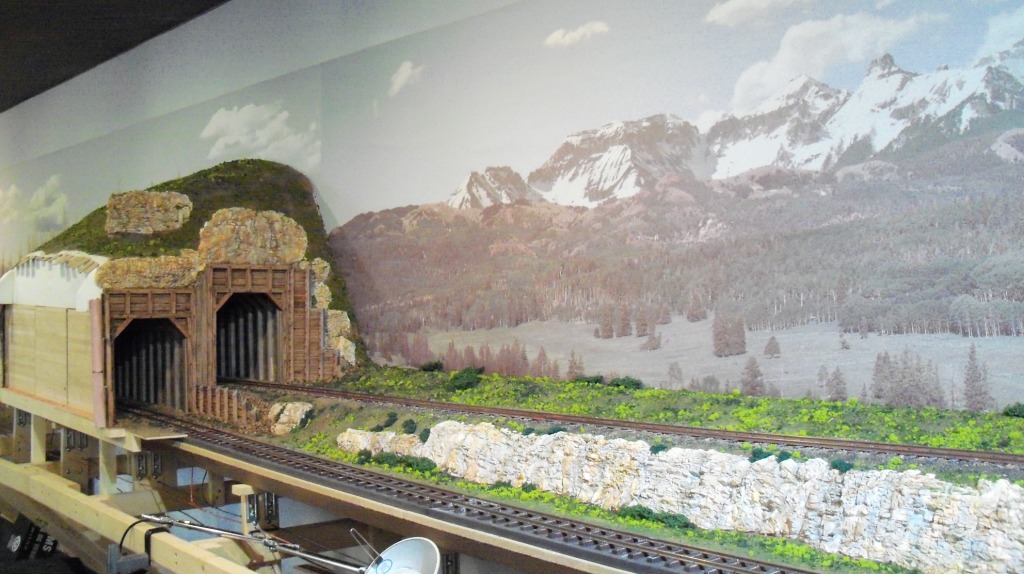
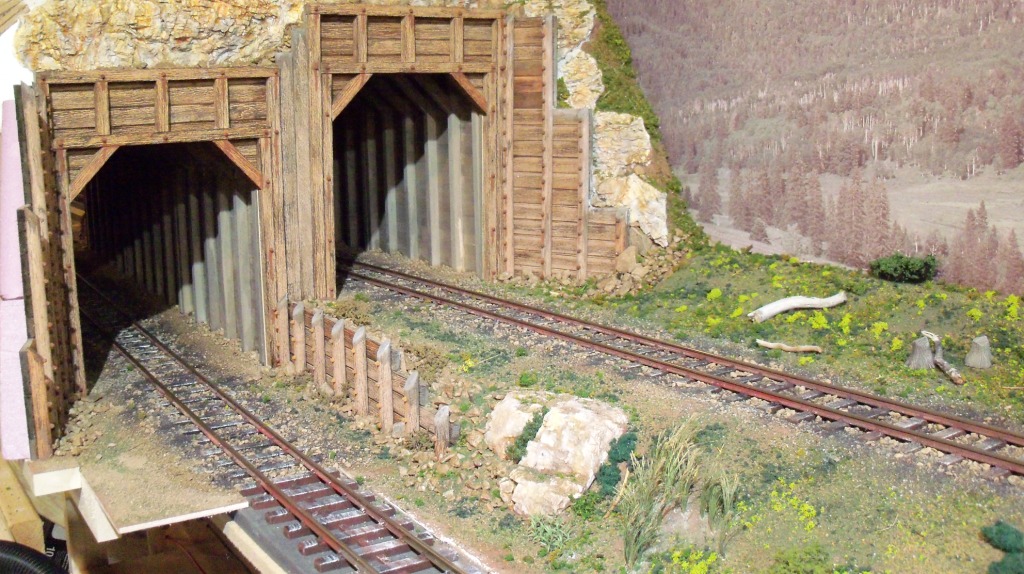
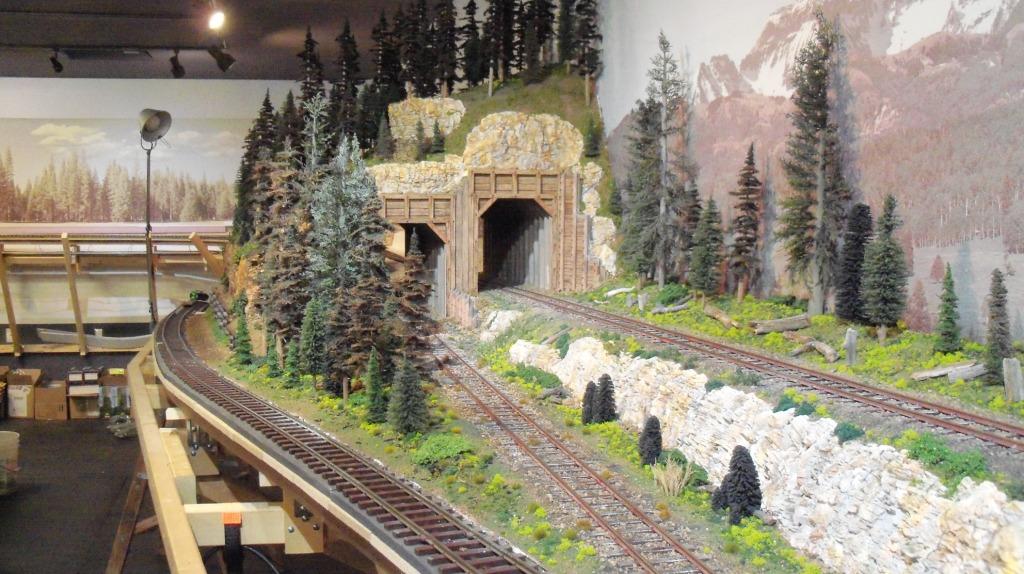
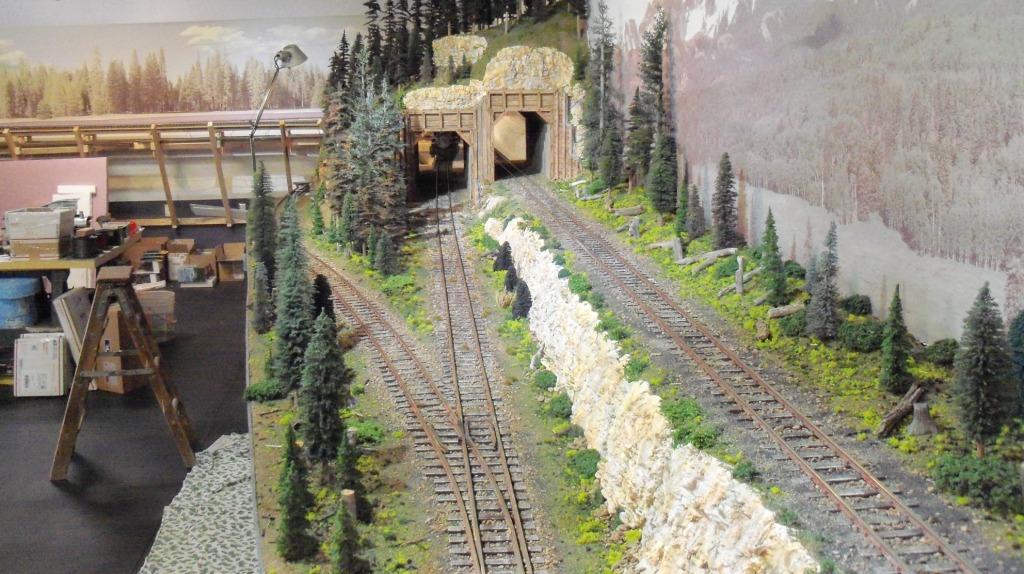
I wanted to add something to change the look so best choice was another tunnel.
I built up the walls first and colored them and added ballast to the track. Then covered and added rock castings to the front, back and partially inside on the ceiling of the tunnel.
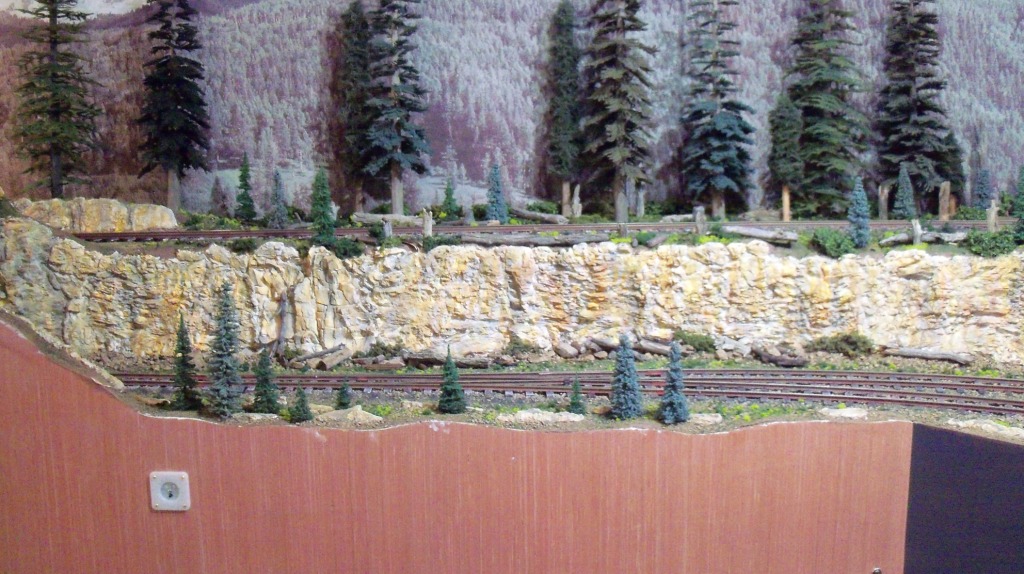
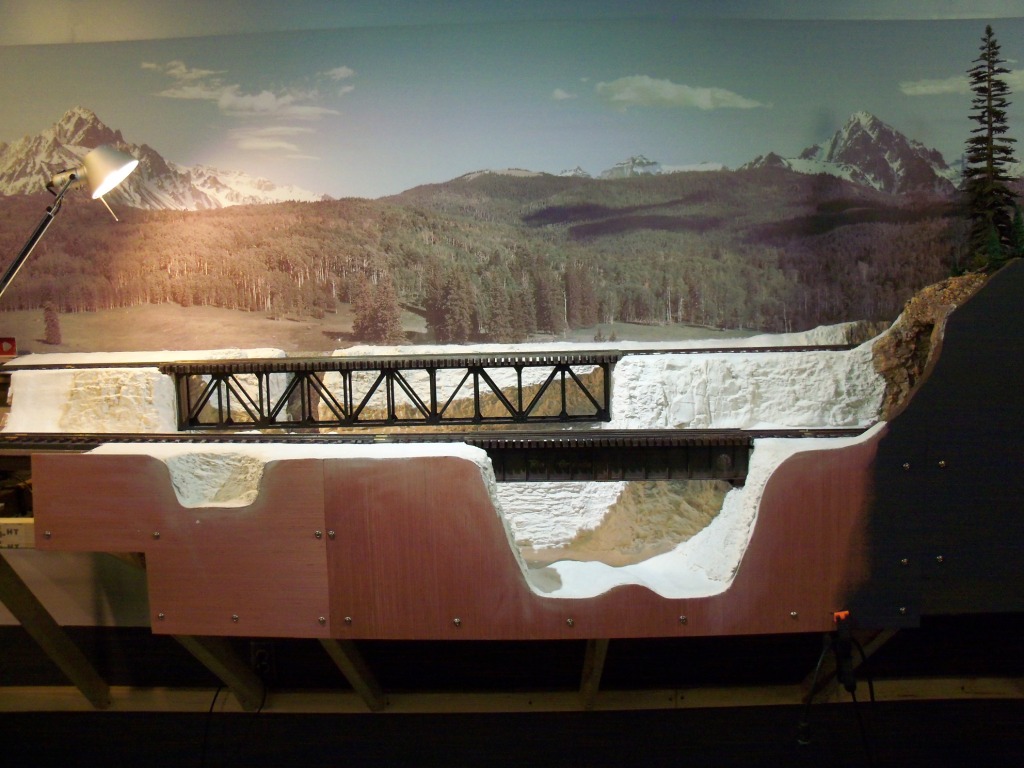
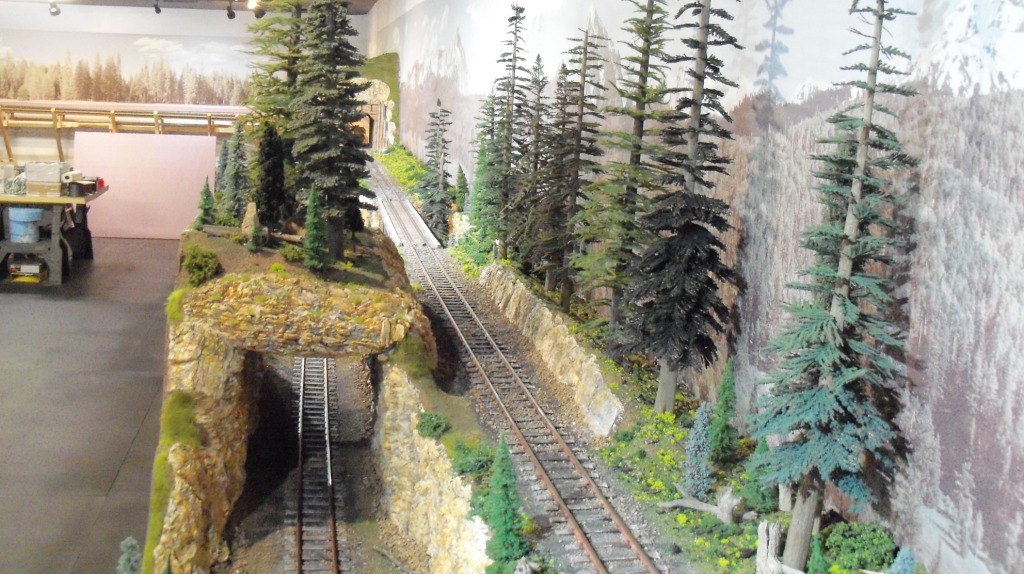
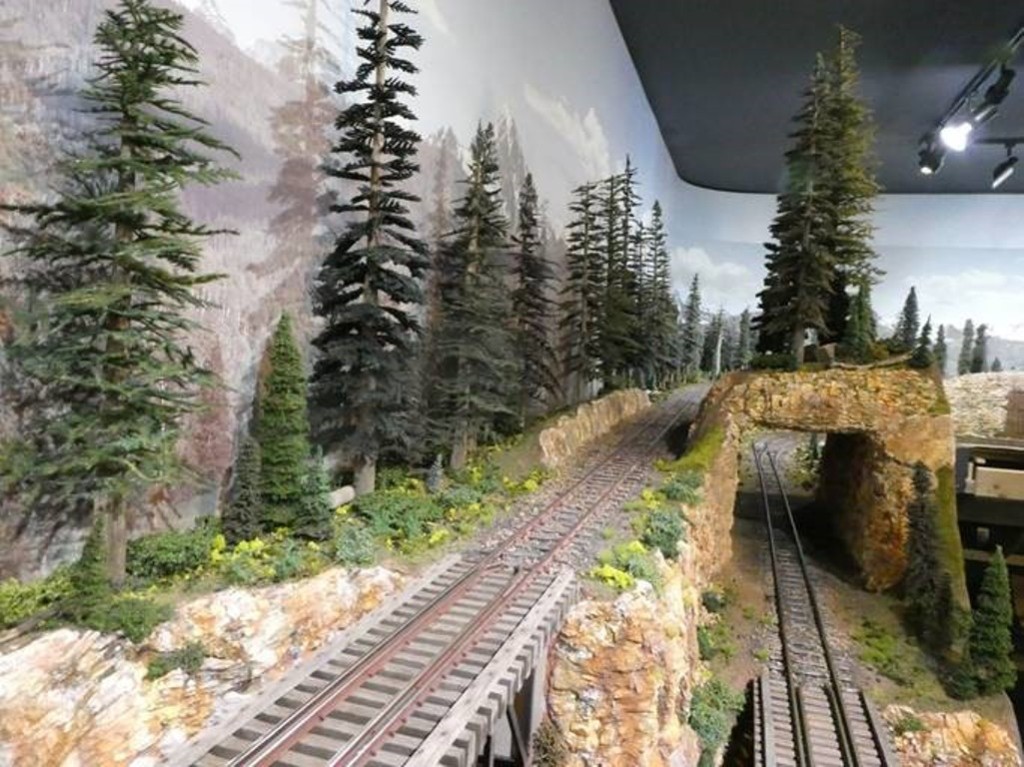
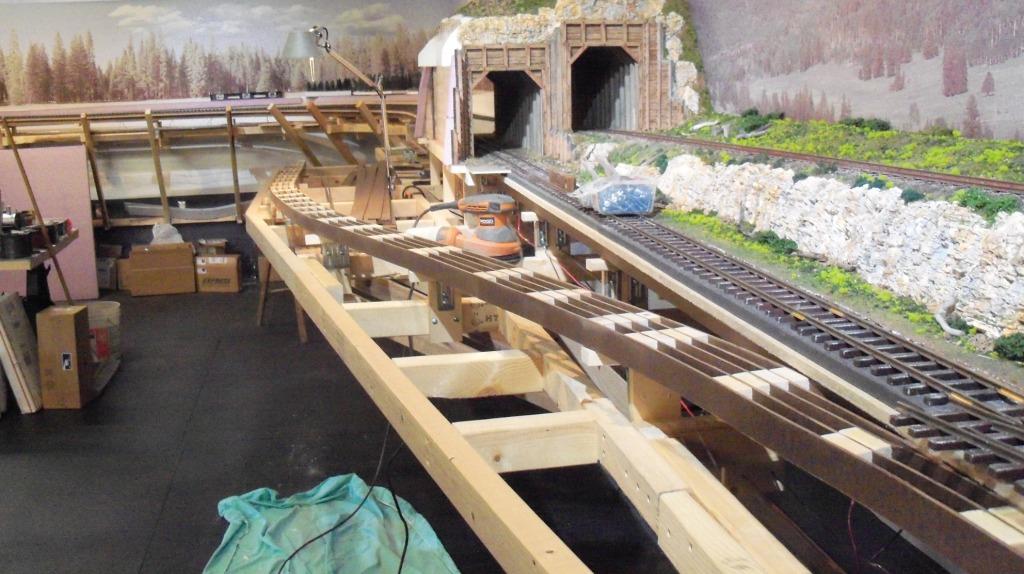
Wider angle
A bit fuzzy but the west end of the tunnel.
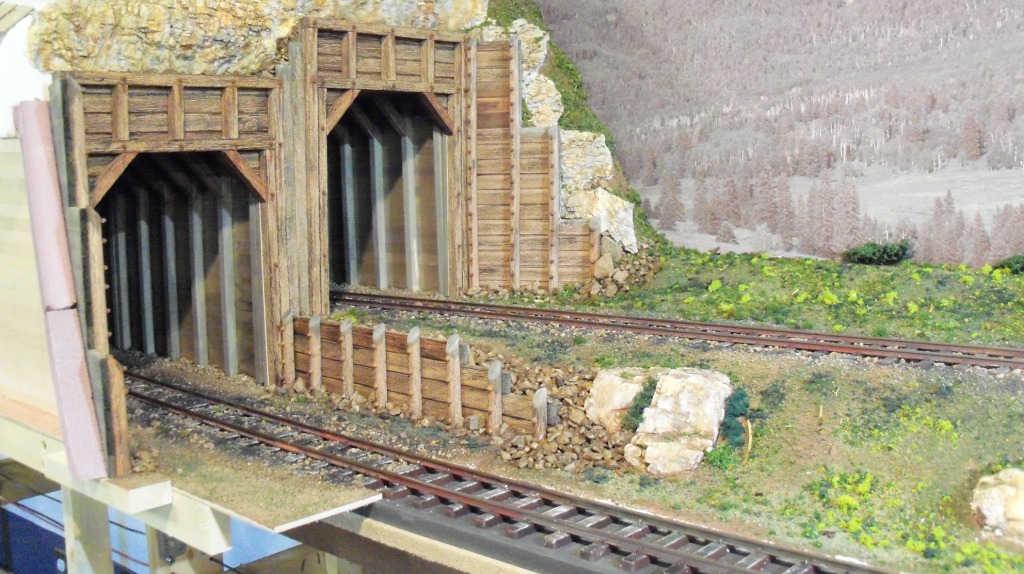
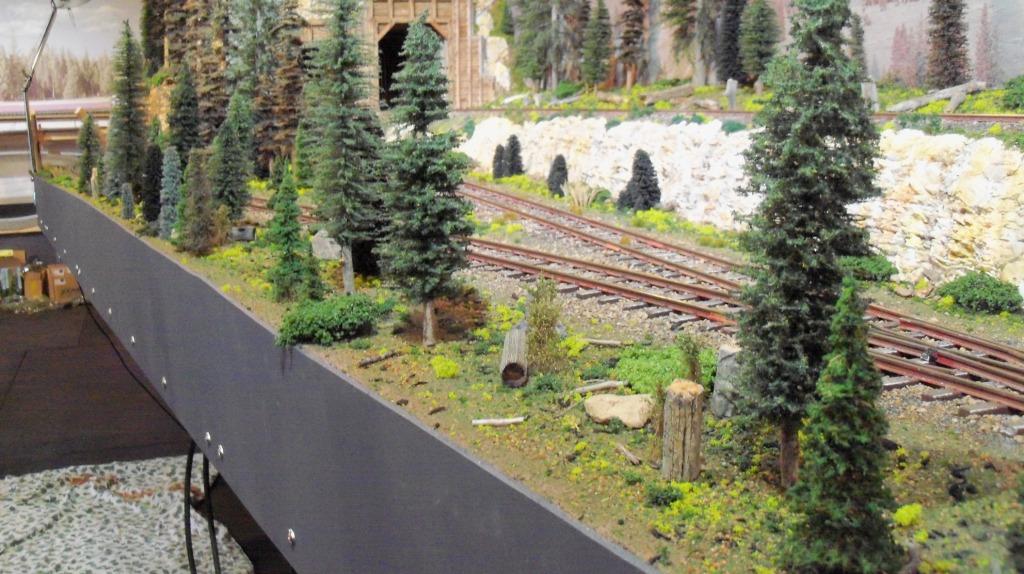
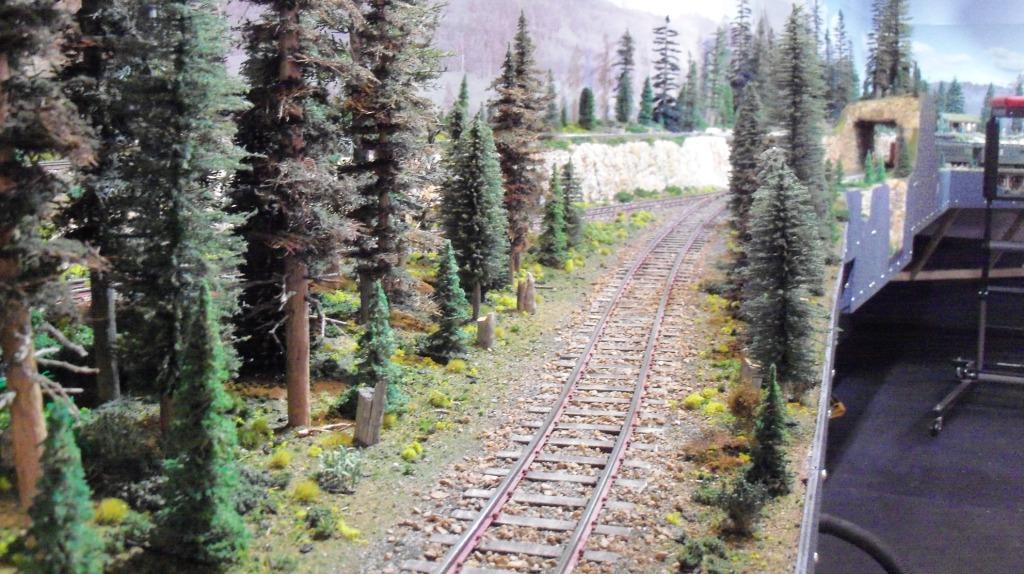
Adding trees and brush.
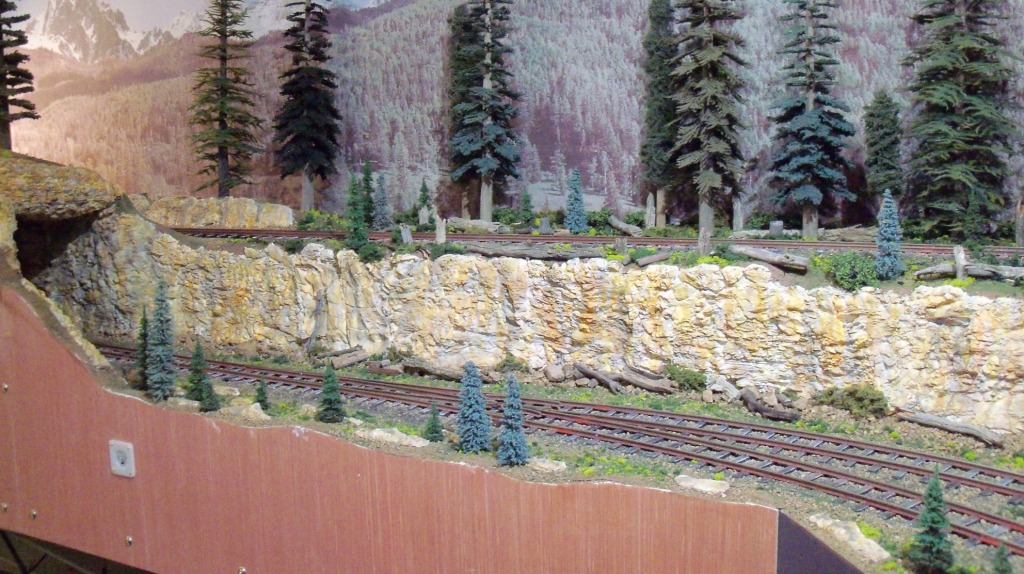
A different angle.
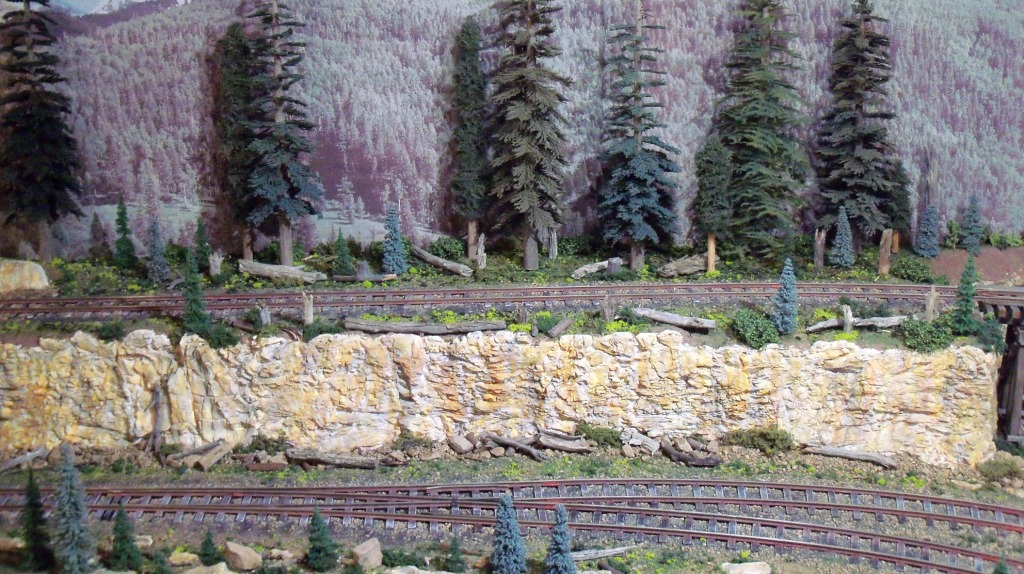
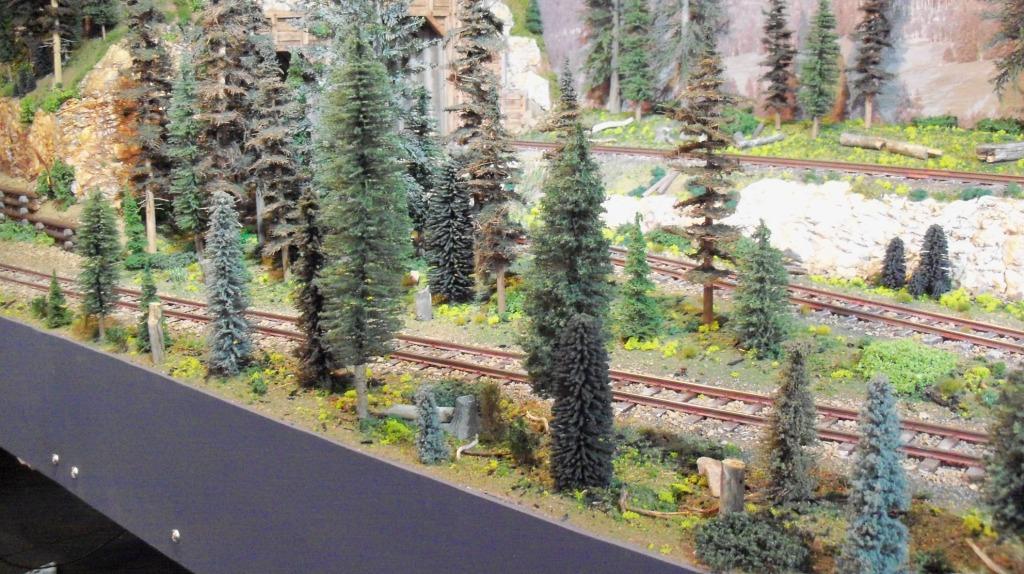
Yet another angle.
Kind of the same but the fascia board is painted.
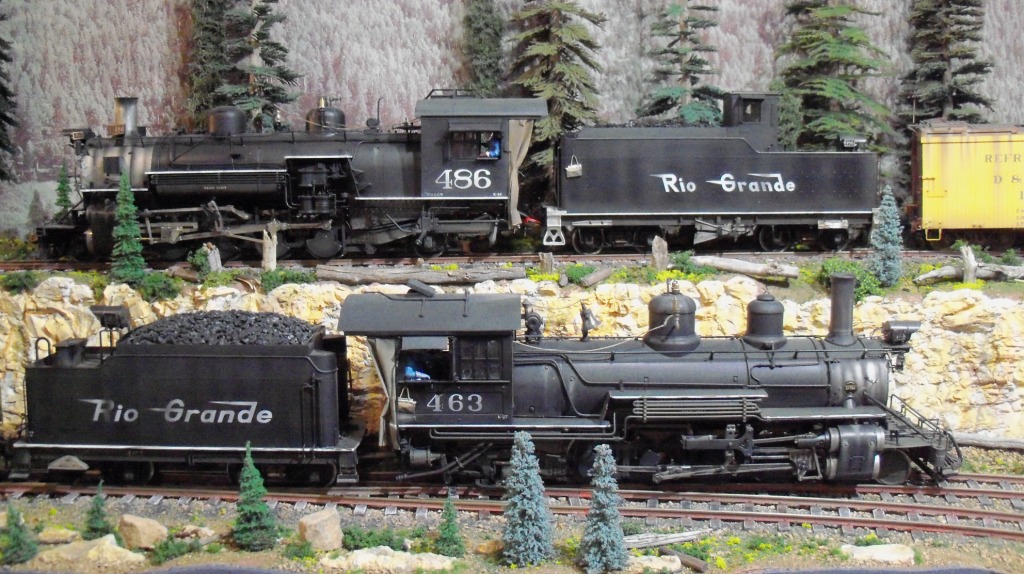
Berlyn K-36 and Accucraft K-27
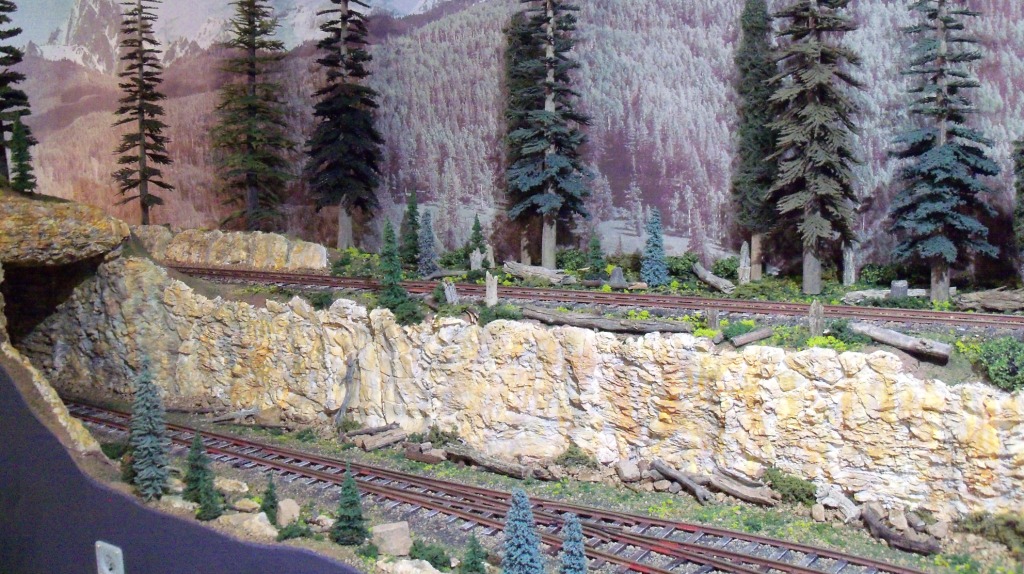
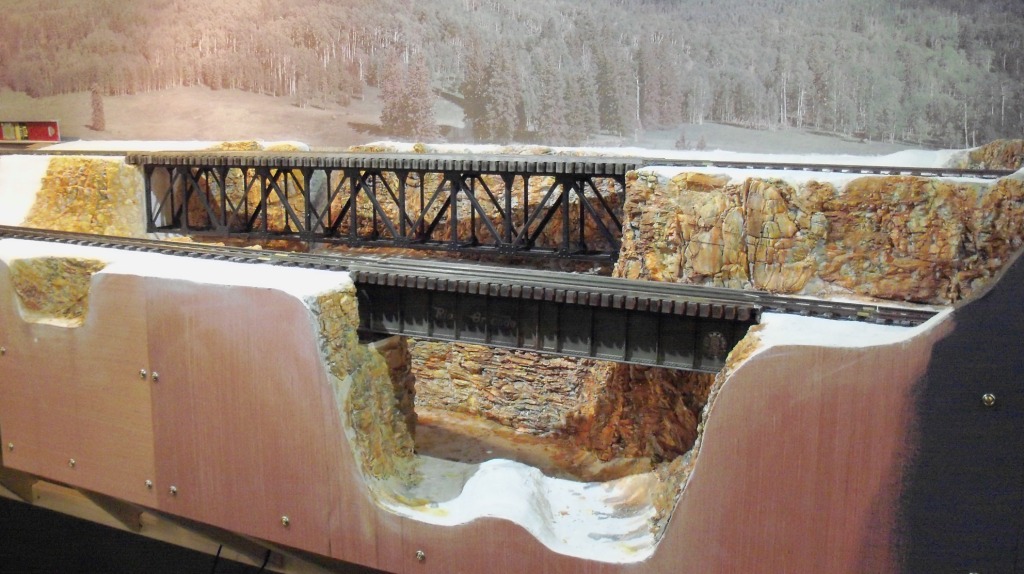
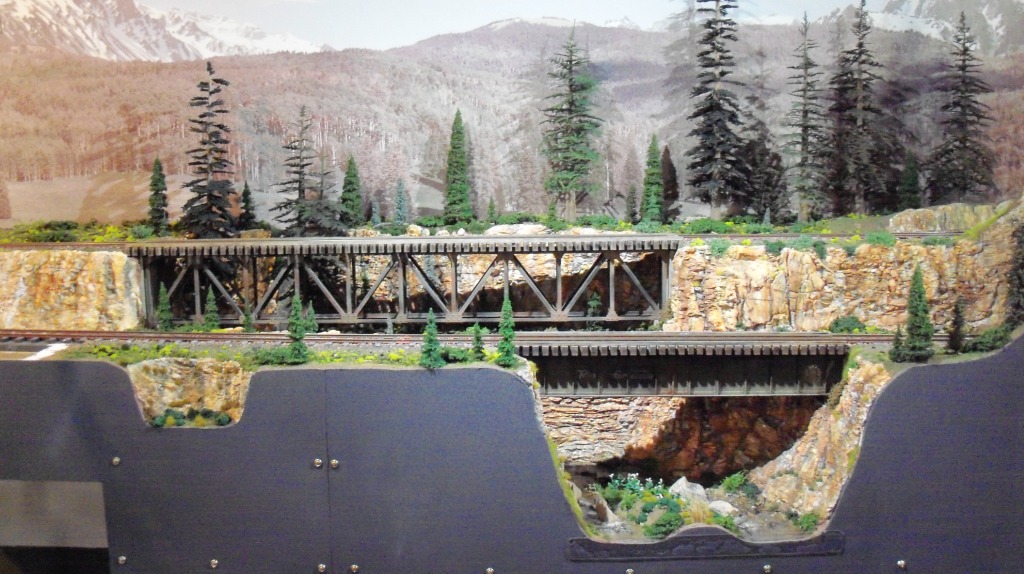
Remember back to this? This canyon gets worked next.
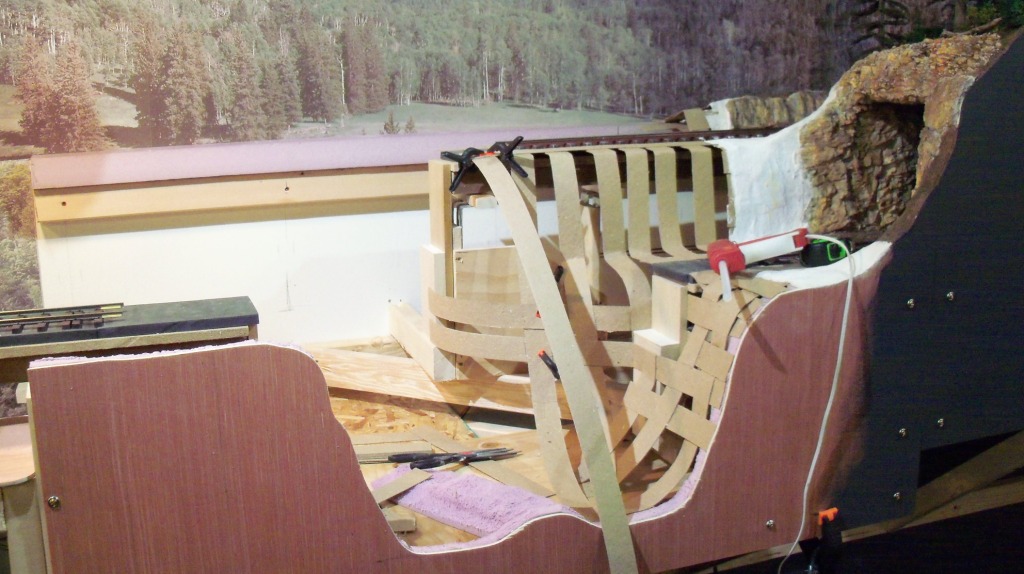
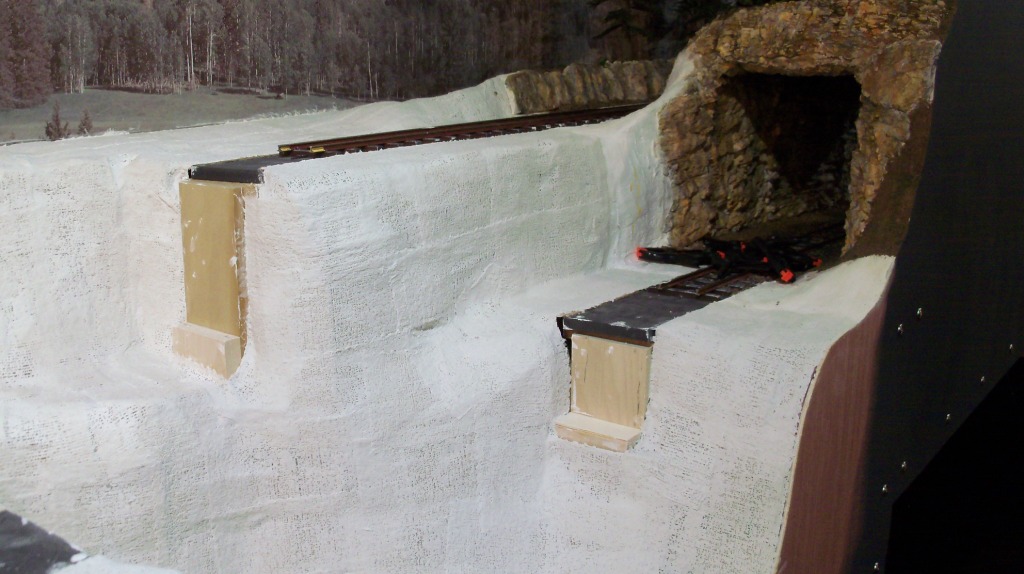
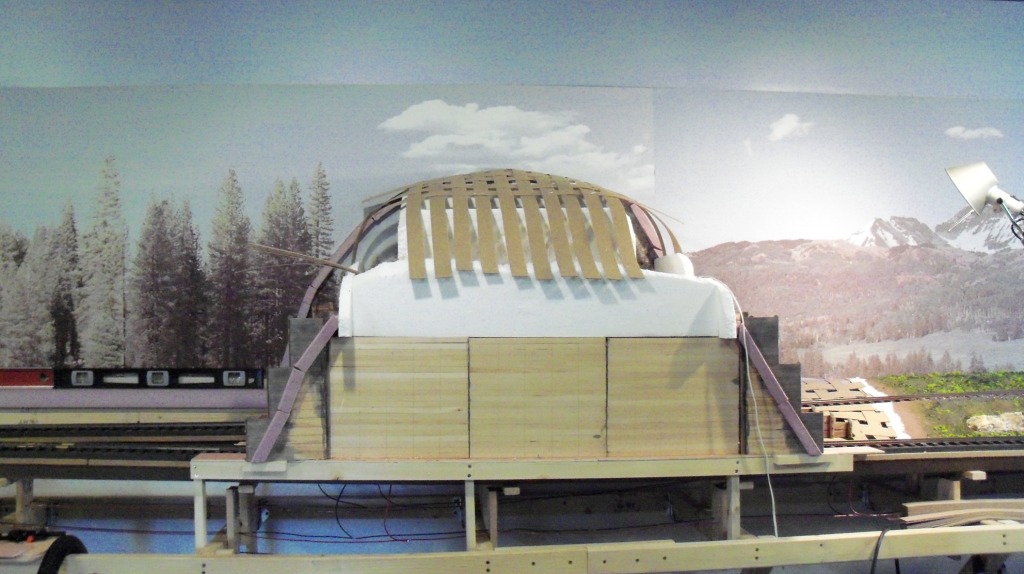
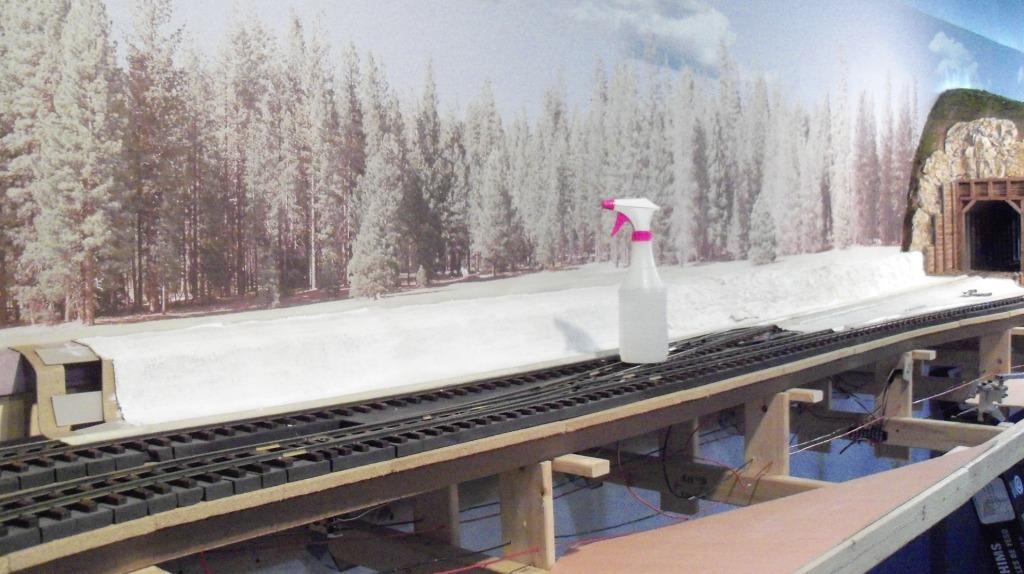
The attack of the shim stock!!
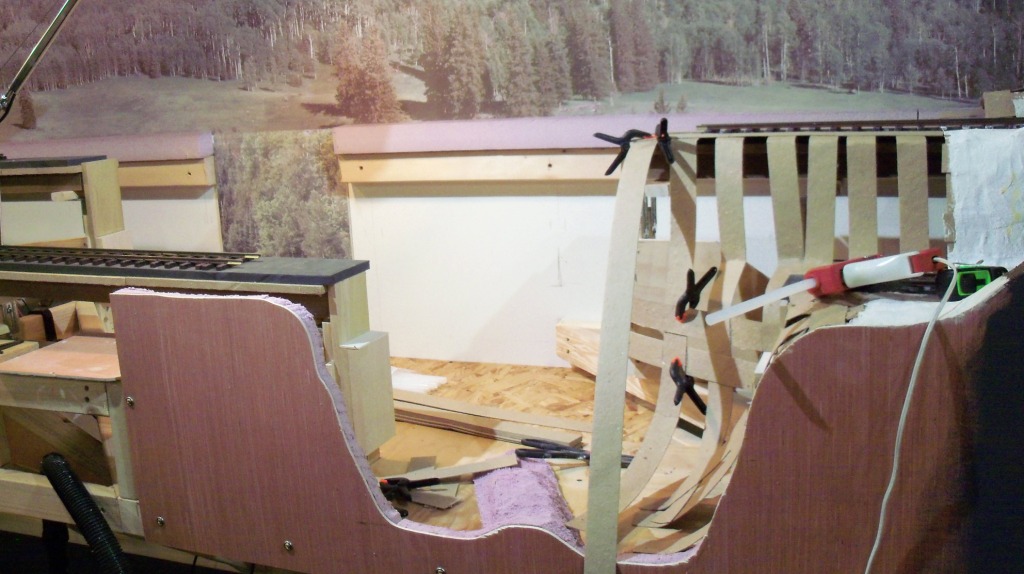
Long way to go.
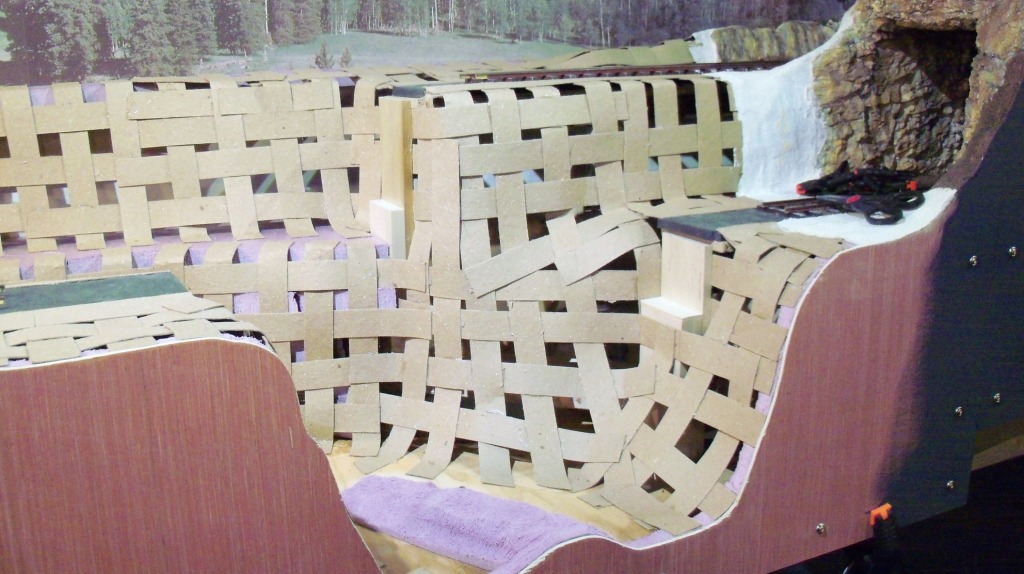
Finished with the shim stock.
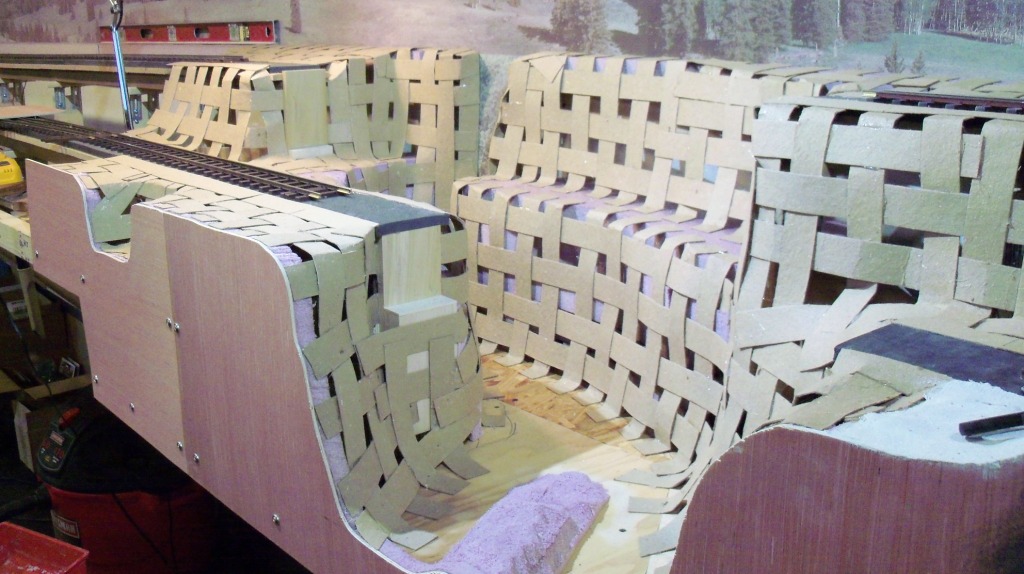
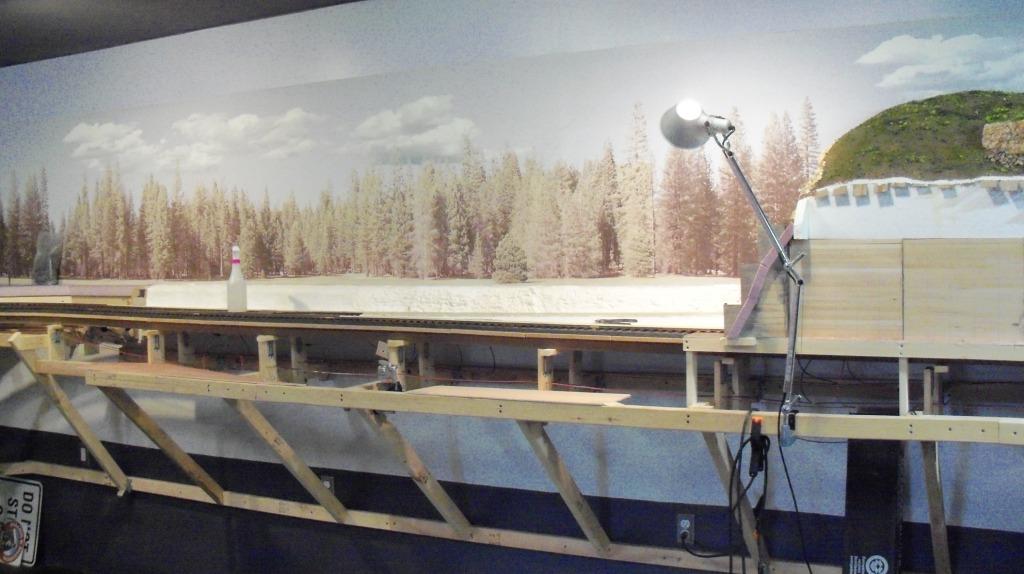
Another angle.
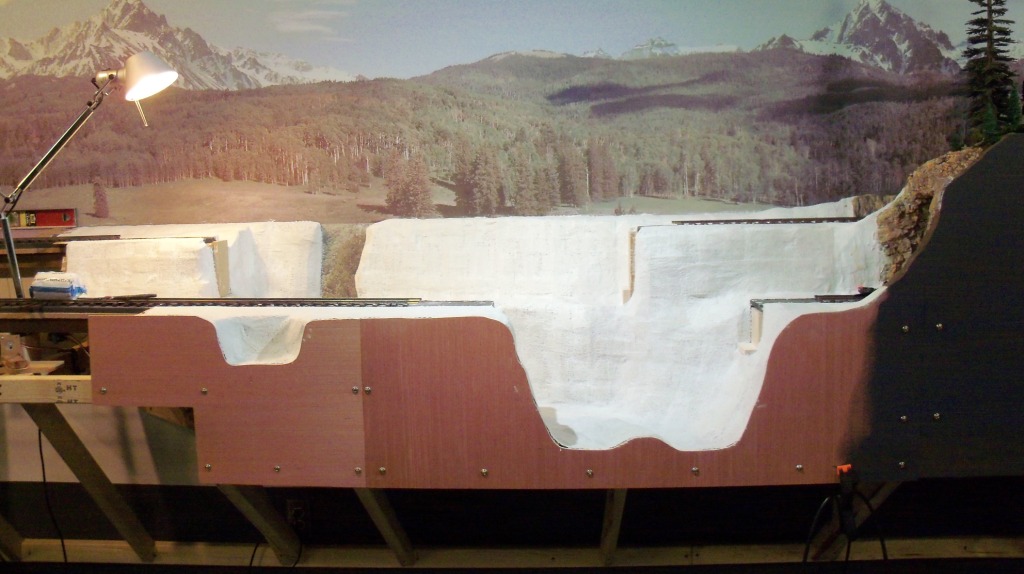
Plaster cloth applied.
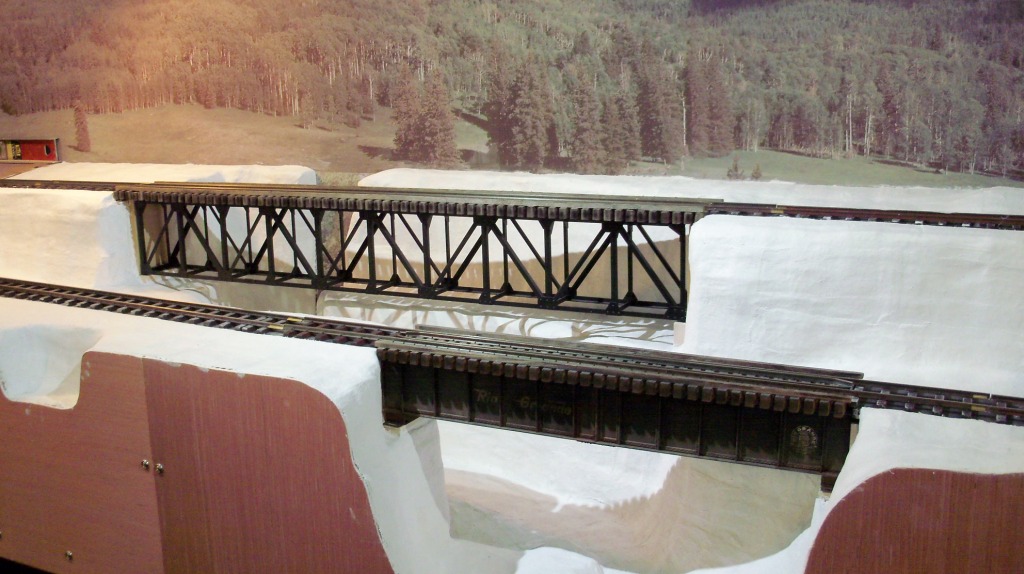
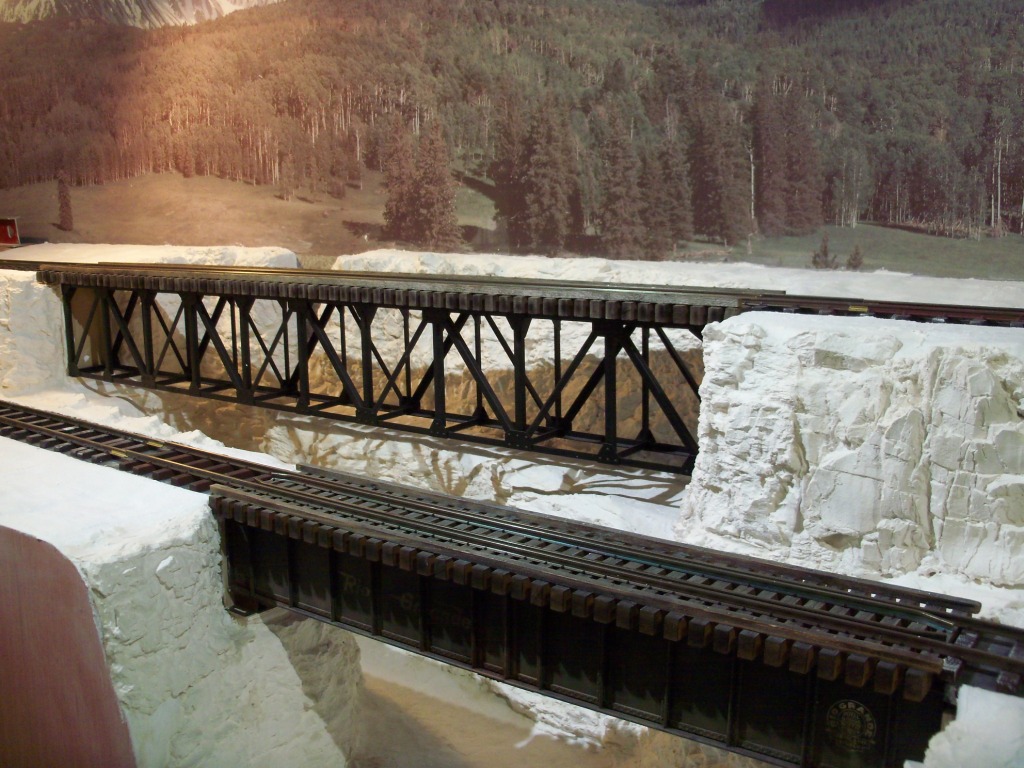
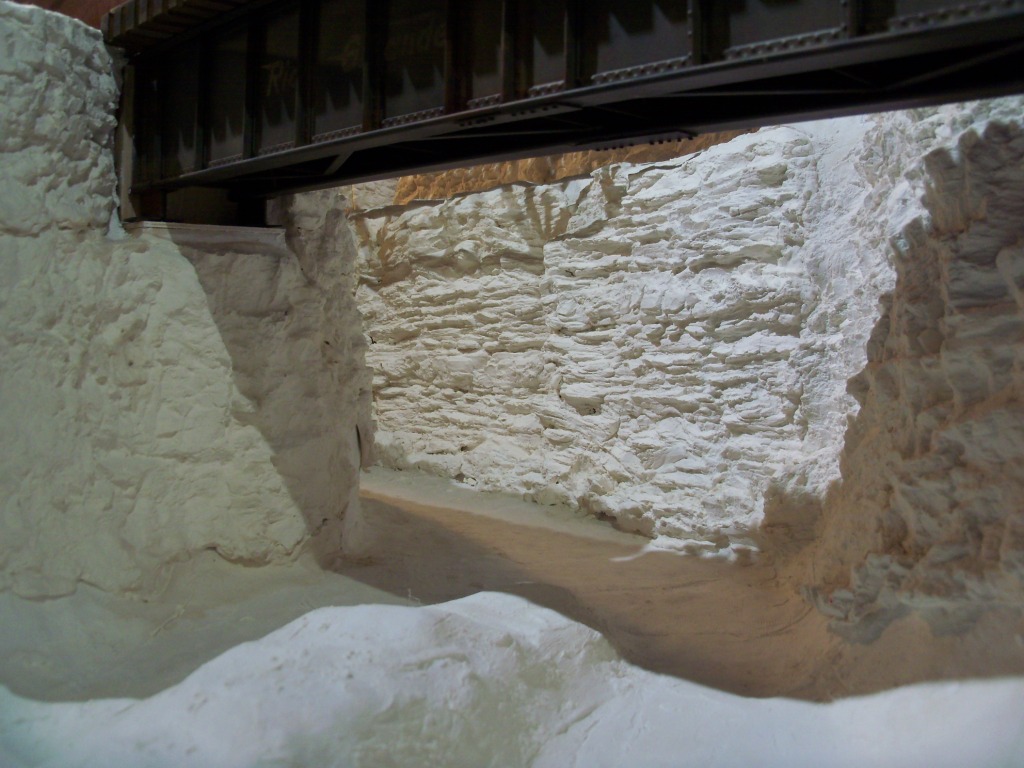
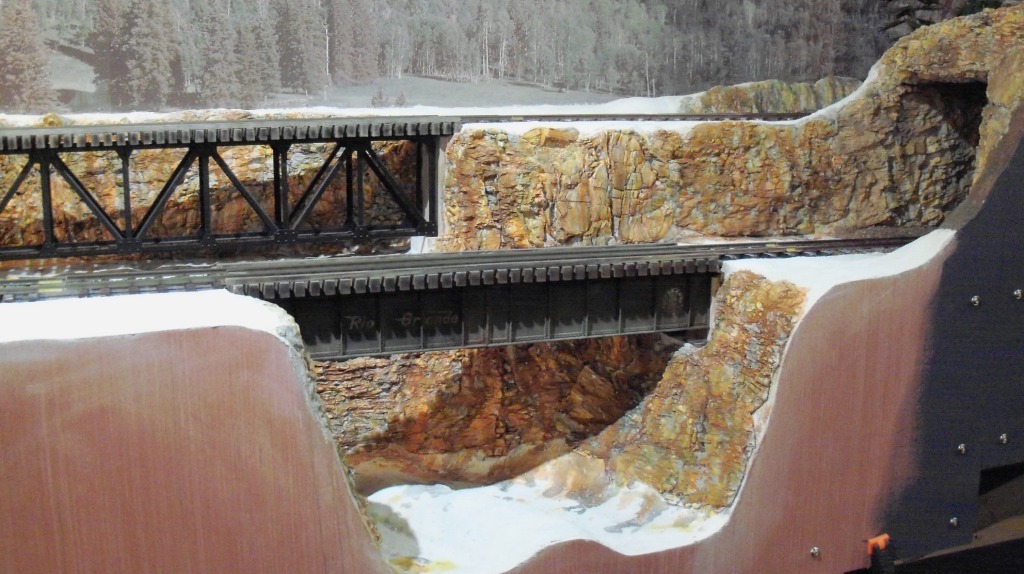
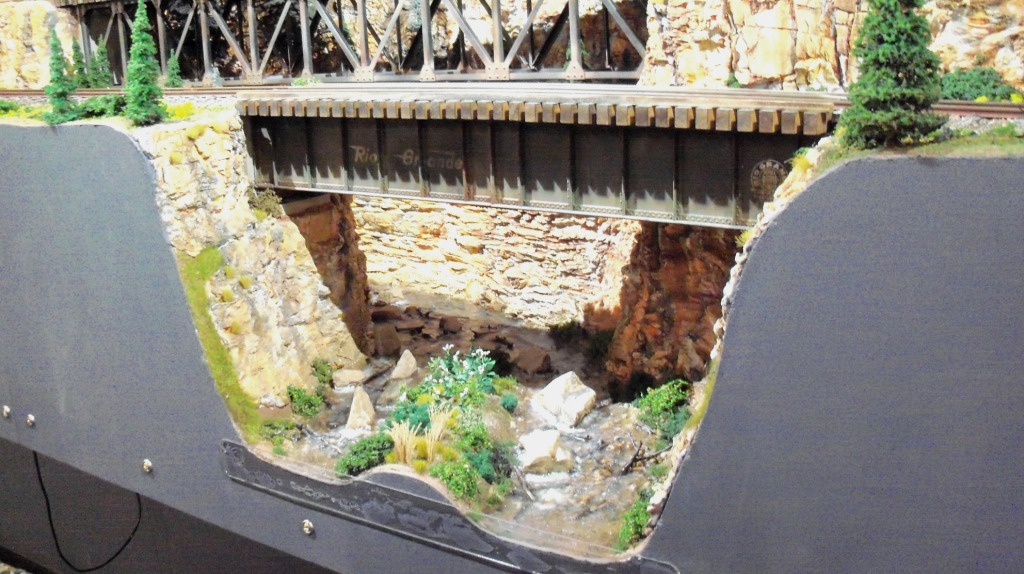
With bridges in to verify clearance at the ends. Every time I add scenery to where a bridge fits in, I verify clearance and cut away any obstructions.
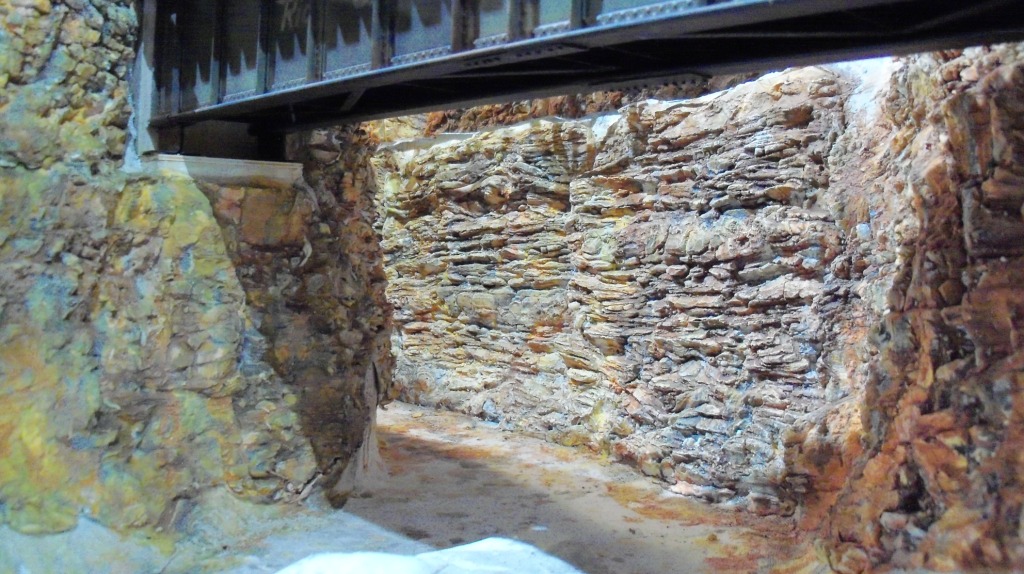
With all the rock castings applied.
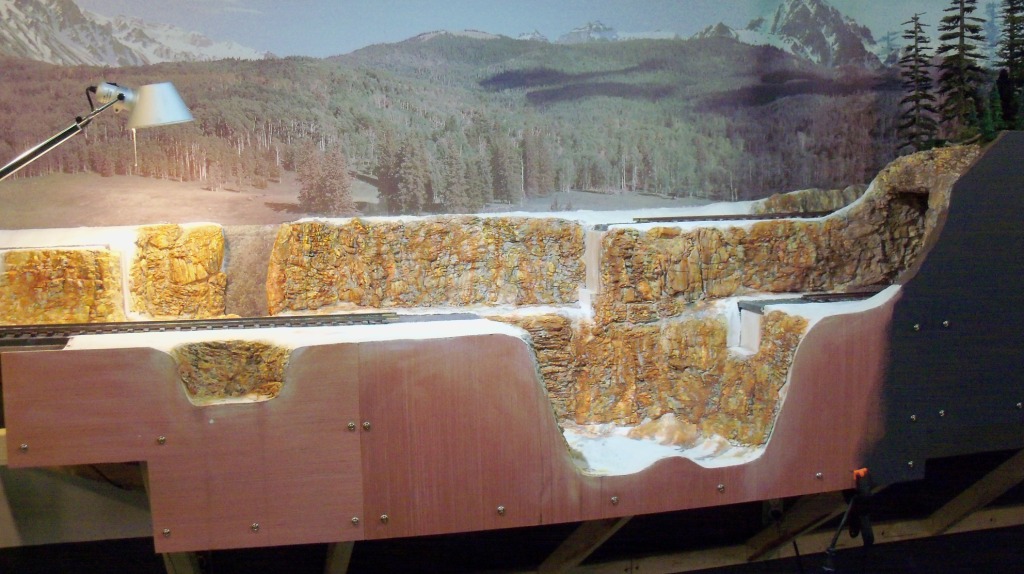
Again, my version of leopard spotting
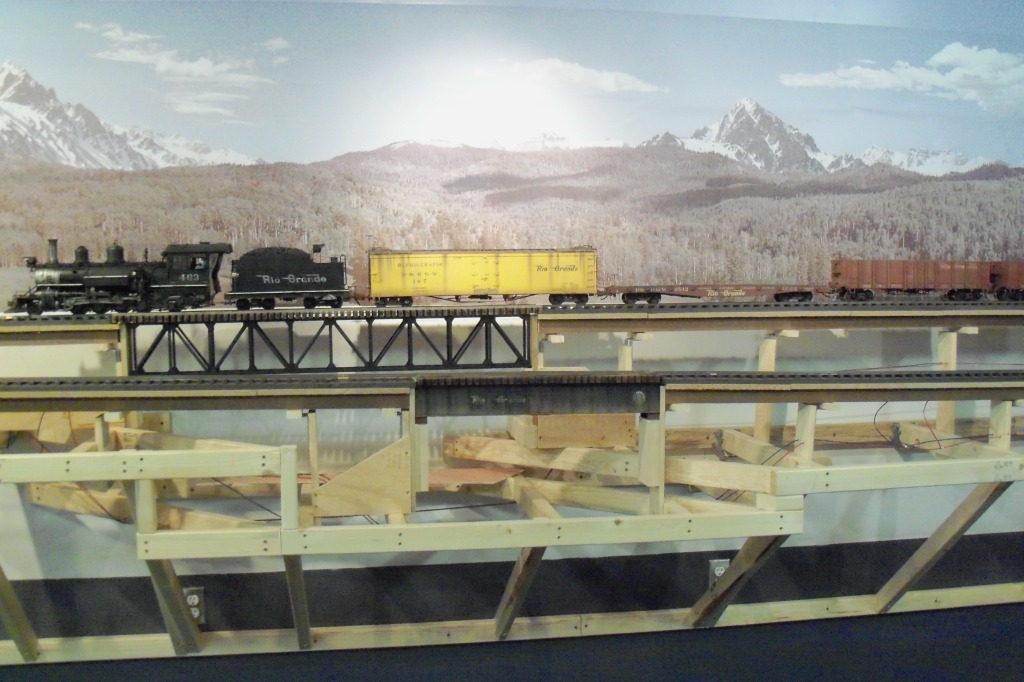
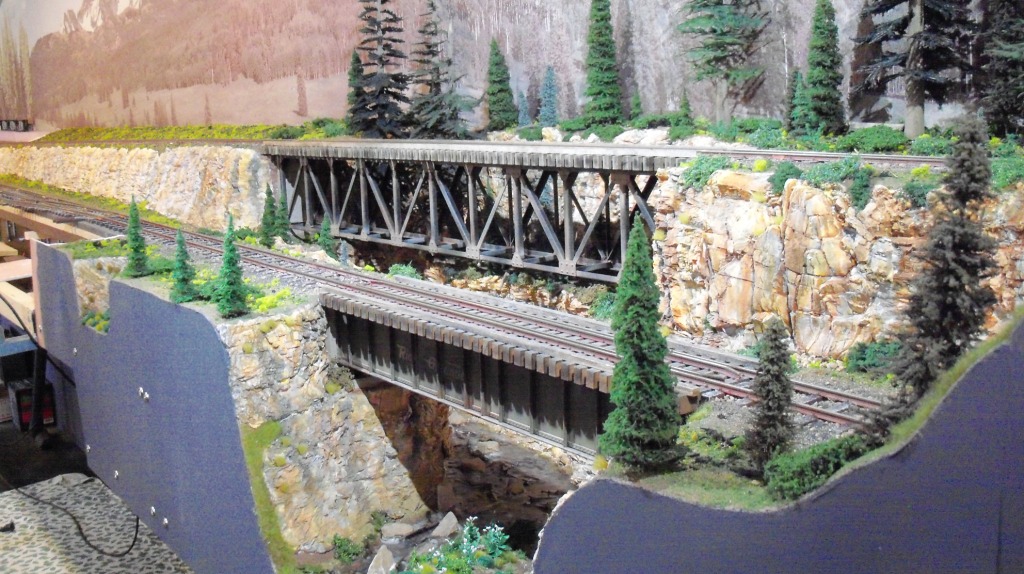
Bridges in place for another test.
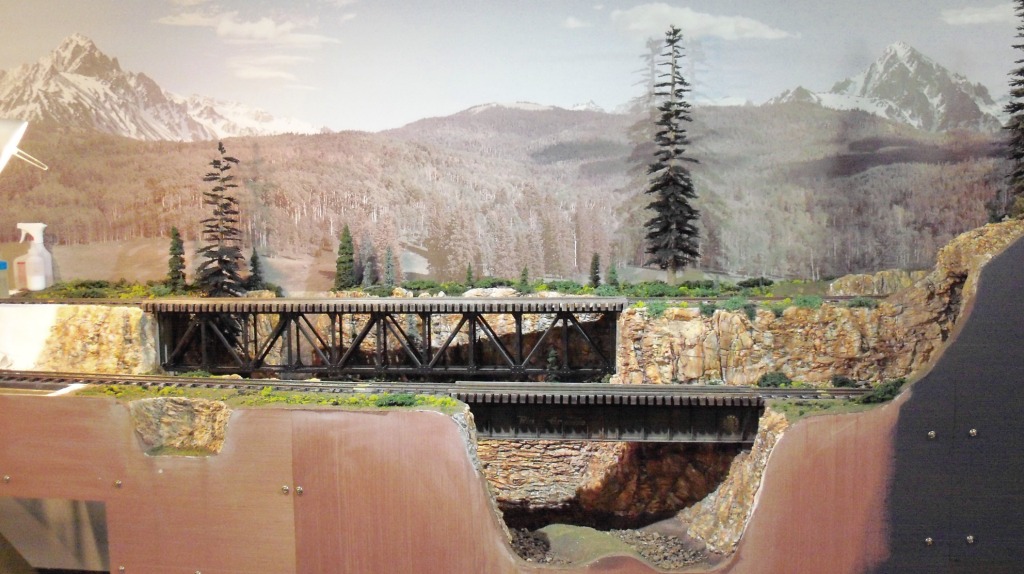
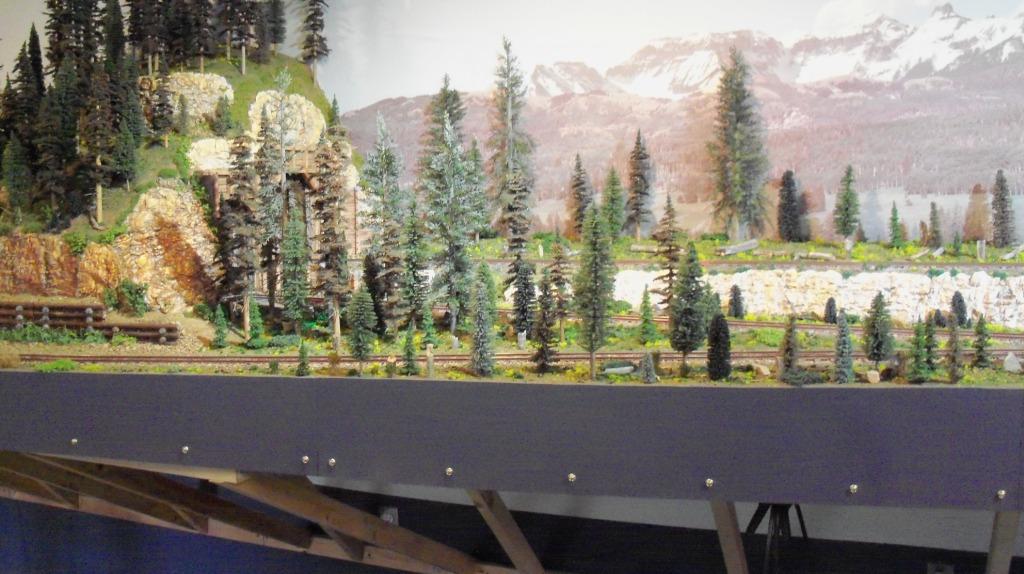
Getting a little scenery applied.
More scenery and the fascia painted.

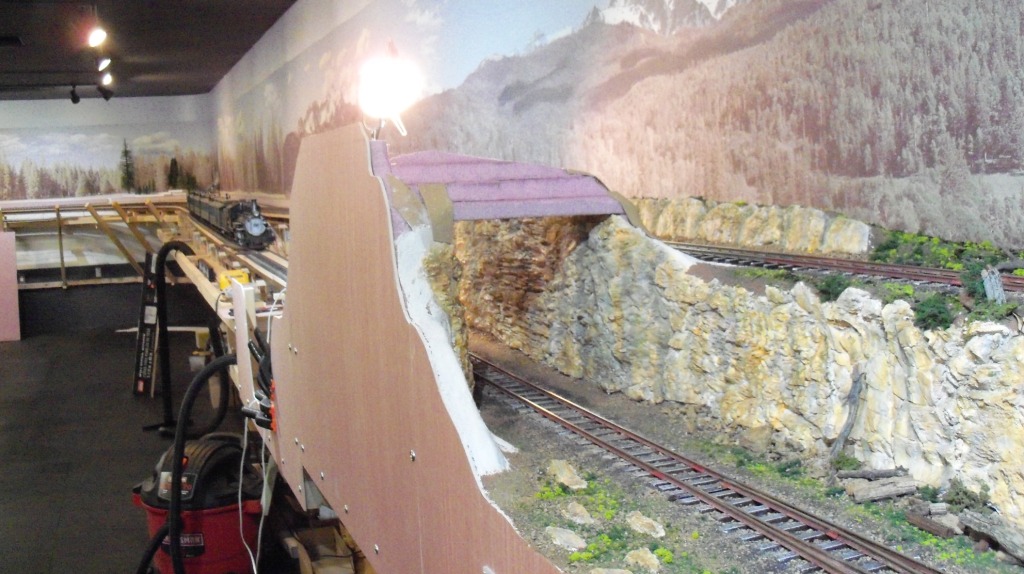
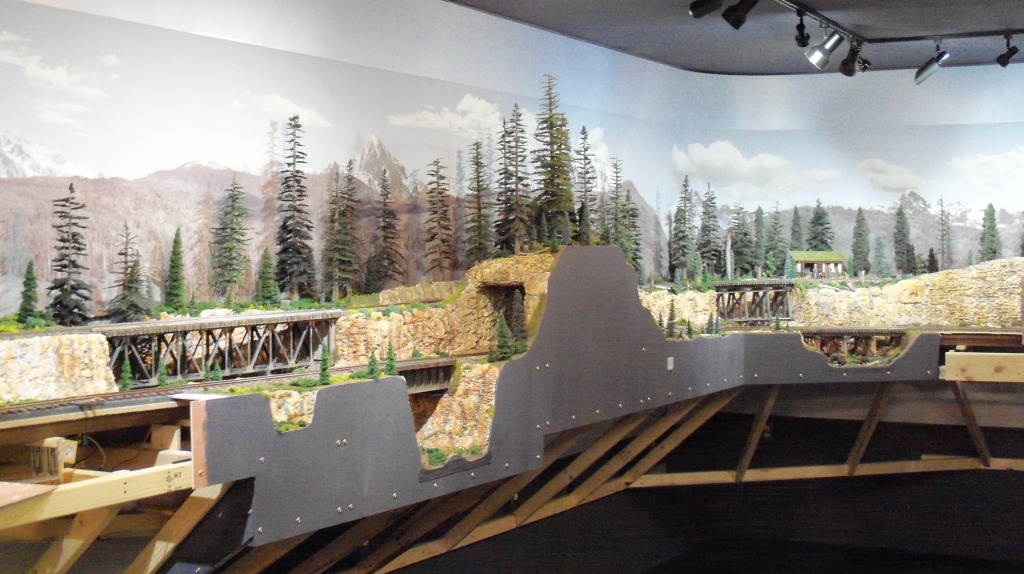
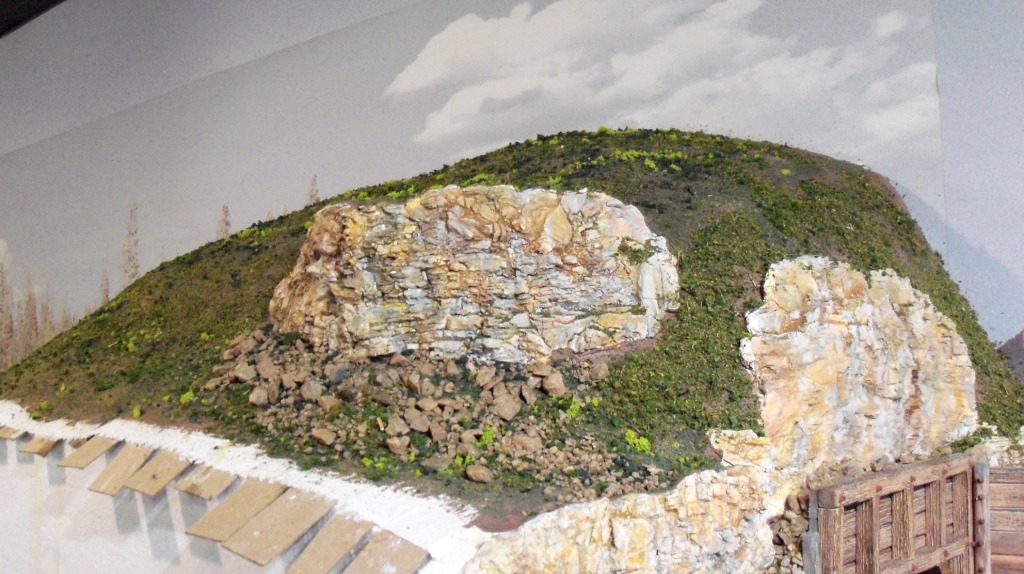
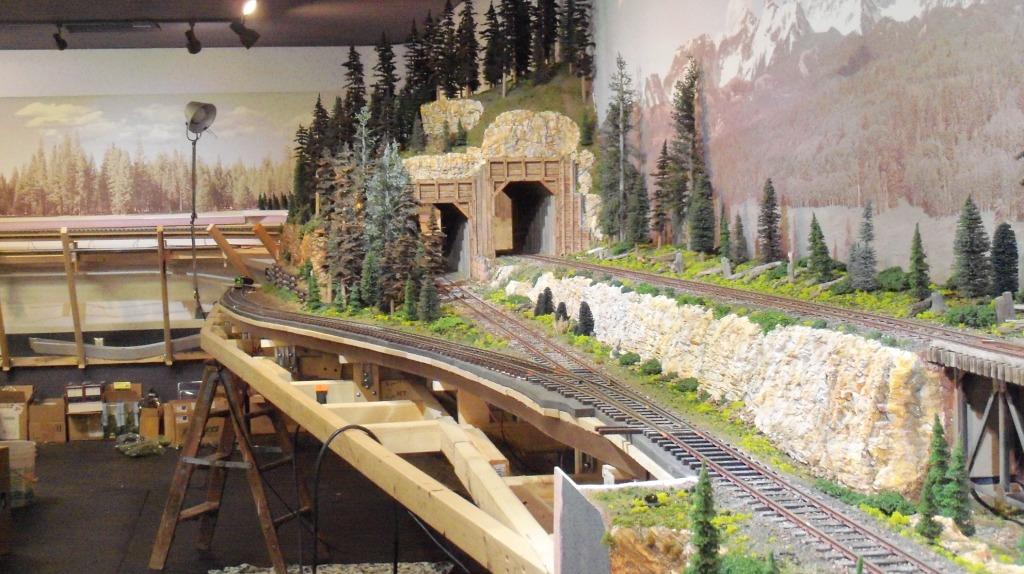
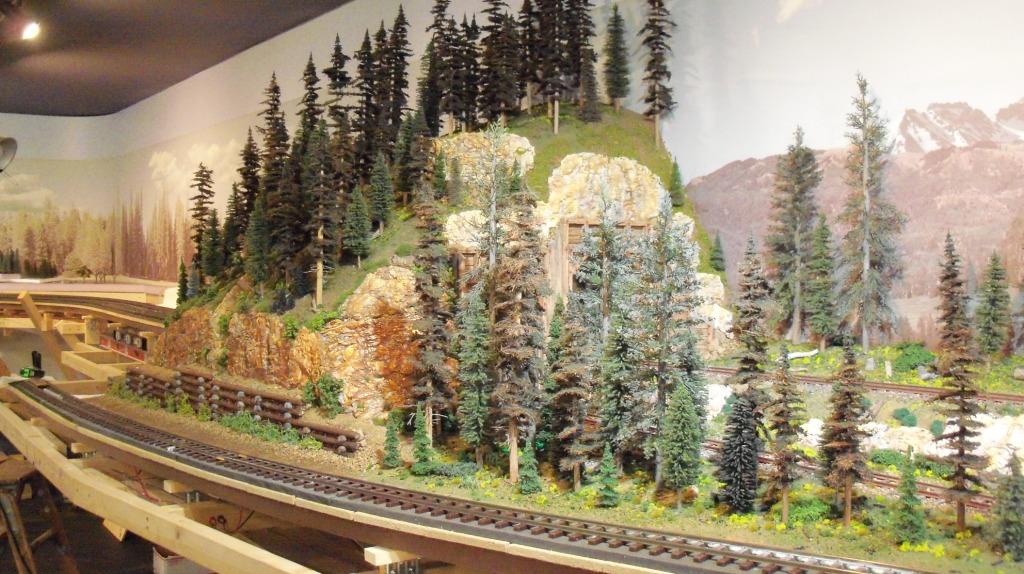
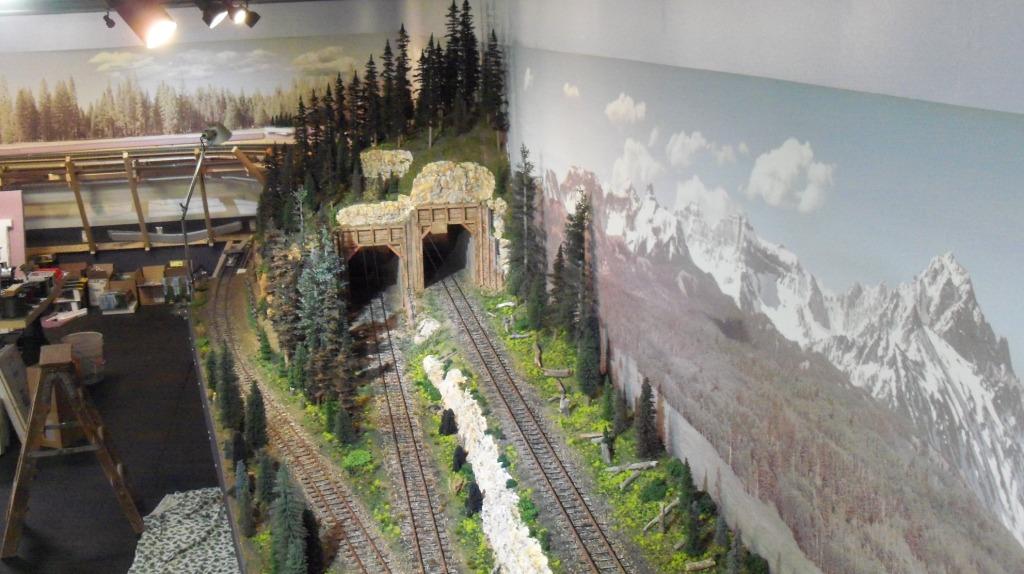
Where the backdrop changes from the San Juan mountains to plain forest, I needed a dividing point to separate them. On the south wall, the entrance tunnel satisfies it but I needed a mountain to satisfy it on the north wall. As you can see, the outer edge is not finished. A turnout just west of the just finished canyon will feed my logging area. That track will swing out and around this mountain. I need to complete scenery on the mountain before I can build that section out.
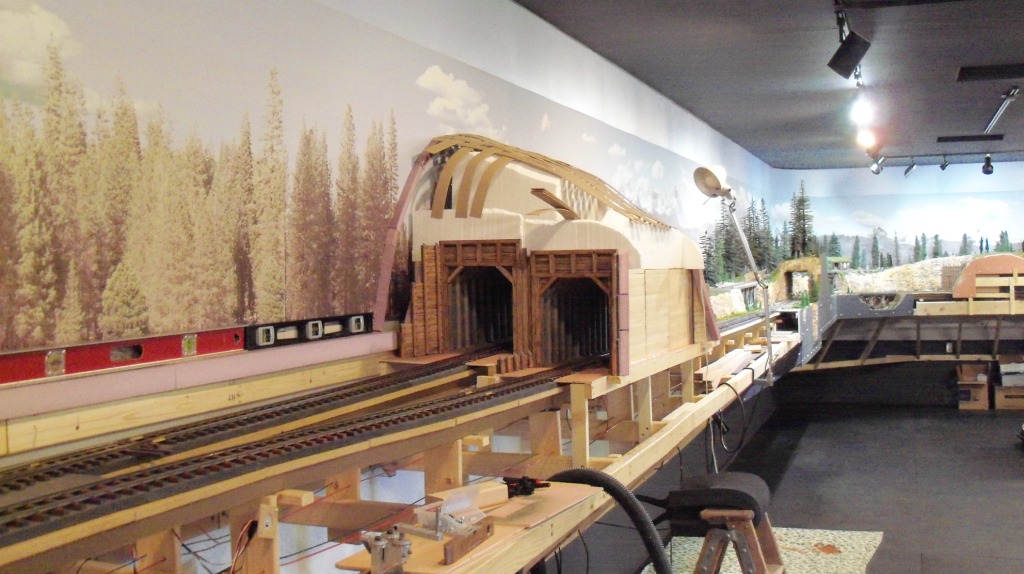
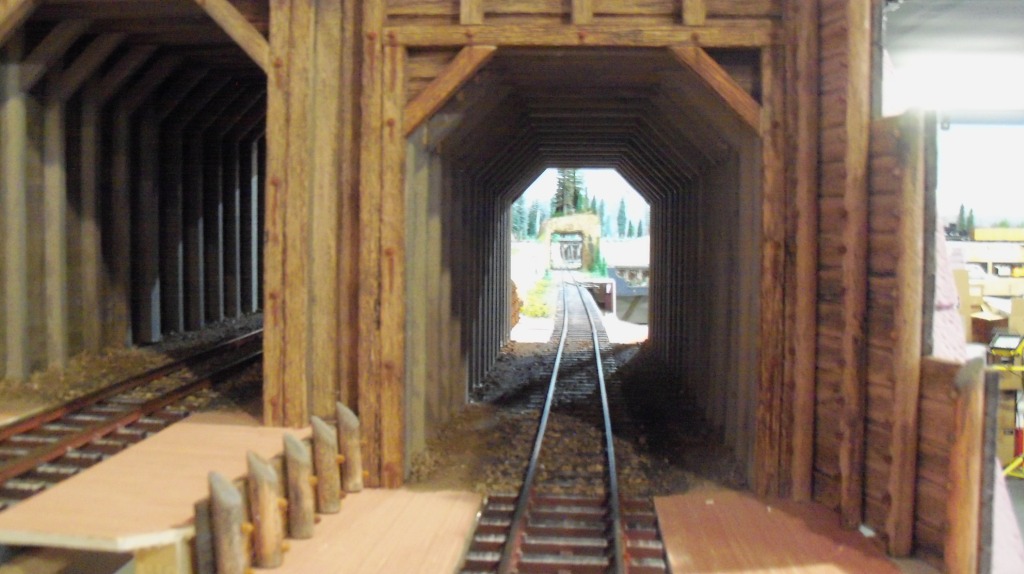
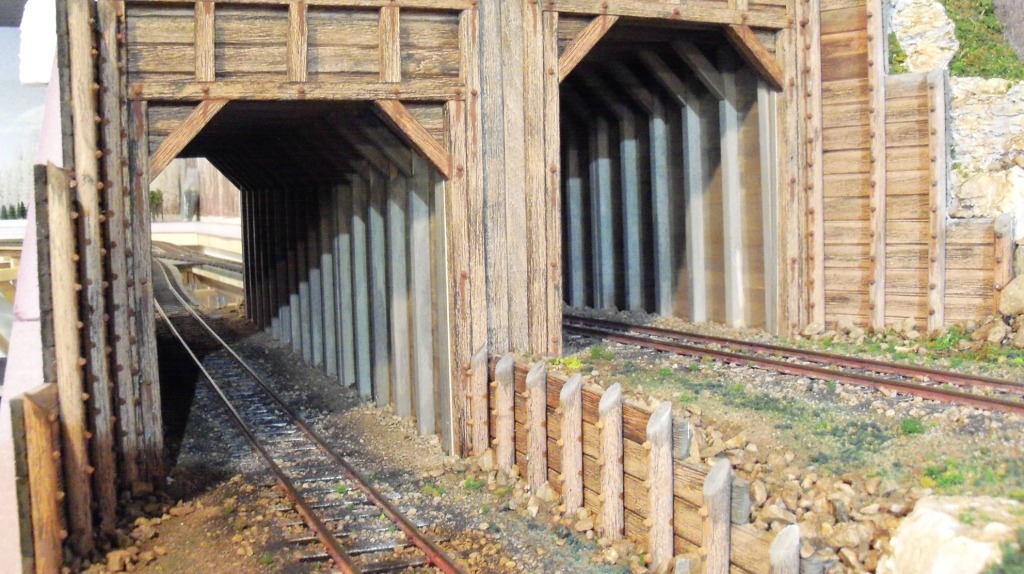
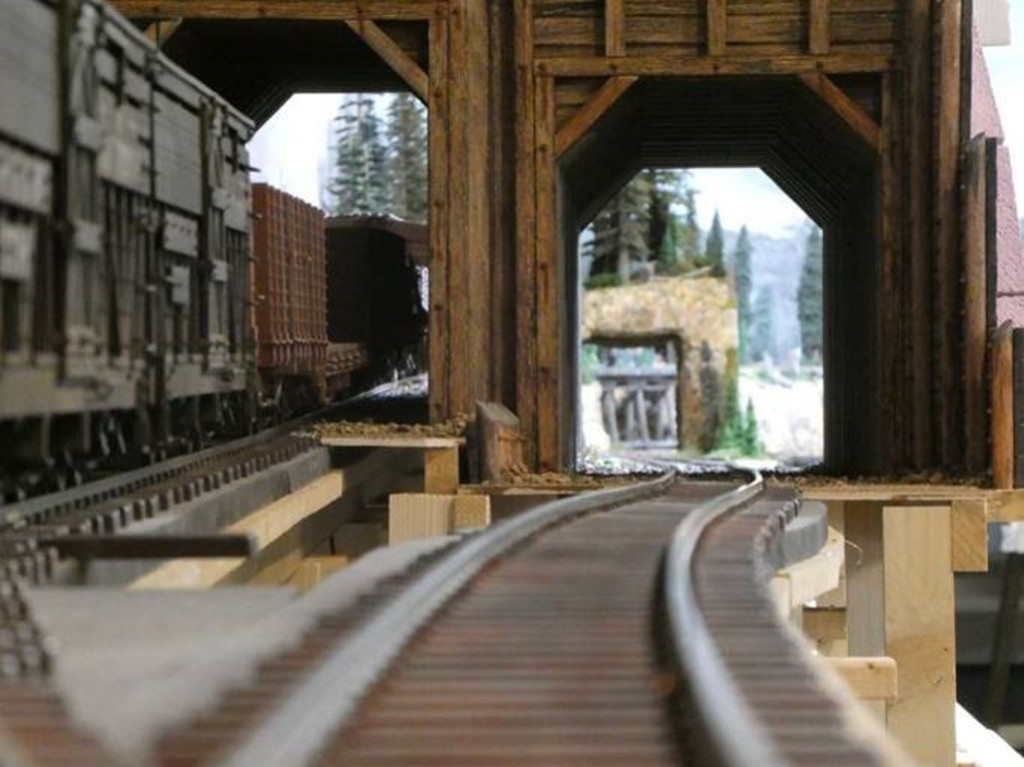
Once the logging spur is built out, leaning over to look through the tunnels will be near impossible. But just in case, I did a full interior of the tunnels.
A look back at north wall progress.
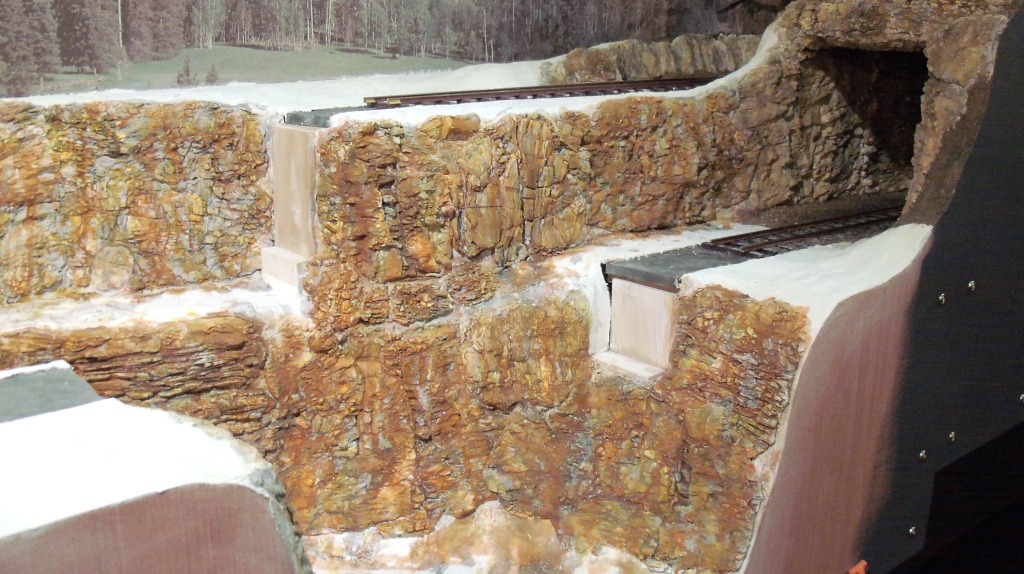
First layers of scenery on the tunnel entrance east side.
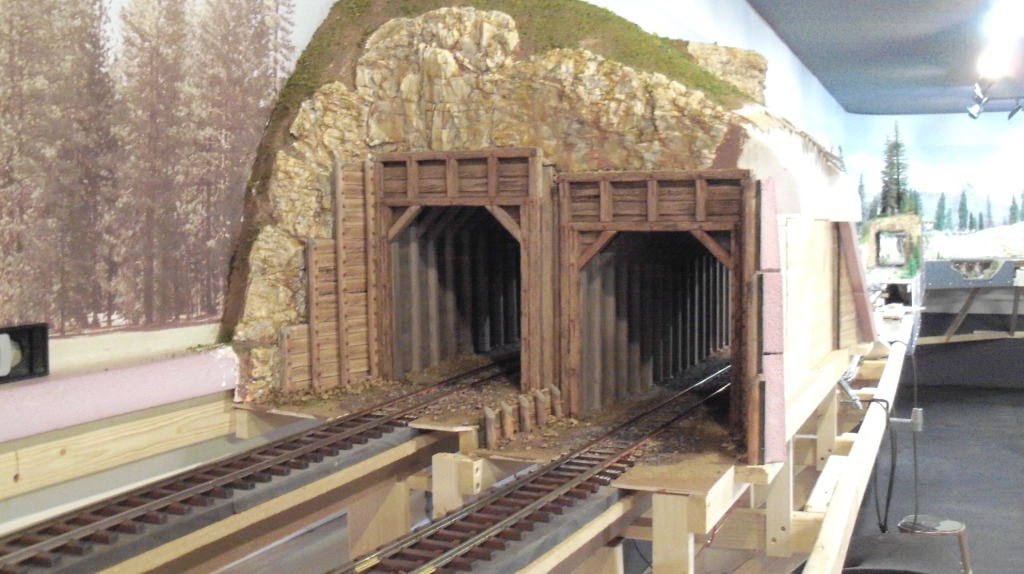
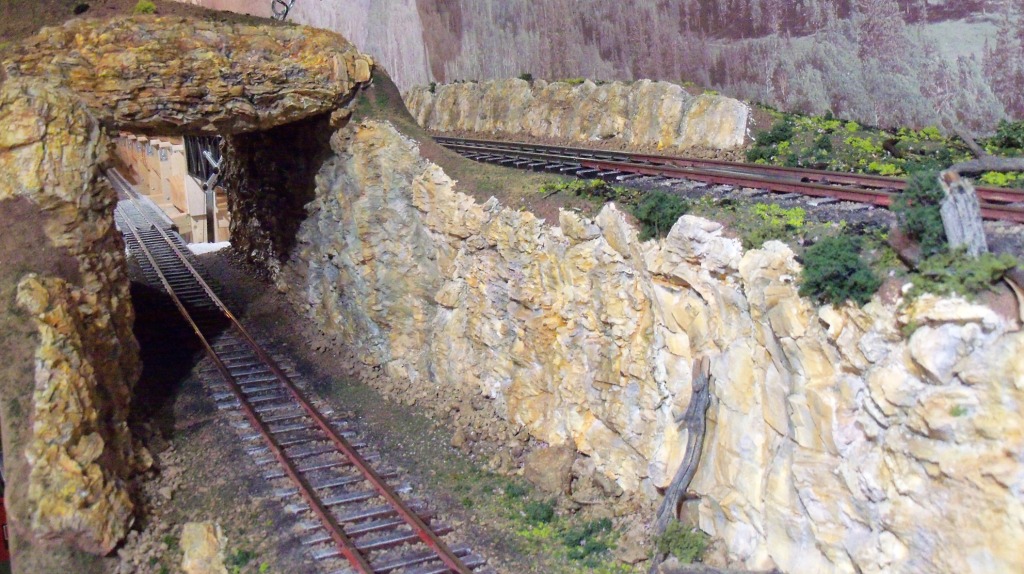
West end entrance.
On the lower right is the turnout that will feed the logging area.
I added an outcropping on top of the mountain for interest. As I said before, working with shim stock made this an easy change prior to adding the plaster cloth.
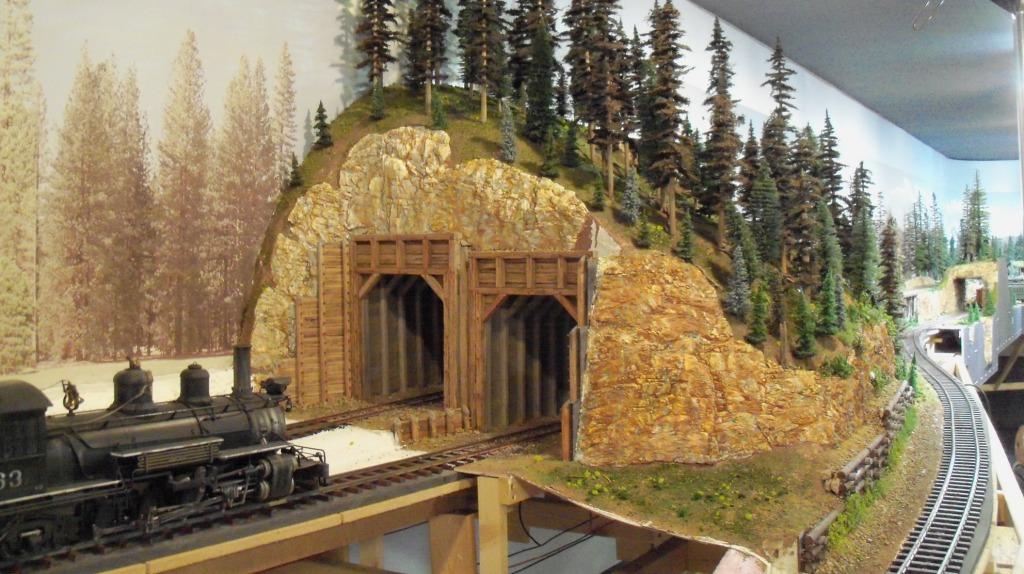
The grade is really 1.5%. This picture sure makes it look like 5 or 6%.
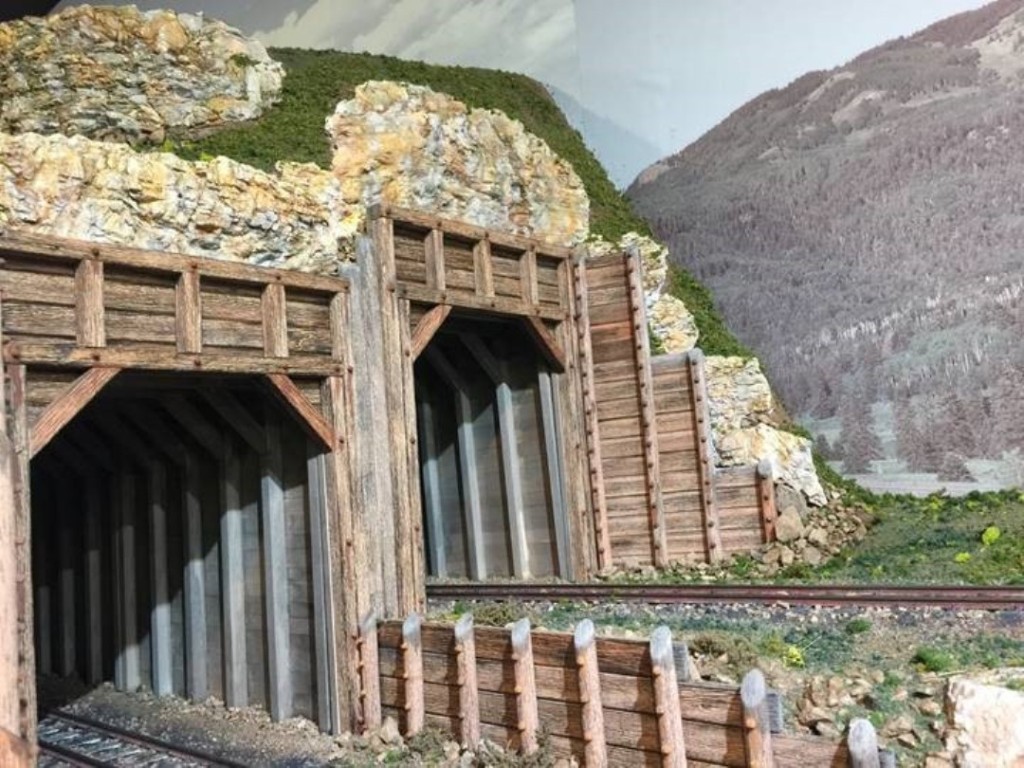
This angle sure make the tunnel entrances look tall!
The north wall is not finished yet. Have another 15-20 feet to go to the north west corner. I have several other projects going on but hope to complete the north wall soon.
There's a dozen of us old farts that get together once a month. May 1st, the gathering was here. One of the guys posted a video on YouTube with 3 sections of my trains in action and 1 section of one of the guys MoLoCo Buffalo Shay in action. Here's the link:

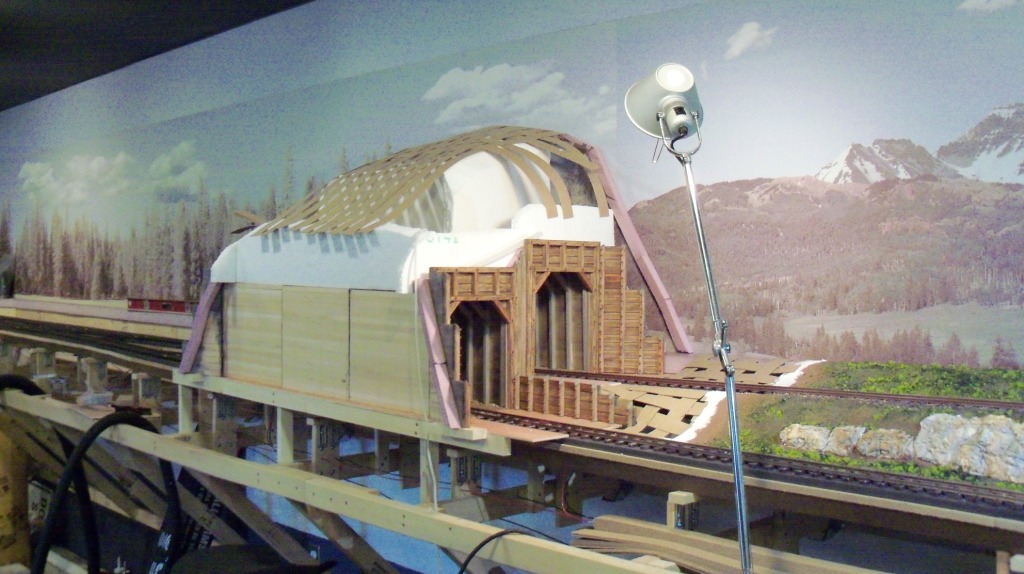
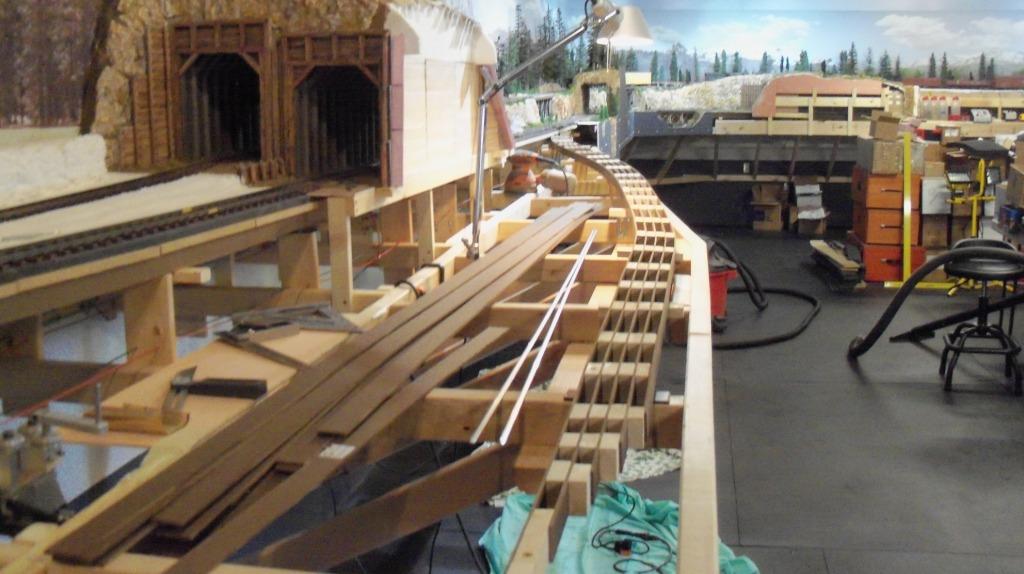
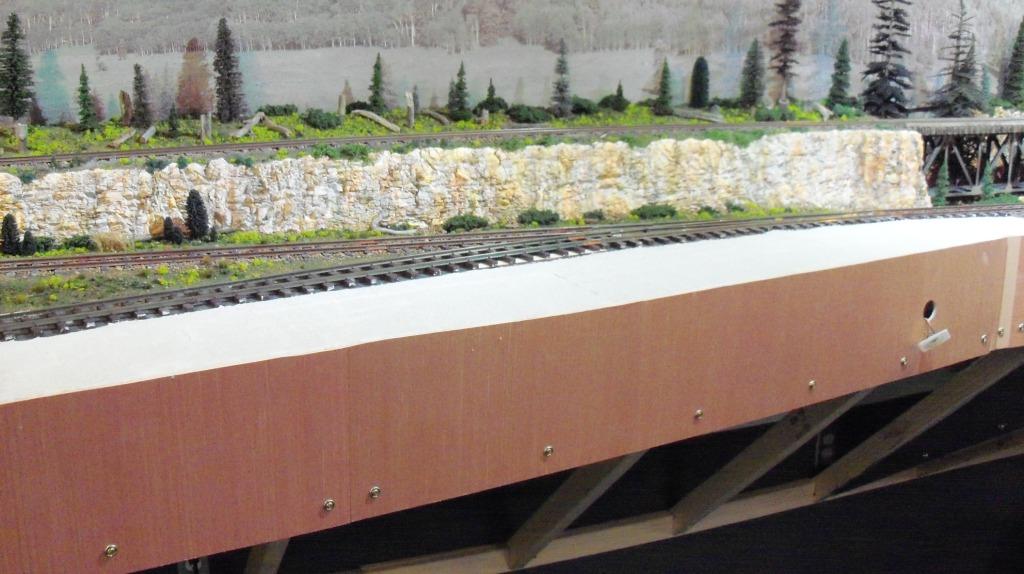
Then it was building the cantilevered structure from the wall.
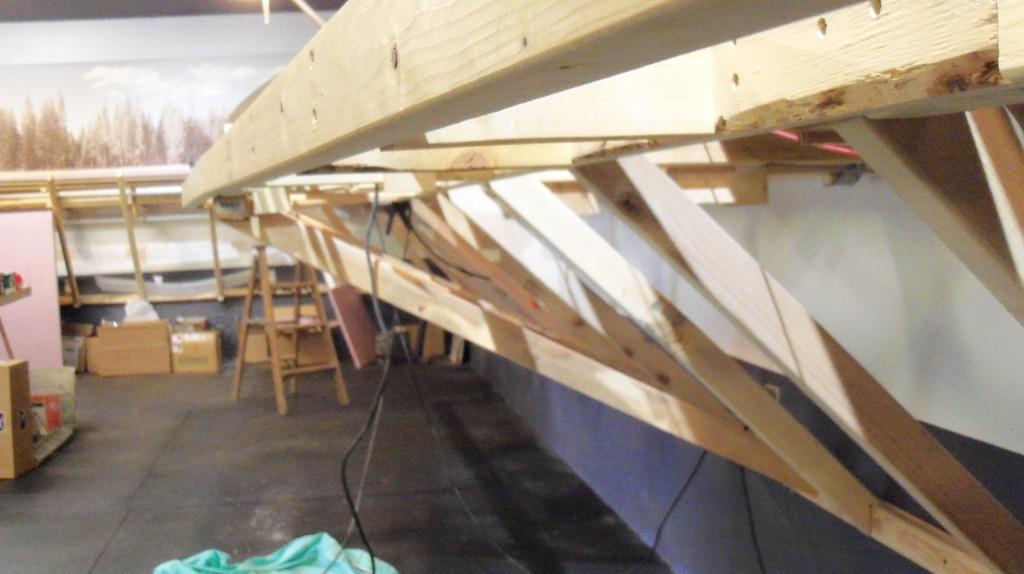
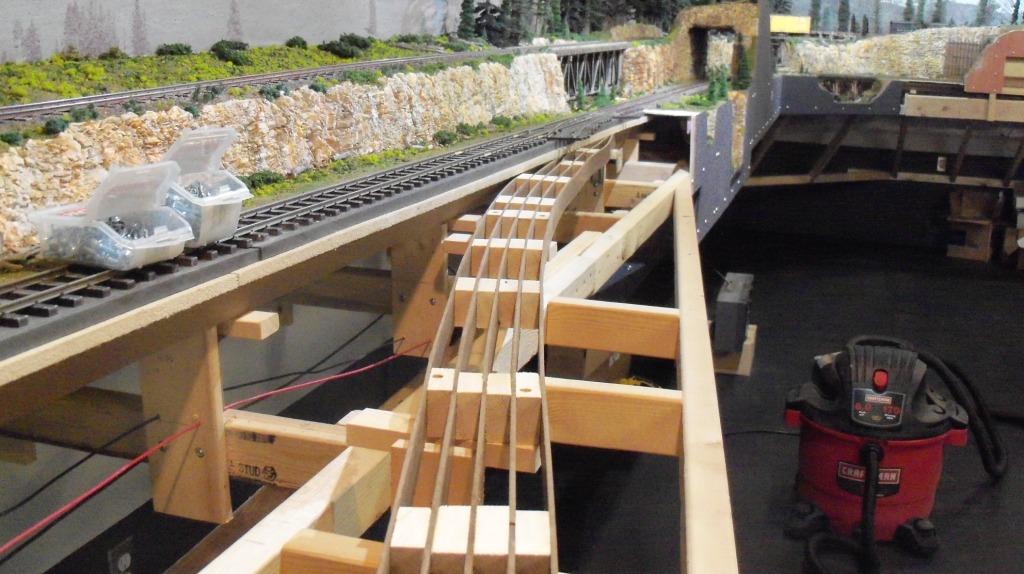
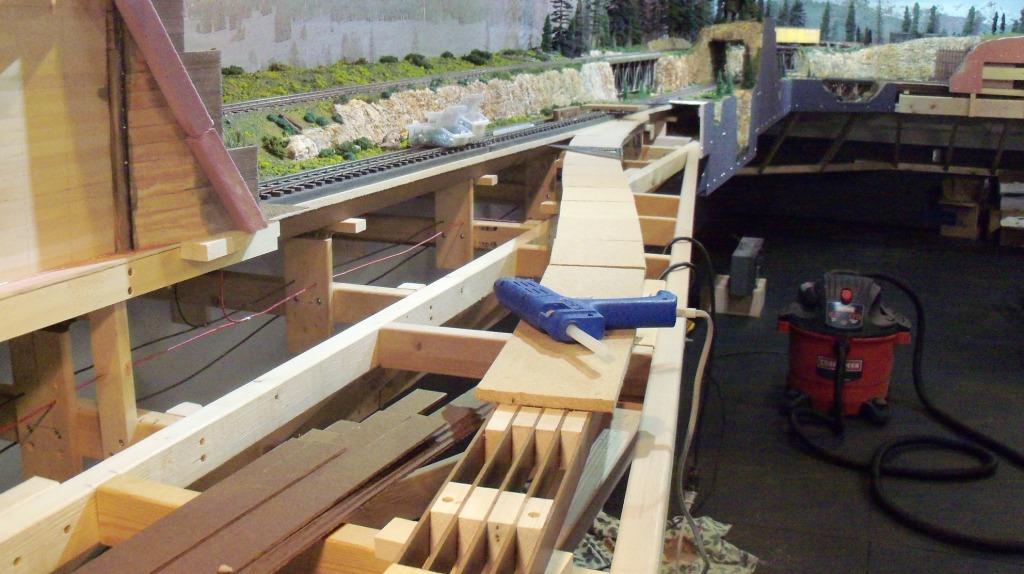
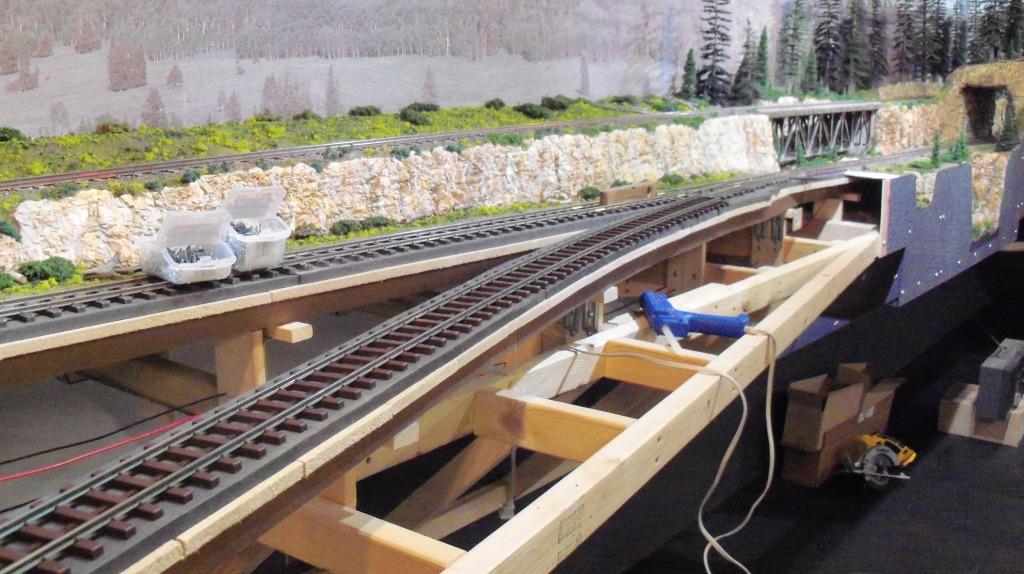
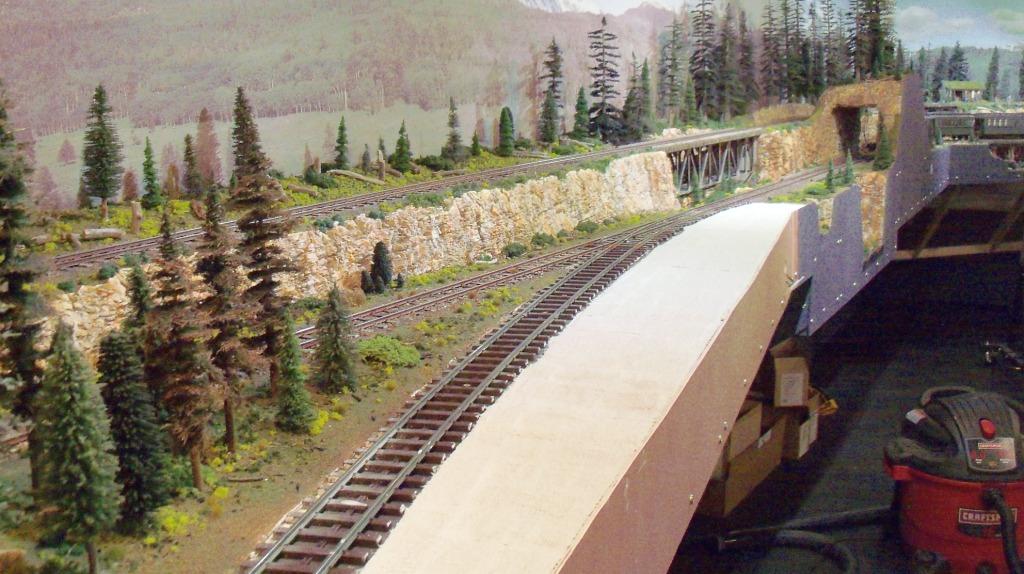
Supporting track spline.
Then the celotex.
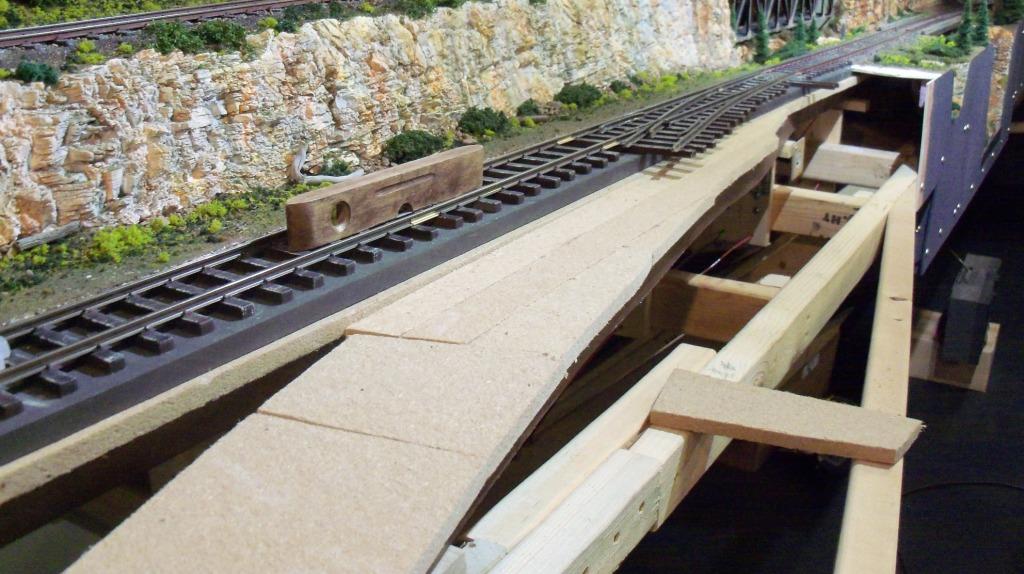
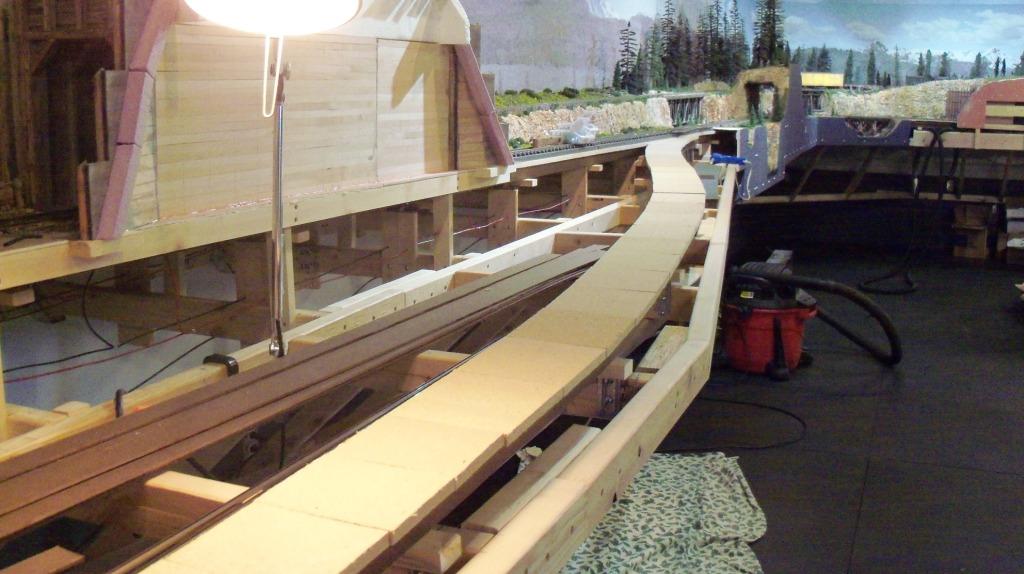
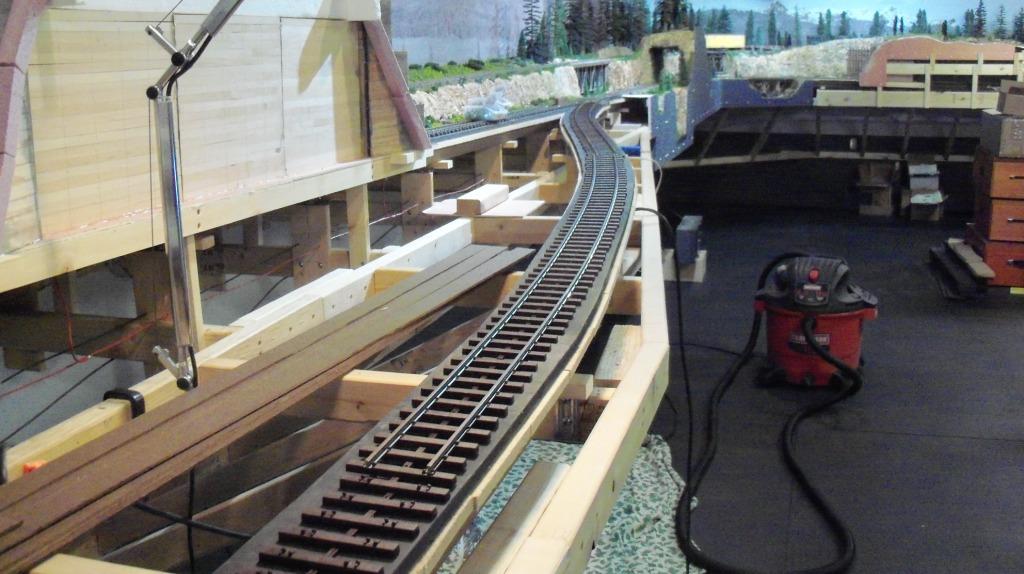
Then the sound deadening foam and track.
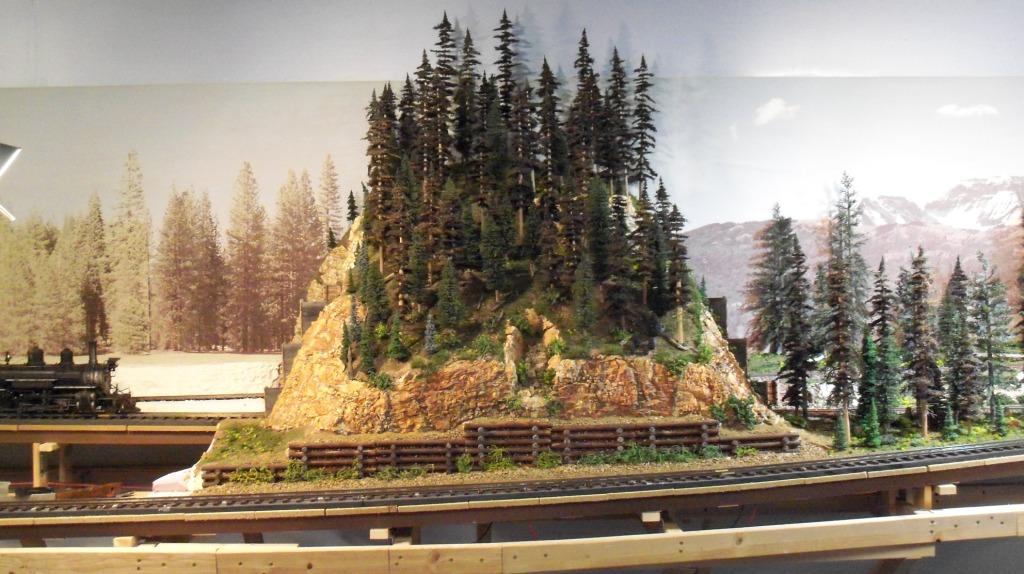
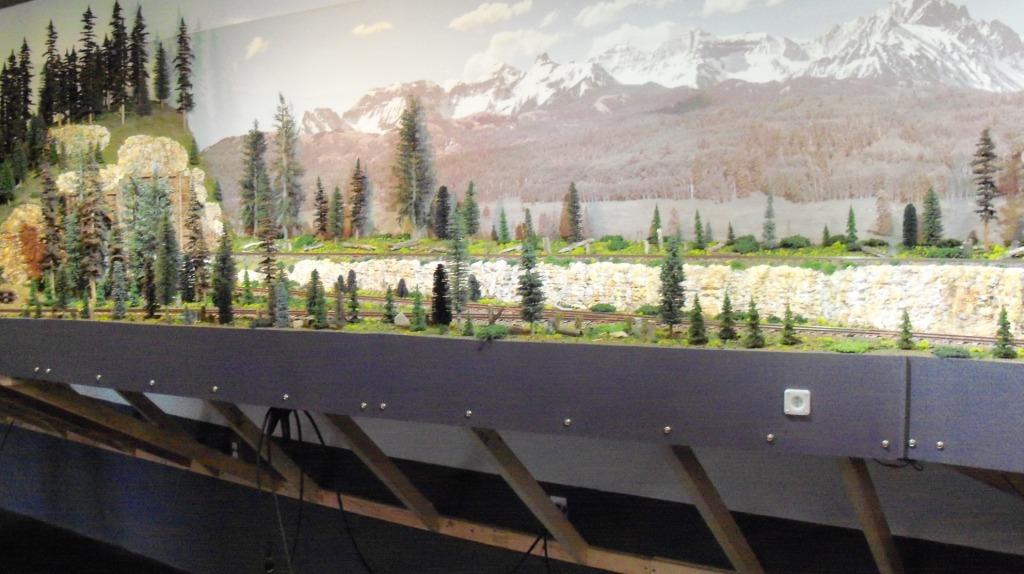
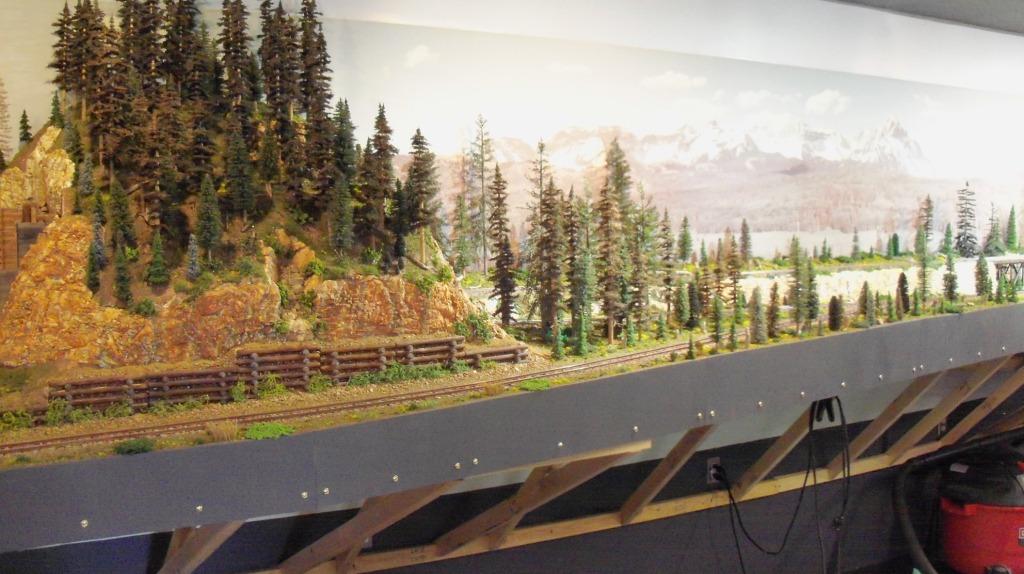
Then a massive leap to a finished mountain and track attached. Just a snap of the fingers.
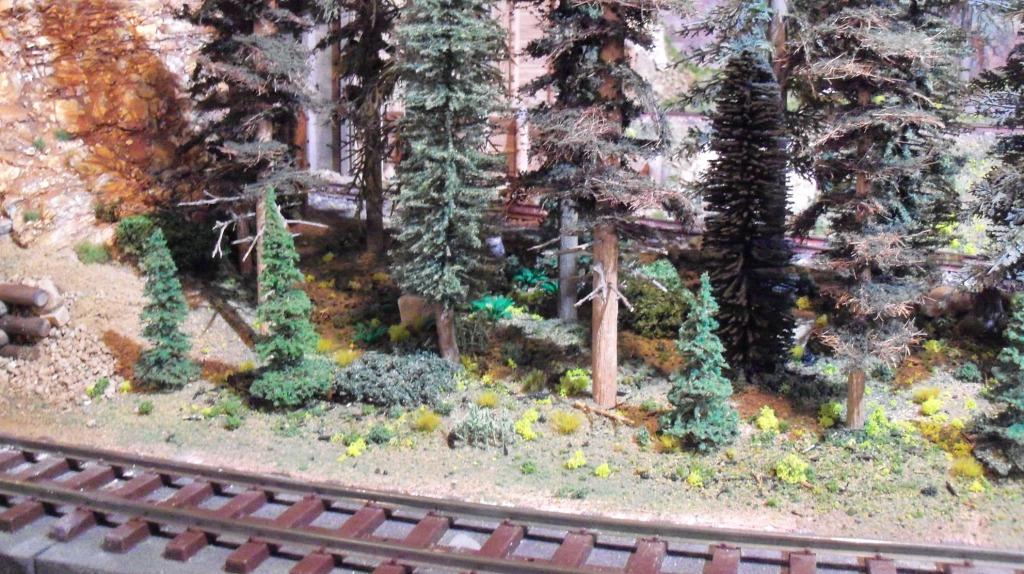
Lots of trees. Something over 50 to tree the mountain and the area leading to it.
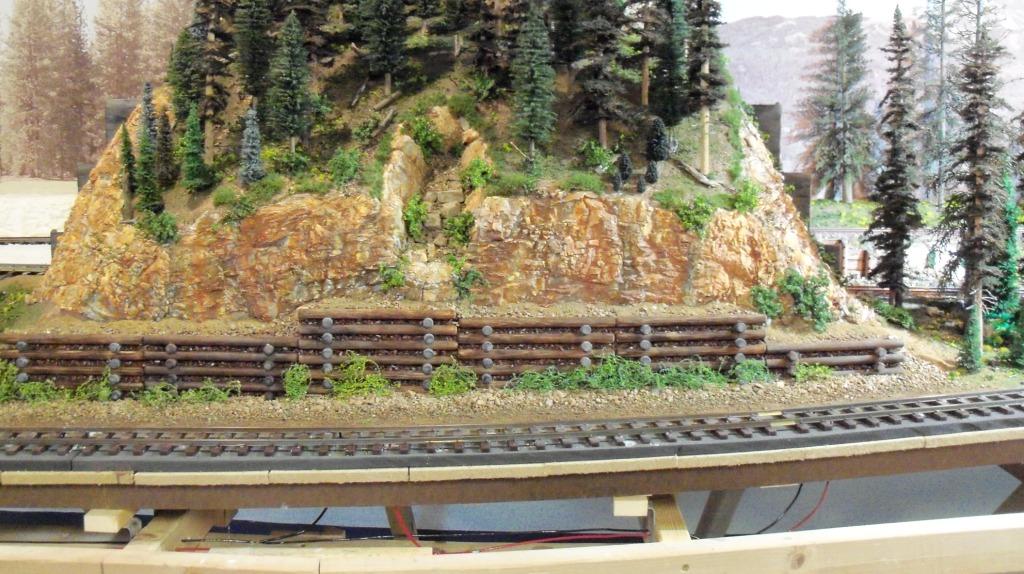
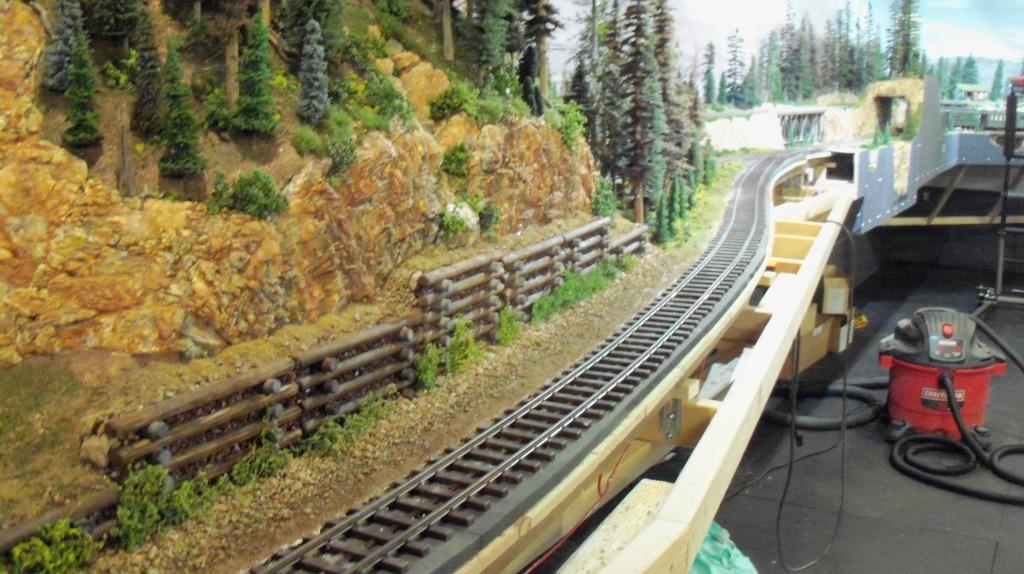
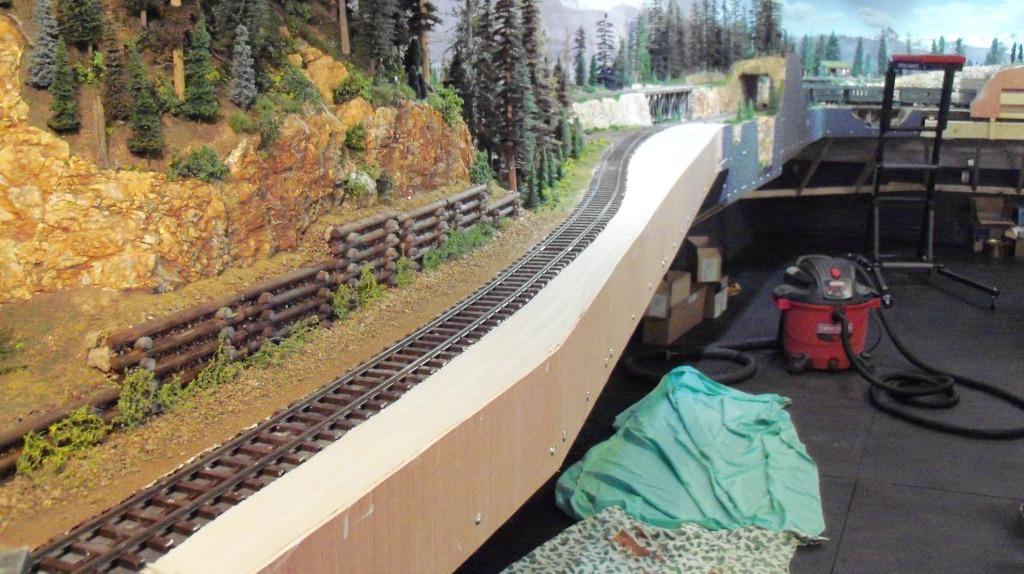
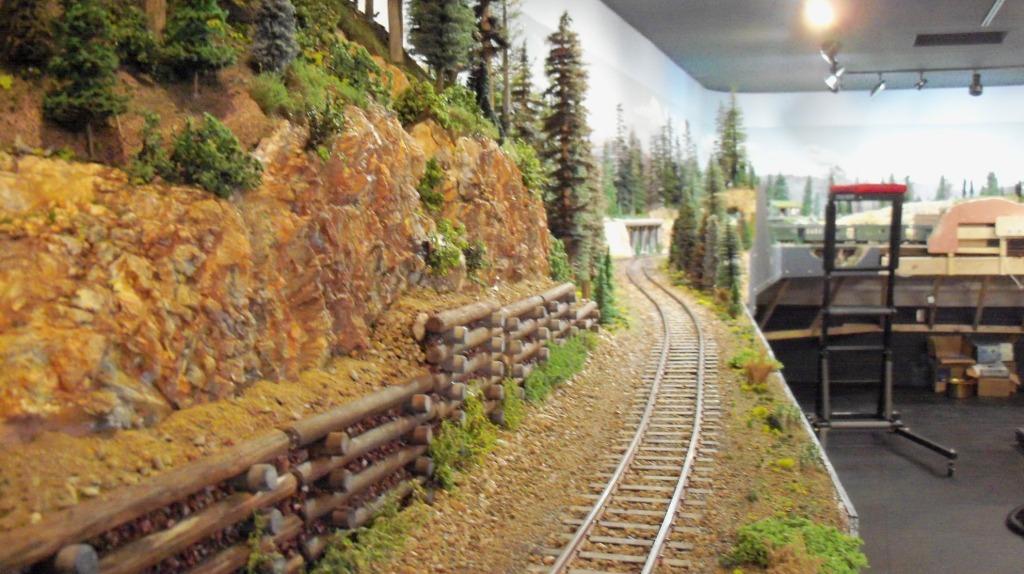
Start of the cribbing. I use 1/2" dowel run through the wire brush jig on my drill press to roughen the skin up and then stained and painted to weather. I used a half inch ball end mill end to to make supports between the logs. Kind of like Lincoln Log joints.

A lot of dirt and sifted rock in and around the cribbing.
What you see coming up the steps.
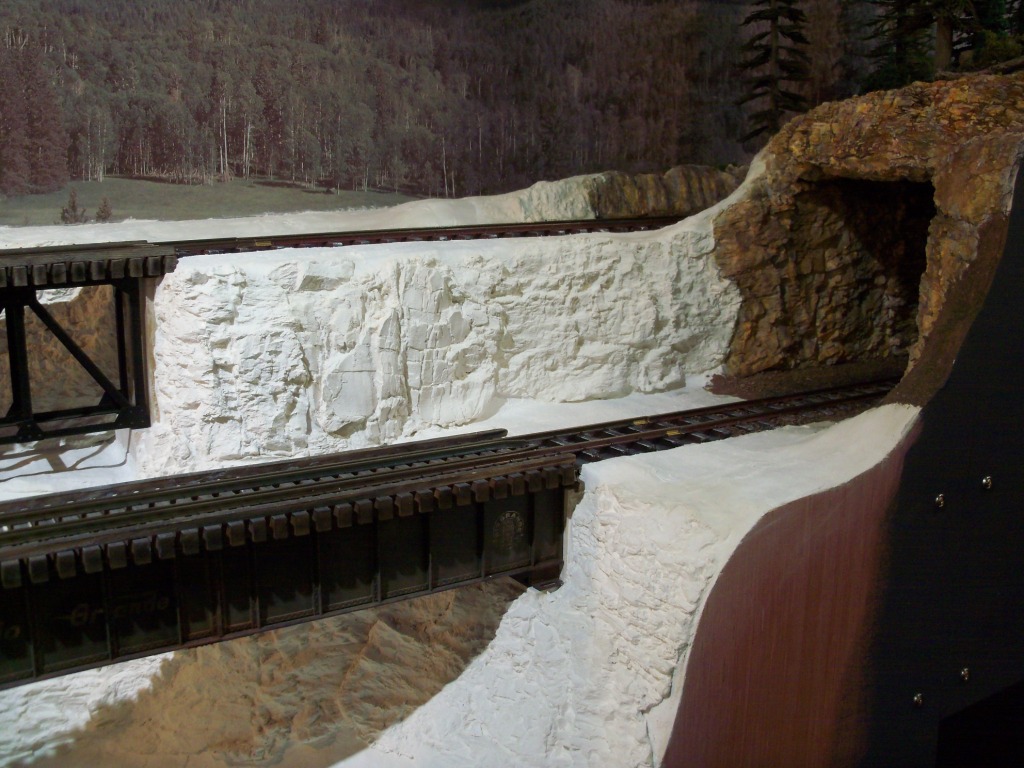
A little more work to be done around the lower track tunnel entrance.
Now it's time to do the fascia and finish the edge of this section.
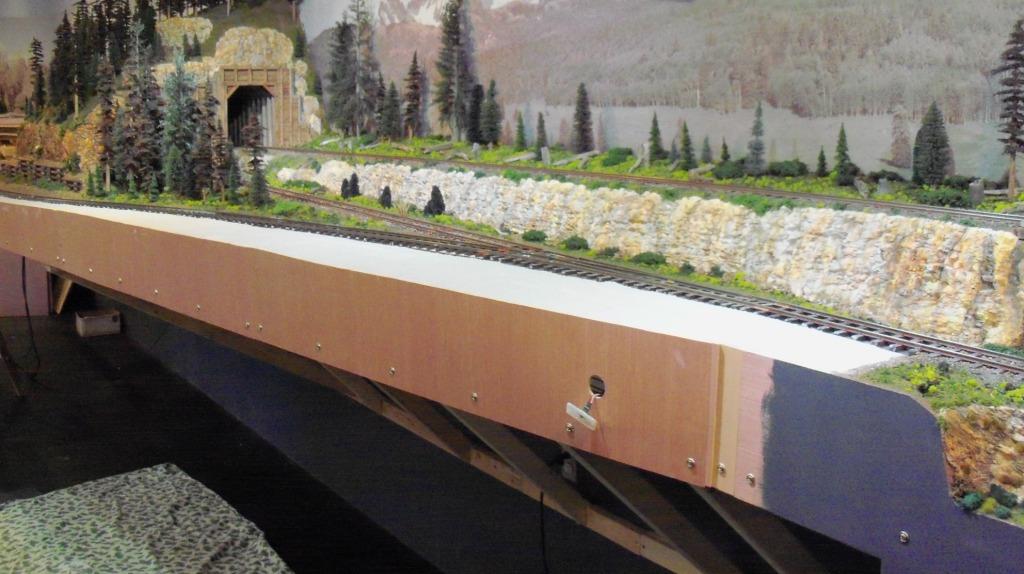
Then painting the fascia and adding scenery to the plaster cloth.
Ballasting the track actually takes a couple days. I add small rock, then dirt, then white cinders and finally black cinders. I spray it with 70% alcohol and then dribble a solution of 70% water and 30% mod podge over it. It takes a full day for it to dry hard. The mod podge dries clear and somewhat flexible. The ballast look loose but is hard to the touch.
Up on a ladder looking down the track.
At this point, it was back in the shop to make more trees. Scenery sure chews up grasses, bushes and trees. I seem to run 30% commercial trees and 70% homemade trees.