Building a layout has lots of BIG decisions. We all have strengths and
weaknesses. I might be able to design a piece of rolling stock but when it
comes to artistic endeavors, well, I know my limitations. I know there was
no way I could paint a backdrop that would pass muster. I know a couple guys
that could but I just wasn't sure that was the route I wanted to take.
Having built a number of rolling stock pieces for Tom Miller in Oregon, I
was invited to the VIP showing the day before the NG convention in the fall
of 2008. I've also talked with Tom at other conventions about his layout.
Pros and cons. So, I have a bit of "professional" input to my decision
making process. Another huge influence to some of those decisions has been
from the various trade magazines. I was starting to lean towards a
professional backdrop and finally closed the deal this summer to go with
printed backdrops. There are several out there. I visited most of their
websites and chose "The Backdrop Warehouse" in Durango, CO. My decision to
go with them was based on the scenes they have to offer.
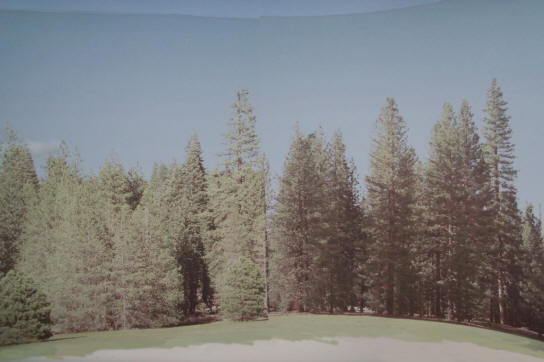
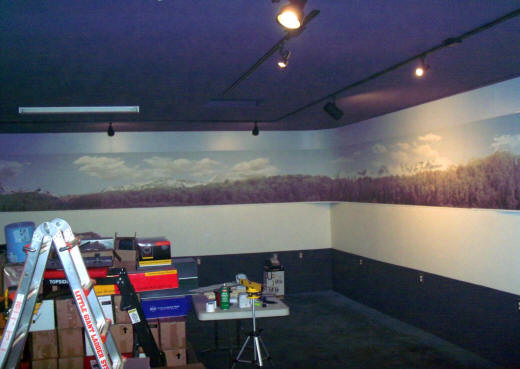
My layout will have 2 areas. A logging section making up about one quarter
of the room and my fictitious rail town of Elkhorn. I needed a lot of tree
backdrop for the logging side and San Juan mountain scenes for the Elkhorn
side. For the trees, I settled on scene BG HL 157 MWL. If you go to the
Backdrop Warehouse website, you can look up that scene. It is a stand alone
scene and I needed 60 feet to cover the logging area. I copied the scene
into Photoshop to play with seaming the ends together. I found I could cut a
tree at one end in half down the center of the trunk and match it to a tree
cut in half down the trunk at the other end. With that figured out, I order
5 panels of the same scene.
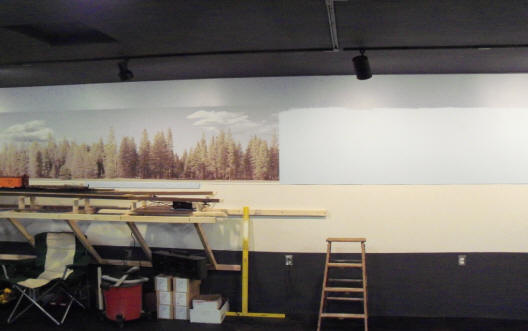
Pictures are always worth more than me babbling on so here you go. I got 2
panels up today. 3 to go.
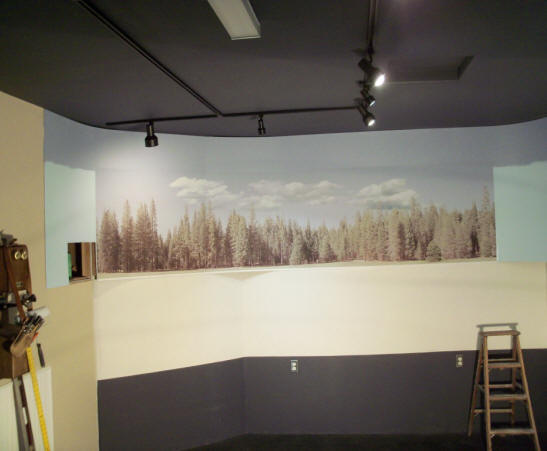
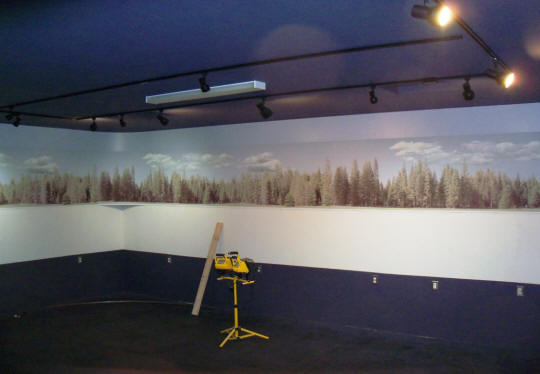
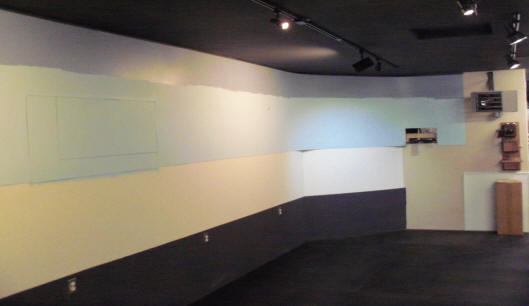
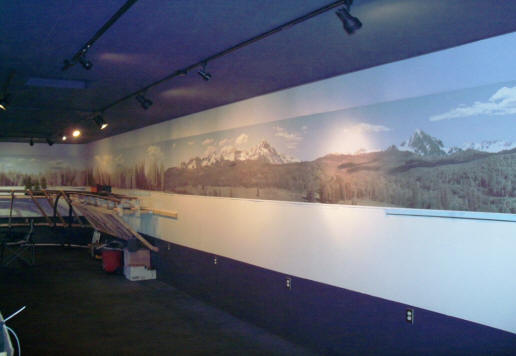
The first 12 feet. I had the top of a panel color matched at the hardware
paint shop and painted the top foot with it. The panels are 36" by 12'
advertised. The printed area is about 35" tall and +/- 160" long. After
trimming edges for overlap, maybe 154" +/-. I still need to do a paint
touchup at the top of the scene to cover a few pencil marks. Only going 36"
tall verses 42" saves quite a bit of money.
Second scene up. The directions call to use rubber cement. To me, I
just couldn't get my mind around the mess that would create. From
testimonials on the site, a lot of guys have used that method with great
success. I elected to use a spray adhesive found at Harbor Freight (and
others) called CRC.
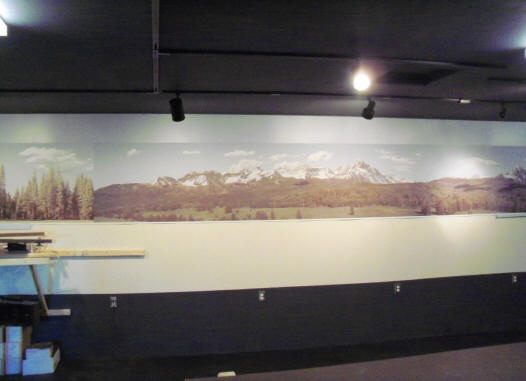
With different lighting.
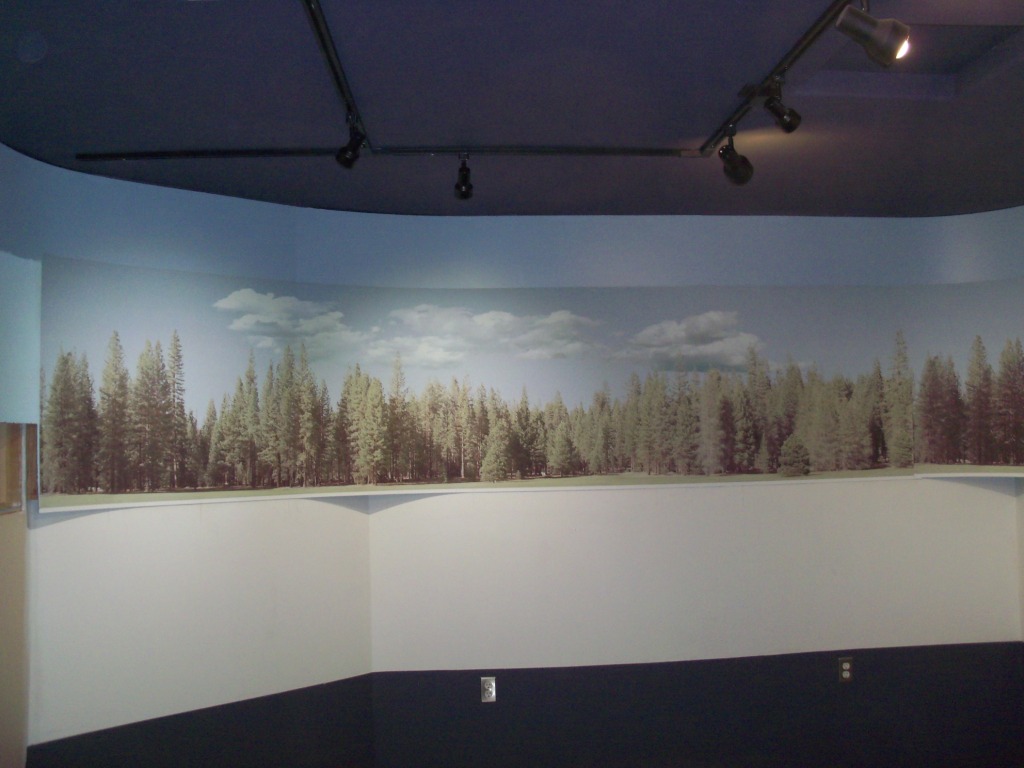
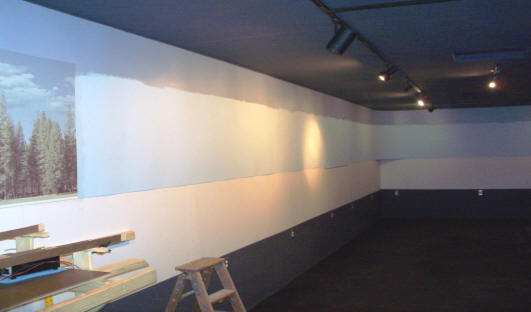
Getting the 12' + panels up perfectly horizontal is the hardest part so far.
At the end of the first panel, we found it was 3/16" low to the masonite
behind it. At that point, it was stuck so we "adjusted" the height of the
second panel. It went up almost 100% level. You can see a jog in the bottom
white edge just to the left of the corner where the masonite is flat against
the wall.
I cheated with the bottom white edge and photo shopped it out. At the top
center you can see the right side is about 1/4" taller than the left side.
Scenery will cover the bottom and when I touch up the blue paint at the top,
it'll be gone. I did not change the overlap of the two scenes. This seam
is in a corner giving the picture a wrap around look. I sure like the curved
masonite corners verses square corners.
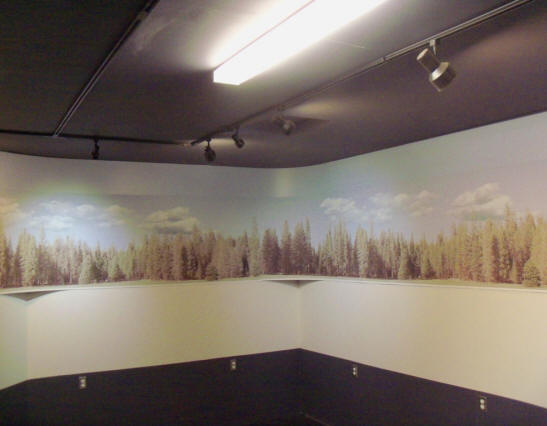
This is the west wall. Panel 2 ends just to the right of the center of this
picture and panel 3 carries on.
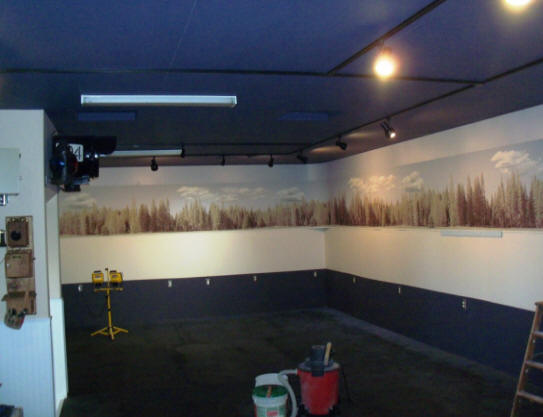
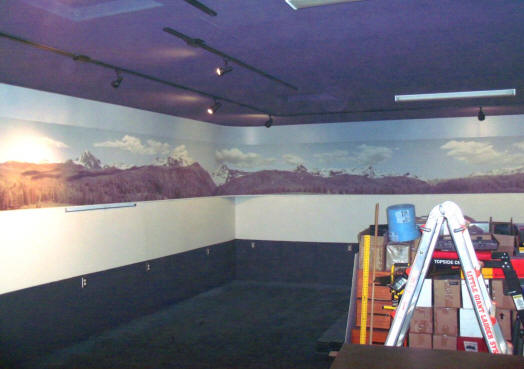
This is the west and north wall with panels 3, 4 and 5. Mike Harris and
Scott Betts came to help get these up. Sure was a heck of lot easier with 3
guys verses just Mike and myself.
While waiting on the remaining 7 panels to get printed, I'm going to start a
little bench work. So press the "UP" button at the top of the page and
select the bench work button. When I continue the backdrops, I'll point you
back to this page from the bench work page.
1-20-2016
I've received the last 7 panels of backdrop. As before, I took a small
sample of the top of the sky to the paint store for a color match. Then
painted the top 13" or so of the 4x8 masonite panels.
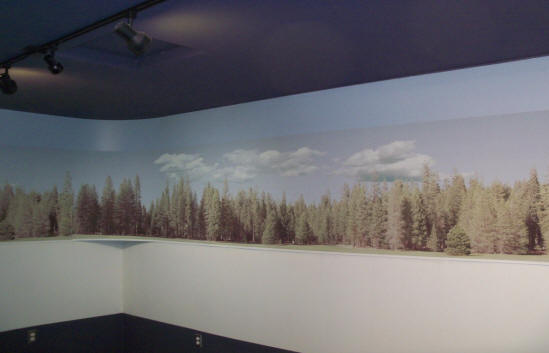
This is the north wall with the east wall at the far end.
South wall
North wall at the junction of the tree and soon to be San Juan backdrops.
A mountain will be the dividing point.
Starting the 7 section set of the San Juan's. This is the north wall of the
room.
The NE corner of the room.
SE corner of room.
South wall of room.
With all the backdrop up on the walls, I paused for a few weeks to let my
wallet recover. Close to 150' of backdrop wasn't cheap but there was just no
way I was going to paint anything close to this. This is the end of this
page. Please go up one page and select the bench work button for more
buildout.
